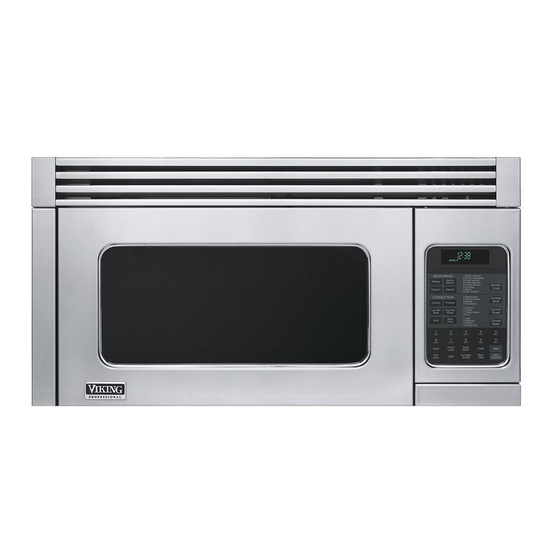
Viking VMOR205 Installation Manual
Viking convection microwave hood installation guide
Hide thumbs
Also See for VMOR205:
- Use & care manual (104 pages) ,
- Use and care manual (44 pages) ,
- Brochure (56 pages)
Table of Contents
Advertisement
Quick Links
IMPORTANT–Please Read and Follow!
•
Please read all instructions thoroughly before installing the Convection Microwave Hood. Two people are
recommended to install this product.
•
If a new electrical outlet is required, its installation should be completed by a qualified electrician before the
Convection Microwave Hood is installed. See 3 ELECTRICAL GROUNDING INSTRUCTIONS on page 2.
Mounting Space
This Convection Microwave Hood requires a mounting
space on a wall as shown in figure 1. It is designed to
be used with standard 12-inch wall cabinets.
For proper installation and servicing, a 2-inch space is
necessary between the top of the range backguard and
the bottom of the Convection Microwave Hood.
1
12"
30"
15.5"
Backguard At least 2"
Viking Installation Guide
Wall Construction
This Convection Microwave Hood should be mounted
against and supported by a flat vertical wall. The wall
must be flat for proper installation. If the wall is not flat,
use spacers to fill in the gaps. Wall construction should
be a minimum of 2" x 4" wood studding and 3/8" or more
thick dry wall or plaster/lath. The mounting surfaces must
be capable of supporting a weight of 110 pounds—the
oven and contents—AND the weight of all items which
would normally be stored in the top cabinet above the
unit.
The unit should be attached to a minimum of one 2" x
4" wall stud or two 2" x 3" wall studs.
30" or more
To find the location of the studs, one of the following
from cooking
surface
methods may be used:
•
Use a stud finder, a magnetic device which locates the
nails in the stud.
•
Use a hammer to tap lightly across the mounting
66" or more
surface to find a solid sound. This will indicate stud
from floor
location.
The center of the stud can be located by probing the
wall with a small nail to find the edges of the stud and
then placing a mark halfway between the edges. The
center of any adjacent studs will normally be 16" or 24"
to either side of this mark.
Convection Microwave Hood
111 Front Street
Greenwood, Mississippi 38930 USA
Advertisement
Table of Contents

Summary of Contents for Viking VMOR205
-
Page 1: Mounting Space
Viking Installation Guide IMPORTANT–Please Read and Follow! • Please read all instructions thoroughly before installing the Convection Microwave Hood. Two people are recommended to install this product. • If a new electrical outlet is required, its installation should be completed by a qualified electrician before the Convection Microwave Hood is installed. -
Page 2: Electrical Grounding Instructions
140 feet. electrical instructions, consult a qualified electrician or serviceperson. • Neither Viking nor the dealer can accept any liability for damage to the oven or personal injury resulting from failure to observe the correct electrical connection procedures. -
Page 3: Tools Recommended For Installation
Tapping Screw 4 x 12 mm Parts shown not to common scale. XOTS740P12000 Exhaust Damper Assembly FFTA-B004MRK0 Basic Specifications Microwave oven description VMoR205/dMoR205 Overall Width 29-15/16" (76.0 cm) Overall Height from Bottom 16-11/32" (41.5 cm) Overall Depth from Rear 15-9/32"... -
Page 4: Ventilation System
Ventilation System (Preparing Oven for Installation) This Convection Microwave Hood is designed for adaptation to three types of hood ventilation systems. Hood Fan Unit Select the type required for your installation. REciRculating — non-vented, ductless. Follow installation procedure (A). Recirculating requires the use of the Charcoal Filter, which has been installed in the oven. - Page 5 Ventilation System (Preparing Oven for Installation) (C) Vertical Exhaust: Outside Ventilation Fan Cover Bracket • Remove and save 4 screws and fan cover bracket as shown in figure 5. Withdraw hood fan unit. See figure 6. (A) Rotate 90˚ HORIZONTAL EXHAUST: Replace the fan cover bracket. Make sure the fan blades are visible through the rear openings in the oven before proceeding.
-
Page 6: Oven Installation
Oven Installation THIS OVEN CANNOT BE PROPERLY INSTALLED WITHOUT notE: REFERRING TO THE MOUNTING INSTRUCTIONS Before insertion, be sure you leave a space more than FOUND ON WALL AND TOP CABINET TEMPLATES. the thickness of the wall between the Mounting Plate and the end of each of the Toggle Nuts (in the closed Mounting Plate position). - Page 7 Oven Installation MOUNTING OVEN TO THE WALL: Hang the oven on MOUNTING OVEN TO THE WALL: Using cutting line the lower edge of the mounting plate. Take care that the around the carton, cut into two pieces (A) and (B). power cord is able to clear the edge of the hole as the oven is rotated upward.
-
Page 8: Checklist For Installation
INSTALLATION HARDWARE, to attach the unit to the top cabinet. Viking Range Corporation 111 Front Street Greenwood, Mississippi 38930 USA (662) 455-1200 For product information, call 1-888-VIKING1 (845-4641) or visit the Viking Web site at vikingrange.com F20380 TINSEB505MRR0...


