Advertisement
Table of Contents
Introduction to the LCD Projector
Introduction
The Epson LCD projector is a highly versatile presentation tool. The projector can utilize
up to two computer sources, and up to three video sources, which can be easily switched
from one source to another.
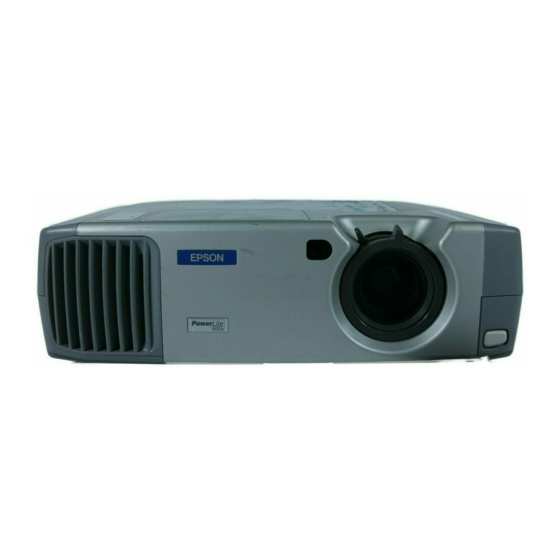
The purpose of this document is to assist the novice user in using the Epson PowerLite
600p/800p/810p Multimedia Projector. This document will cover the following areas:
• Setting up the Projector
• Using the Control Panel Options
• Focusing and Changing Image Sizes
• Connecting Additional Audio and Video Devices
• Shutting Down the LCD Projector
• Warning Lights
Page 1 of 10
Last Modified: 3/22/2010
Advertisement
Table of Contents

Summary of Contents for Epson LCD projector
- Page 1 The purpose of this document is to assist the novice user in using the Epson PowerLite 600p/800p/810p Multimedia Projector. This document will cover the following areas: •...
-
Page 2: Using The Lcd Projector
Using the LCD Projector Setting Up 1. Place the projector on a stable flat surface 3-40 feet from the screen. 2. Connect the computer cable to the Computer 2/Component Video port on the back of the projector as shown in this picture, and the video- out or monitor port of your computer. - Page 3 The control panel options are located on top of the projector above the lens. All of the functions of the LCD projector can be controlled from the control panel. The following list describes the functions of each button of the control panel.
- Page 4 Keystone: If the LCD Projector is not directly in line with the projection surface, the image may appear trapezoidal. This can be adjusted using the Keystone features on the control panel. • Sync+ and Sync-: Adjusts the vertical image displayed.
- Page 5 Focus and Changing the Image Size Use the rings on the lens to focus the image, or to make the image appear larger or smaller on the projection surface. Wide/Tele: Moving this ring of the lens right or left will make the projection image larger or smaller on the projection surface.
- Page 6 PS/2 port for an external mouse, you will use a PS/2 Cable to connect the computer to the LCD Projector’s Mouse port. Connect one end of the cable to the projector’s Mouse port, and the other end to the External mouse port on your...
- Page 7 Video: RCA A/V Cable: Connect the projector to an external video player. Connect A/V cable (with yellow plug) to the Video-out jack on your video source. Connect the audio parts of the cable into the Audio jacks (red and white) under Audio 2 on the projector, and to the corresponding jacks on your video source.
-
Page 8: Further Information
You can also contact the ITRC by phone (282-5880) or email at itrc@isu.edu. The ITRC suggests attending a workshop on the operation of the LCD projector. For information regarding ITRC workshops dates and registration, visit the ITRC website, at http://www.isu.edu/itrc/. - Page 9 Appendix A The Menu Settings Press menu to display the 8 items of the menu screen. • Video: o Position: repositions the image o Tracking: in analog computer images, removes unwanted vertical lines o Sync: corrects fuzziness o Brightness: lightens or darkens entire image o Contrast: adjusts difference between light and dark areas o Color: adjusts color intensity o Tint: adjusts the balance of green to magenta...
- Page 10 • Advanced o Language: Select from 9 languages to be used for menus o Startup Screen: Display your captured image or logo when the projector starts o Color Adjustment: Adjusts the color temperature (between 5000 and 10,000 K) of the projected image o Rear Proj.: turn on to project from behind onto a transparent screen o Ceiling: turn on when projector is mounted upside-down from the ceiling o COM Port: switches between serial (RS-232C) and USB communication for...


Need help?
Do you have a question about the LCD projector and is the answer not in the manual?
Questions and answers