Table of Contents
Advertisement
Quick Links
Advertisement
Table of Contents

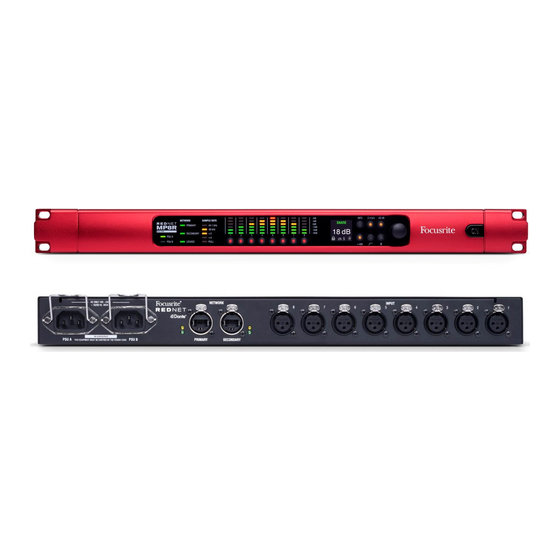
Summary of Contents for RedNet Focusrite
-
Page 1: Getting Started Guide
Getting Started Guide FFFA001047-02... -
Page 2: System Requirements
Introduction Thank you for purchasing a RedNet Dante interface. Setting up a Dante network is simple – in fact it’s very likely that an existing network installation is already suitable for high-quality, low latency Dante audio use. This guide is intended to help get the system running as quickly as possible. -
Page 3: Network Cabling
RedNet Control RedNet Control acts as a remote control and routing centre for all RedNet products. RedNet Control also acts as the ASIO control panel for RedNet PCIe when run in a Windows computer. The following key components are installed: •... - Page 4 A computer is required to run RedNet Control and Dante Controller software to establish routing and control of units, and if the system is to use RedNet PCIe or Dante Virtual Soundcard (DVS). Both Mac and Windows PCs are supported.
-
Page 5: Connecting The Equipment
Use the supplied moulded IEC power cord to connect the units to a suitable mains power source. For details on other connections on the unit, such as audio I/O, word clock connections or connecting RedNet 5 to Pro Tools HD, please see the dedicated user manual for each unit. Units with two network ports Where a Dante device has two network ports, one will be labelled Primary and the other Secondary. -
Page 6: Network Setup
Network Setup Example network setup: Mixing redundant and non-redundant devices REDNET D16 AES (PRIMARY) (SECONDARY) REDNET 1 SWITCH SWITCH (PRIMARY) (SECONDARY) (SECONDARY) (PRIMARY) REDNET D16 AES LAPTOP WITH DVS CABLE KEY CAT6... -
Page 7: First Use And Firmware Updates
First use and firmware updates When first launching RedNet Control, there are a few settings to be aware of which may need to be altered: Network Interface Click: Settings>Select Network Interface and select the network adapter which is connected to the Dante network Host Mode Click: Settings>Host Mode... -
Page 8: Troubleshooting
“host” at a time. This could be: • One RedNet PCIe • One Pro Tools HD system with up to six RedNet 5 units • One DVS instance Routing is via a drag-and-drop operation in the RedNet Control application, routing consecutive channels between the I/O units to/from the host device(s).
Need help?
Do you have a question about the Focusrite and is the answer not in the manual?
Questions and answers