
Subscribe to Our Youtube Channel
Related Manuals for Chilton CM2-4

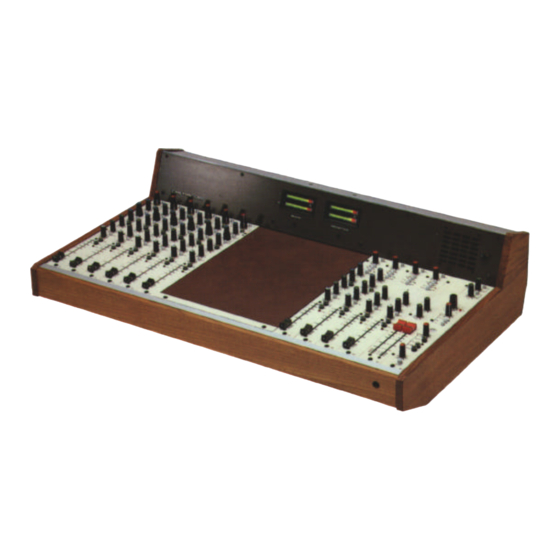
Summary of Contents for Chilton CM2-4
-
Page 2: Operating Instructions
The manufacturers have no on site service or maintenance facilities. in special circumstances, at the discretion of the manufacturer or agent, arrangements are possible, provided travelling and labour costs are paid. MAGNETIC TAPES LTD., Chilton Works 6-8 Wolsey Rd., ASHFORD Middlesex, U.K. Telephone: 0784 247124 Telex: 912881G MTL ©... - Page 3 CM 2 CHILTON CM SERIES General Instructions. After opening the packing case, lay horizontally, control side up and slide out. Then check for any visual damage. The Power supply (PS30) is packed separately, complete with 2 leads: 1. Mains cable with moulded on connector to PS30.
- Page 4 Pad in. b) Set channel Mic input gain to 20 dB Control fully anticlockwise c) Switch channel to MIC Group meter will now read approximately 0dBm. Frequency check 40 - 15kHz within 1dB © Mik-El / Chilton Page 4 of 26...
- Page 5 MONO mode. A similar procedure can be used for Phono input, but input level via A1 should be reduced to approximately 9 o/c to give 0dBm on PFL meter. To test Balanced Line inputs: L1 and L2 are Left and Right channels respectively. © Mik-El / Chilton Page 5 of 26...
- Page 6 Line Input: Balanced input connect as diagram. Unbalanced input Live to pin 2 Common to pin 3 Screen only pin 1 Direct Output: Jack tip Live. Sleeve Common. May be wired Pre Fader Insert: Jack 3 pole type. Tip Return. Ring Send . Sleeve Common. © Mik-El / Chilton Page 6 of 26...
- Page 7 L. R. push button selection to Group outputs. 104mm Stereo Fader. Otherwise as M1 Rear Panel: Line In 1-2: See block drawing as M4 Input drawing Insert L and R: Jacks 3 pole. Tip Return. Ring Send. Sleeve Common © Mik-El / Chilton Page 7 of 26...
- Page 8 3 is Common or 0 volts in the unbalanced mode and should not be connected in outer screen. When possible Live pin 2 and Common pin 3 should be screened and terminated at one end only to pin 1 (Connects to console frame) © Mik-El / Chilton Page 8 of 26...
- Page 9 Headphones: Jack 3 pole. Tip Left. Ring Right. Sleeve Common. Parallel to jack socket on console front. Mon: Monitor output wired as headphones. Jack 3 pole. Tip Left. Ring Right. Sleeve Common. © Mik-El / Chilton Page 9 of 26...
- Page 10 LINE IN 1 Jack socket. Tip Left. Ring Right. Sleeve Common M3 Module a. oscillator frequency 10kHx incorrectly printed 1kHz xx If difficulty is experienced when replacing fixing screws (locate centre screws first) slacken off upper countersunk screws first. © Mik-El / Chilton Page 10 of 26...
- Page 11 © Mik-El / Chilton Page 11 of 26...
- Page 12 © Mik-El / Chilton Page 12 of 26...
- Page 13 © Mik-El / Chilton Page 13 of 26...
- Page 14 © Mik-El / Chilton Page 14 of 26...
- Page 15 © Mik-El / Chilton Page 15 of 26...
- Page 16 © Mik-El / Chilton Page 16 of 26...
- Page 17 © Mik-El / Chilton Page 17 of 26...
- Page 18 © Mik-El / Chilton Page 18 of 26...
- Page 19 © Mik-El / Chilton Page 19 of 26...
- Page 20 © Mik-El / Chilton Page 20 of 26...
- Page 21 © Mik-El / Chilton Page 21 of 26...
- Page 22 © Mik-El / Chilton Page 22 of 26...
- Page 23 © Mik-El / Chilton Page 23 of 26...
- Page 24 © Mik-El / Chilton Page 24 of 26...
- Page 25 © Mik-El / Chilton Page 25 of 26...
- Page 26 © Mik-El / Chilton Page 26 of 26...
Need help?
Do you have a question about the CM2-4 and is the answer not in the manual?
Questions and answers