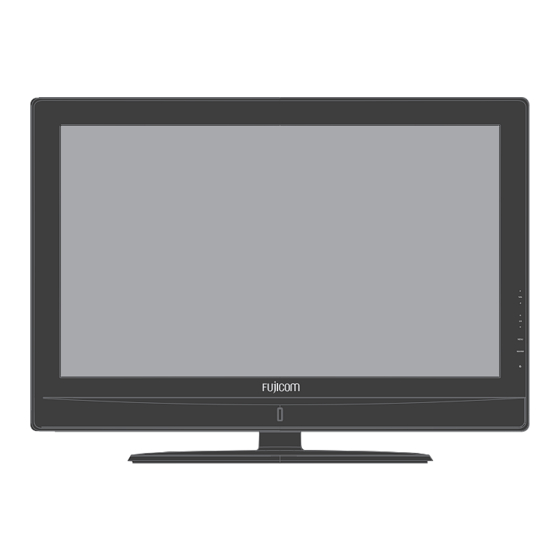
Summary of Contents for Fujicom PDP TV
- Page 1 Waste electrical products must not be disposed of with household waste. This equipment must be returned to the retail store for safe disposal or it can be taken to your local recycling centre...
- Page 2 USER MANUAL...
-
Page 3: Table Of Contents
Safety warnings................Accessories................. Do / Don’t do................PDP TV Panel................PDP TV Panel(continued)............6 Remote control................Application instruction of remote control......... Connecting to antenna or TV radio network........Connecting digital TV Set Top Box..........Picture..................Sound..................Function..................TV .................... -
Page 4: Safety Warnings
Safety Warnings The lightning flash with arrowhead symbol, within an equilateral triangle, is intended to alert the user to the presence of insinuated WARNING dangerous voltage within the product's enclosure that may be of sufficient magnitude to constitute a risk of electric shock to RISK OF ELECTRIC SHOCK persons. -
Page 5: Do / Don't Do
Always power this product from an outlet with the same rating (voltage and frequency) as Indicated on the rating label in the back of the product. If this product has been damaged (including cord or plug) take it to an accredited service technician for inspection, and if necessary, repair. -
Page 6: Pdp Tv Panel
PDP TV Panel 1.Volume control buttons ( 2.Channel selection buttons ( 3.Menu / Confirm button (MENU) 4. Input source selection button ( SOURCE) 5.Power / Standby button (... -
Page 7: Pdp Tv Panel(Continued)
PDP TV Panel(continued) a)POWER AC power input terminal b)HDMI High definition multi media interface c)VGA Input terminal of simulation signal of PC d)PC AUDIO and HDMI AUDIO Sound input terminal of RGB input and HDMI e)AV2 L/R Color difference component input terminal and AV2 input terminal... -
Page 8: Remote Control
Remote control SLEEP MUTE Power button Mute button Sleep button Numeric button Channel setup Return channel button P.STD S.STD Picture mode button Sound mode button SOURCE DISPLAY Program information Signal source selection button Main menu LEFT Right MENU Down Volume adjusting button Channel selection button NICAM function button If there is light around the TV , the remote control may fail or work abnormally. -
Page 9: Application Instruction Of Remote Control
Application instruction of remote control POWER: Power on/off button , press once to turn the TV on and press again to turn the TV off. SLEEP: Sleep button , setting TV power off time. MUTE: Mute button , press once to disable the audio and press again to enable the audio. 0,1-9:TV channel selection button. -
Page 10: Connecting To Antenna Or Tv Radio Network
Connecting digital TV Set Top Box must be used of TV In order to receive digital TV programs, a digital TV STB must be connected to the rear of the PDP TV. Audio Video RF(75 Connect the coaxial cable connector to The output terminal. -
Page 11: Picture
Picture 1.Press the MENU button to enter the Picture menu screen. (Fig.1-1) 2.Press the button to select Picture mode . Press the button to set the picture mode ( Normal, Soft, Vivid or User). MENU Fig.1-1) 3.Press the button to select Brightness . Press the button to adjust the value of brightness on the control bar.(Fig.1-2) -
Page 12: Sound
Sound 1.Press the MENU then the / button to enter the Sound menu screen.(Fig.2-1) 2.Press the button to select Sound mode . Press the button to set the sound mode ( Normal, News, Movie or User). MENU Fig.2-1) 3.Press the button to select Volume . -
Page 13: Function
Function 1.Press the MENU then the button to enter the Function menu screen. (Fig.3-1) 2.Press the button to select Language . Press the button to set the desired OSD language. MENU 3.Press the button to select Blue Back(ground) . Press the button to set to On or Off Fig.3-1) - Page 14 Note: This menu is avaliable only when the SOURCE menu is set to TV . 1.Press the MENU then the button to enter the TV menu screen. (Fig.4-1) 2.Press the button to select Auto Tune . Press the button , auto tunning begins. (Fig. 4-2) 3.Press the button to select Manual Tune .
-
Page 15: Advance
Note: This menu is available only when the SOURCE menu is set to PC . 1.Press the MENU button then the to enter PC menu screen. 2.Press the button to select H Position . Press the button to set the proper screen position in horizontal. -
Page 16: Source
5.Press the button to select OSD Transparence . Press the button to adjust the OSD menu screen's transparence. 6.Press the button to select OSD Duration . Press the button to adjust the OSD menu duration time on the screen . o nd Main 7.Press the... -
Page 17: Connection To Exterior Devices
2.AV2 use a common Audio in. 5.DVI to HDMI and using the PC audio 3.Y-PB-PR of DVD is corresponding to Y -PB-PR of PDP TV. 6.PC to VGA also using the PC audio 7.AV IN and YPBPR from a DVD... -
Page 18: Trouble Shooting
NOTE: This product composes up to 2.2 million cells and a few cell defects may occur in the manufacture of the panel. Several dead pixels on the panel are deemed acceptable by the industry standards. In line with manufacturers and would not mean that the panel is faulty.


Need help?
Do you have a question about the PDP TV and is the answer not in the manual?
Questions and answers