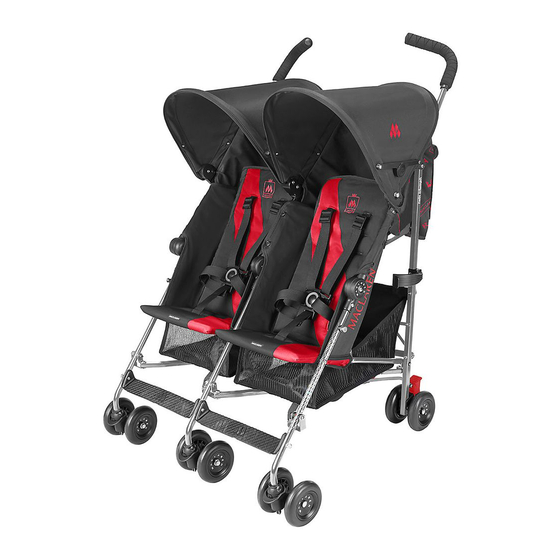
Maclaren Twin triumph Assembly Instruction Manual
Maclaren twin triumph stroller assembly instruction
Hide thumbs
Also See for Twin triumph:
- User manual (11 pages) ,
- Owner's manual (53 pages) ,
- Owner's manual (53 pages)
Table of Contents
Advertisement
Quick Links
Advertisement
Table of Contents

Related Manuals for Maclaren Twin triumph


Summary of Contents for Maclaren Twin triumph
- Page 1 triumph...
-
Page 7: Limited Warranty
Maclaren USA Inc. Maclaren will either repair, or at our option replace, free of charge, any parts necessary to correct defects in material or workmanship during the warranty period. - Page 8 LEAFLET PLEASE HELP US SUPPORT THE ENVIRONMENT BY RECYCLING Maclaren encourages consumers to recycle their old Maclaren Buggys. Maclaren Buggys can be dropped off, or shipped at owner’s expense, to any of Maclaren’s four recycling locations below. Maclaren Europe Ltd...
-
Page 9: Operation Illustrations
Contents 2 EN Attendant user guide Please read this User Guide fully prior to use ensuring reference is made to the numbered diagrams on the final pages. Retain this User Guide for future reference 4 SP Guía del Usuario Por favor lea detenidamente esta Guía del Usuario antes de usar el producto, refriéndose a los dibujos con números en las p·ginas finales. -
Page 10: Cleaning
• Children should be clear of moving parts while making adjustments. movement. IMPORTANT - DANGER: It is important that great care is taken to ensure • Only Maclaren replacement parts should be used. It may be unsafe to use that children are kept well clear of the stroller when folding or unfolding parts not supplied by Maclaren. the product. Finger traps and scissoring actions are unavoidable during these operations. CLEANING •... - Page 11 Instructions IMPORTANT: • READ THESE INSTRUCTIONS CAREFULLY BEFORE USE AND KEEP THEM FOR FUTURE REFERENCE. • APPLY BOTH BRAKES WHEN PARKING THE STROLLER. • YOUR CHILDREN’S SAFETY MAY BE AFFECTED IF YOU DO NOT FOLLOW THESE INSTRUCTIONS. 1 TO OPEN THE STROLLER 7 TO FIT THE RAIN APRON Release BOTH storage clips. Place the apron over the hood. Open out the stroller. Attach two eyelets (one each side) to the hood clips. Using foot, push BOTH footplates down fully to engage the primary locks. Attach two eyelets (one each side) to the front legs.
-
Page 12: Información General
Se puede lavar la cubierta del asiento - léase la etiqueta asientos para niños, ganchos para bolsas, cubiertas para la lluvia, tablas para para detalles. Secarlos bien antes de usarlos. cochecitos para bebé, etc., que no sean los autorizados por Maclaren pueden dañar o romper este vehículo. •... - Page 13 Instrucciones IMPORTANTE: • LEA ESTAS INSTRUCCIONES CUIDADOSAMENTE ANTES DE USAR EL STROLLER Y RETÉNGALAS PARA PODER CONSULTARLAS EN EL FUTURO. • LA SEGURIDAD DE SU NIÑO PODRÍA SER AFECTADA SI NO CONFORMA CON ESTAS INSTRUCCIONES. • APLICAR AMBOS FRENOS CUANDO APARCA EL STROLLER 1 PARA ABRIR EL COCHECITO PARA BEBÉ D La capucha se quita presionando firmemente hacia abajo sobre las lengüetas de liberación de la capucha. Suelte AMBOS clips de almacenamiento. Despliegue el cochecito para bebé. 7 PARA COLOCAR LA CUBIERTA DE PROTECCIÓN PARA LA LLUVIA Utilizando el pie, empuje AMBAS plataformas de pie completamente hacia Coloque la cubierta de protección por encima de la capucha.
-
Page 14: Informations Generales
· Ne pas plier ou ranger le produit lorsqu’il est mouillé et ne jamais ranger dans approuvés par Maclaren, tels que les sièges pour enfant, les crochets pour sacs, un milieu humide, car de la moisissure pourrait se former. les housses imperméables et les pièces de fixation de la planche à roulettes, etc., et dans de telles circonstances, les conditions de la garantie ne seront pas... -
Page 15: Notice D'emploi
Notice d’emploi IMPORTANT: • LIRE ATTENTIVEMENT LA NOTICE D’EMPLOI AVANT USAGE ET LA CONSERVER POUR CONSULTATION FUTURE. • SI VOUS NE SUIVEZ PAS CES CONSIGNES, LA SÉCURITÉ DE VOTRE ENFANT PEUT ÊTRE COMPROMISE. • ACTIONNEZ LES DEUX FREINS POUR IMMOBILISER LA POUSSETTE 1 OUVERTURE DE LA POUSSETTE Placer le tablier arrière derrière le dossier du siège et fixer les boutons A Dégagez LES DEUX barrettes de blocage. pression. B Ouvrez la poussette. Mettez les capotes en extension et appuyez sur les charnières latérales de C Avec le pied, poussez LES DEUX plaques fond vers le bas, pour enclencher chaque capote pour verrouiller en position ouverte.
Need help?
Do you have a question about the Twin triumph and is the answer not in the manual?
Questions and answers