Advertisement
Table of Contents
- 1 Table of Contents
- 2 Accessing Your Vehicle
- 3 Electric Windows
- 4 Steering Wheel (Vehicles with an Adjustable Type)
- 5 Seat and Seat Belt Adjustment
- 6 Instrument Panel Overview
- 7 Instrument Cluster
- 8 Clock
- 9 High-Low Beams
- 10 Lights
- 11 Wipers
- 12 Gear Change
- 13 Heating and Air Conditioning
- 14 Fuel Tank Opening
- 15 Bonnet Opening
- 16 Eco-Driving
- Download this manual
Advertisement
Table of Contents

Summary of Contents for Toyota AYGO
- Page 1 AYGO Brief Guide...
-
Page 3: Table Of Contents
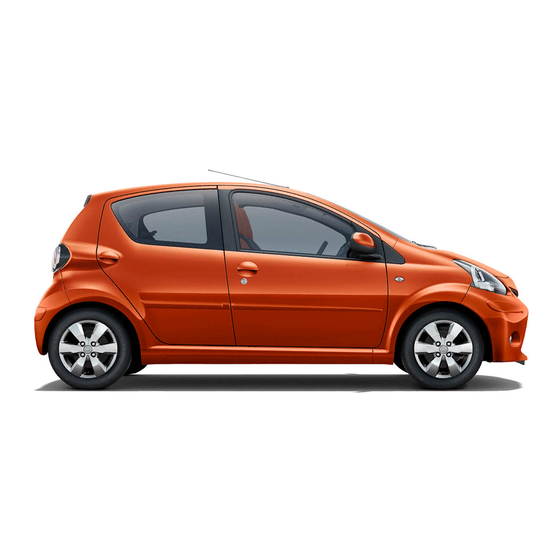
Clock Introducing AYGO Thank you for buying an AYGO. We trust this Brief Guide will enable you to become familiar with your vehicle’s basic operations and assist you in enjoying your vehicle. This Brief Guide does not replace or substitute the Owner’s Manual, which you will find in the vehicle’s glove compartment. -
Page 4: Accessing Your Vehicle
Accessing your vehicle 1. Key (with a wireless remote control function). 2. Key (without a wireless remote control function). 3. Key number plate. Your key number is shown on the plate. If you should lose your keys or if you need additional keys, duplicates can be made using the key number. - Page 5 The vehicle can be locked and unlocked using the key or wireless remote control Driver's door Without a power door lock system. 1. Locks the door. 2. Unlocks the door. With power door lock system. 1. Locks all the doors. 2.
-
Page 6: Electric Windows
Electric windows The power windows can be opened and closed using the switches. Operating the switch moves the windows as follows: 1. Closing 2. Opening Steering wheel (Vehicles with an adjustable type) Tilt steering wheel To change the steering wheel angle, hold the steering wheel, push down the lock release lever, tilt the steering wheel to the desired angle and return the lever to its original position. -
Page 7: Seat And Seat Belt Adjustment
Seat and seat belt adjustment Adjusting front seats Fold-down rear seat Split rear seat 1. Push the head restraints to the lowest position. Non-split rear seats 1. Seat position adjusting lever Pull the lever up. Then slide the seat to the desired position with slight body pressure and release the lever. -
Page 8: Instrument Panel Overview
Instrument Panel Overview Windscreen wipers and washer switch Outside rear view mirror Rear window wiper and washer switch remote control levers Headlight switch Turn signal lever Fog light switch SRS front passenger airbag Gauges and meters Engine (ignition) switch Bonnet lock release lever A. -
Page 9: Instrument Cluster
Instrument Cluster 1. Tachometer (If equipped). 4. Odometer and trip meter. 2. Speedometer. 5. Odometer/trip meter display change button. 3. Fuel gauge. Main indicator symbols and warning lights Brake system warning Anti-lock brake system Discharge Low engine oil pressure Malfunction indicator light warning light warning light... -
Page 10: Clock
Clock Type A (On some models) 1. Adjust the hours. Press and hold the “CLOCK” button until you hear a 2. Adjust the minutes. beep. Type B (On some models) Press the “MENU” button; press the (Time). press the (Config). 1. -
Page 11: High-Low Beams
Lights Headlights To turn on the lights: Twist the headlight/turn signal lever knob. Position 1: Parking, tail, license plate and instrument panel lights. Position 2: Headlights and all the above. High-low beams For high beams, turn the headlights on and push the lever away from you (position 1). -
Page 12: Wipers
Wipers Windscreen wipers and washer To turn on the windscreen wipers, move the lever to the desired setting. The key must be in the « ON » position. 1. Intermittent windscreen wiper operation. 2. Low speed operation 3. High speed operation 4. -
Page 13: Gear Change
Gear change Manual transmission The shift pattern is as shown. Multi-mode manual transmission (MMT) Shift position uses Shift position Function Reversing Neutral and engine starting Easy mode (automatic operation) Manual mode “+” = Upshifting “–” = Downshifting... -
Page 14: Heating And Air Conditioning
Heating and Air Conditioning With air conditioning Fan speed control dial Cooling and dehumidification function on/off button Air outlet Temperature selection lever control lever Outside/recirculated air mode lever Without air conditioning Fan speed control dial Air outlet Temperature selection lever control lever... -
Page 15: Fuel Tank Opening
Fuel tank opening 1. Open the fuel filler door. 2. To remove the fuel tank cap, insert the key and turn it counterclockwise by 45 degrees (to point 1), and then turn it clockwise by 45 degrees (to point 2). Remove the key. 3. -
Page 16: Bonnet Opening
Bonnet opening To open the bonnet: 1. Pull the bonnet lock release lever. The bonnet will spring up slightly. 2. In front of the vehicle, pull up on the auxiliary catch lever and lift the hood. 3. Hold the bonnet open by inserting the support rod into the slot. -
Page 17: Eco-Driving
Eco-Driving What is ‘‘Eco-Driving’’?’ • Eco-Driving = Driving in a more careful and environmentally responsible way • Eco-Driving = Reduced fuel costs • Eco-Driving = Reduced Environmental impact Saving of CO emissions. Eco-Driving Savings Total potential saving of 20 - 30%. Open windows increase fuel Roof load...


Need help?
Do you have a question about the AYGO and is the answer not in the manual?
Questions and answers