Subscribe to Our Youtube Channel
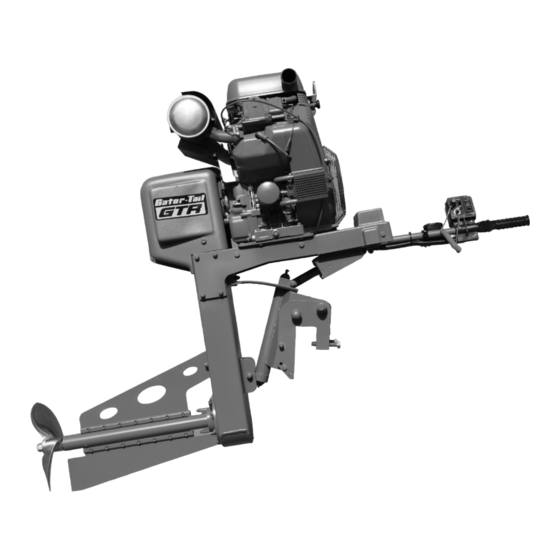
Summary of Contents for Gator-Tail GTR
- Page 1 ’ Owner s Manual 337-229-4864 | www.gator-tail.com 337-229-4864 | www.gator-tail.com...
-
Page 2: Table Of Contents
On behalf of the entire Gator-Tail crew, we thank you for purchasing our shallow water outboard. We built it with quality, pride and the desire to give you the best motor for your money. You had the chance to buy the others, but you chose us, and that is something we don’t take lightly. -
Page 3: Safety
12. Never leave machine running unattended. 13. Do not operate your Gator-Tail if you are under the influence of drugs of alcohol or medication that could affect your ability to use the machine. -
Page 4: Assembly
Assembly NOTICE! NOTICE! YOUR ENGINE IS SHIPPED WITHOUT OIL!! Check crate for any physical damage and report the damage to the shipping company as soon as possible. Do not start your Gator Tail without filling with oil! (see engine owner's manual for oil type and amount) Remove the sides of the crate for easy access to engine. -
Page 5: Service & Maintenance
Service Gator-Tail suggests you purge the lower unit grease every 15 hours. You must use Amsoil Synthetic Water Resistant Lithium Complex Grease to avoid damage and voiding your warranty. (see pg. 12 for Amsoil data sheet) Using a grease gun, purge out old grease with new grease. - Page 6 3) Propeller Inspect propeller after every trip and check for looseness. A sign of a loose prop is the prop rocking left to right. If the prop is loose, tighten to 60 ft/lbs torque. 4) Throttle Throttle should always have about 1/8 turn slack before the engine RPM's raise. This is important to maintain a low idle.
-
Page 7: Instructions For Changing Transmission Fluid
Instructions for changing transmission fluid: 1. Remove cover from rear of engine using a 9/16" wrench. 2. After removing cover remove the two fill screws on the transmission. 3. Cut the bottom off of a plastic water bottle so that it fits between transmission and brake bracket. -
Page 8: Troubleshooting
Troubleshooting Power Trim Does not work ........Check circuit breaker Breaker located near Reset Circuit Breaker rear of starter... -
Page 9: Operation
Operation Startup Procedure 1. Pump primer bulb until firm 2. Pull choke 3. Check to see if engagement switch is in start position (this is also neutral) 4. Start engine 5. Let engine warm up before operating Running Procedure 1. Idle engine down before engaging clutch (forward) 2. -
Page 10: Operation
Reverse Operation To engage reverse, put the motor in neutral and squeeze the reverse lever. The lever must be squeezed or pulled for the reverse gear to work. DO NOT engage the motor into reverse while the motor is in forward. This will void your warranty and can damage the transmission. -
Page 11: Appendix
Electrical Diagrams Hydraulic Actuator Trim Motors / Console Steering... - Page 12 Electrical Diagrams Hydraulic Actuator Trim Motors / Briggs Engine Tiller Models...
-
Page 14: Servicing The Actuator
Servicing the Actuator FOR MODELS: 7050, 7205, 7257, 7293, 7337, 7342, 7344, 7376, and 7388 1. First, run the actuator rod all the way out or until the motor bogs down. Remove the 1/8” brass socket filler plug with a 3/16” hex key wrench.

Need help?
Do you have a question about the GTR and is the answer not in the manual?
Questions and answers