Table of Contents
Advertisement
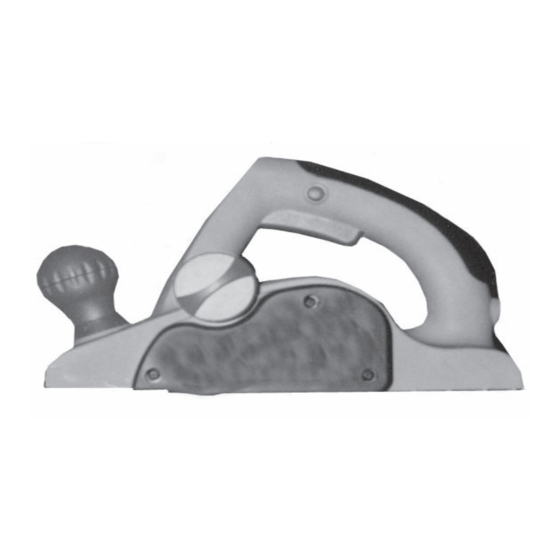
3-1/4" ELECTRIC PLANER
Model 91062
OPERATING INSTRUCTIONS
®
3491 Mission Oaks Blvd., Camarillo, CA 93011
Visit our Web site at: http://www.harborfreight.com
®
Copyright 2003 by Harbor Freight Tools
. All rights reserved. No portion of this
manual or any artwork contained herein may be reproduced in any shape or form
without the express written consent of Harbor Freight Tools.
For technical questions, please call 1-800-444-3353.
Advertisement
Table of Contents

Subscribe to Our Youtube Channel
Related Manuals for Chicago Electric 91062


Summary of Contents for Chicago Electric 91062
-
Page 1: Operating Instructions
3-1/4” ELECTRIC PLANER Model 91062 OPERATING INSTRUCTIONS ® 3491 Mission Oaks Blvd., Camarillo, CA 93011 Visit our Web site at: http://www.harborfreight.com ® Copyright 2003 by Harbor Freight Tools . All rights reserved. No portion of this manual or any artwork contained herein may be reproduced in any shape or form without the express written consent of Harbor Freight Tools. -
Page 2: Product Specifications
Keep your work area clean and well lit. Cluttered benches and dark areas invite accidents. Do not operate power tools in explosive atmospheres, such as in the presence of flammable liquids, gases, or dust. Power tools create sparks which may ignite the dust or fumes. SKU 91062 PAGE 2 REV 02/04... -
Page 3: Electrical Safety
Damaged Power Cords increase the risk of electric shock. When operating a power tool outside, use an outdoor extension cord marked “W-A” or “W”. These extension cords are rated for outdoor use, and reduce the risk of electric shock. SKU 91062 PAGE 3... -
Page 4: Personal Safety
Maintain tools with care. Keep cutting tools sharp and clean. Properly maintained tools with a sharp cutting edge are less likely to bind and are easier to control. Do not use a damaged tool. Tag damaged tools “Do not use” until repaired. SKU 91062 PAGE 4... -
Page 5: Grounded Tools: Tools With Three Prong Plugs
The green wire in the cord must be the only wire connected to the tool’s grounding system and must never be attached to an electrically “live” terminal. (See Figure A.) SKU 91062 PAGE 5... -
Page 6: Double Insulated Tools: Tools With Two Prong Plugs
Underwriters Laboratories, Inc., the Canadian Standard Association, and the National Electrical Code. (See Figure B.) Double insulated tools may be used in either of the 120 volt outlets shown in the following illustration. (See Figure B.) FIGURE B SKU 91062 PAGE 6... -
Page 7: Extension Cords
2.1 – 3.4 3.5 – 5.0 5.1 – 7.0 7.1 – 12.0 12.1 – 16.0 16.1 – 20.0 * Based on limiting the line voltage drop to five volts at 150% of the rated amperes. FIGURE C SKU 91062 PAGE 7... -
Page 8: Specific Safety Rules
Cord or pull the Power Cord around sharp corners or edges. Do not unplug the Planer by pulling on the Power Cord. Keep the Power Cord away from heated surfaces. Avoid unintentional starting. Make sure you are prepared to begin work before turning on the Planer. SKU 91062 PAGE 8... - Page 9 Remove all adjusting wrenches from the Planer before turning it on. Allow the Blades to spin up to full speed before feeding them into the workpiece. When turning off the Planer, allow the Blades to spin down and stop SKU 91062 PAGE 9...
- Page 10 (California Health & Safety Code 25249.5, et seq.) WARNING! The warnings, precautions, and instructions discussed in this SKU 91062 PAGE 10...
- Page 11 NOTE: Use a deeper cut, but never to exceed 1/16”, for a rough cut piece of wood stock. Once planed smooth, it is recommended to take a number of smaller cuts to acquire the desired depth. (See Figure E.) SKU 91062 PAGE 11...
- Page 12 While placing pressure on the Front Base Plate (54) to control the depth of cut, and while placing pressure on the Guide (64) against the wood stock to control the width of cut, feed the Planer slowly until the Rear Base Plate (61) contacts SKU 91062 PAGE 12...
-
Page 13: Inspection, Maintenance, And Cleaning
Carbon Brushes (36) when the Motor perfor- mance decreases, or stops working completely. The Carbon Brushes are located on the side of the Right Motor Housing (45). To do so, use a standard screw- SKU 91062 PAGE 13... - Page 14 Blade Plate, and Blade Holder to the Blade Shaft. (See Figure H.) (BOTTOM VIEW) BLADE (57) HEX HEAD SCREW (60) BLADE HOLDER (59) PRESS BLADE PLATE (56) BLADE SHAFT (63) HEX HEAD SCREW (60) ALIGN BLADES USING PIECE OF WOOD (BOTTOM VIEW) FIGURE H SKU 91062 PAGE 14...
-
Page 15: Please Read The Following Carefully
LICENSED TECHNICIANS, AND NOT BY THE BUYER. THE BUYER ASSUMES ALL RISK AND LIABILITY ARISING OUT OF HIS OR HER REPAIRS TO THE ORIGINAL PRODUCT OR REPLACEMENT PARTS THERETO, OR ARISING OUT OF HIS OR HER INSTALLATION OF REPLACEMENT PARTS THERETO. SKU 91062 PAGE 15... -
Page 16: Parts List
Wind Shield Socket Head Cap Screw Bearing Blade Holder (8SG608G-01) Bearing Sleeve Hex Head Screw Tap Screw Rear Base Plate (8SEABB04-14) Press Cord Board Bearing (8SG608Z-01) Press Cord Shield Blade Shaft Screw Arbor Guide (Not Shown) SKU 91062 PAGE 16... -
Page 17: Assembly Diagram
ASSEMBLY DIAGRAM 68: GUIDE NOT SHOWN. NOTE: Some parts are listed and shown for illustration purposes only, and are not available individually as replacement parts. SKU 91062 PAGE 17...
Need help?
Do you have a question about the 91062 and is the answer not in the manual?
Questions and answers
Need a belt
You can find a replacement belt for the Chicago Electric Wood Planer part number 91062 on Amazon.
This answer is automatically generated