Table of Contents
Advertisement
Quick Links
Download this manual
See also:
User Manual
Advertisement
Table of Contents

Summary of Contents for ICON QCon
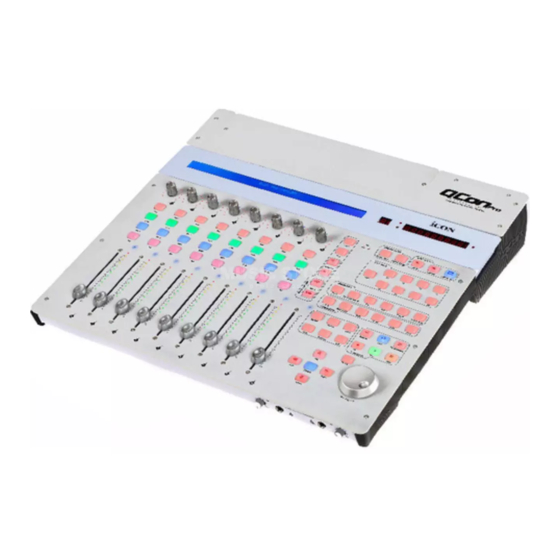
- Page 1 Midi/Audio control surface with motorized faders for production N16549...
-
Page 2: Important Safety Instructions
Important Safety Instructions 1. Read this manual thoroughly before using this unit. 2. Keep this manual for future reference. 3. Take notice of and comply with all warnings included in the user's manual or indicated on the appliance. 4. Follow all instructions included in this manual. 5. -
Page 3: Table Of Contents
Contents Introduction What's in the package Features Top Panel Layout Front Panel Layout Rear Panel Layout Getting Started Connecting your Qcon controller Qcon Connections Qcon Connections (Umix Satellite 1008 installed) Specifications Services... -
Page 4: Introduction
In these pages, you'll find a detailed description of the features of the Qcon, as well as a guided tour through its front and side panels, step-by-step instructions for its setup and use, and full specifications. -
Page 5: Features
Illuminated zoom key with 4 direction keys 16 illuminated assignable MIDI function buttons Expansion slot for ICON's “Umix” series USB audio interface card User A & User B RCA connectors for connecting with pedals Class-compliant with Windows XP, Vista (32-bit), Windows 7 (32-bit & 64-bit), and Mac OS X (IntelMac) USB 2.0 high speed connectivity... -
Page 6: Top Panel Layout
Top Panel Layout Note: Function operates slightly difference between DAWs. Please refer to your DAW manual for each function and overlap the provided labeling template according to your current using DAW. The following description is based on the functions that operate in Steinberg Cubase. -
Page 7: Control Buttons
Top Panel Layout (Continue) 5. Control buttons 5a) Recording channel control buttons section REC buttons - Activate and deactivate the recording state of the associated channel. The switch will light red when the channel is armed. SOLO buttons - Turn On and Off the solo state of the associated channel. The switch will light green when the channel solo state is on and other channels will be muted. - Page 8 DAW button - Press to enter the DAW selection. To change your Qcon DAW mode, turn off and on the power switch to enter the DAW selection mode. Select your desired DAW from the list with the “<<” / “>>”...
-
Page 9: Front Panel Layout
Connect your Qcon to your Mac/PC via this USB port. 4. 12V/5A power adaptor Connect the provided power adaptor here. (Note: Qcon is not able to work without the provided power adaptor connected. The USB-bus power is not able to provide sufficient power supply for Qcon) -
Page 10: Getting Started Connecting Your Qcon Controller
Choose a USB port on your Mac/PC and insert the wide (flat) end of the USB cable. Connect the cable's other end to the Qcon. Your Mac/PC should automatically “see” the new hardware and notify you that it is ready to use. -
Page 11: Qcon Connections
Qcon Connections Monitors Computer(MAC or PC) USB Interface USB 2 CapsLook Shift Ctrl AltGr Ctrl USB 1 COMP DIRECT Microphones Headphones Guitar User A User B... -
Page 12: Qcon Connections (Umix Satellite 1008 Installed)
Qcon Connections (Umix 1008 Satellite installed) User B Microphones Computer(MAC or PC) Guitar User A CapsLook Shift Ctrl AltGr Ctrl Monitors Power Adaptor Headphones... -
Page 13: Specifications
Specifications Connector: USB connector (standard type) Power supply: 12V/5A DC Current consumption: Qcon only 3A or less Qcon with Umix Satellite audio interface 5A or less Weight: 7.5kg (16.5lb) Dimensions: 535(L) X 482(W) X 82(H) 21.06”(L) x 18.98”(W) x 3.23”(H) -
Page 14: Services
If you have lost the packaging, please make sure you have packed the unit properly. ICON is not responsible for any damage that occurs due to non-factory packing. 4. Ship to the ICON tech support center or the local return authorization. U.S. OFFICE: ICON Digital Corp. - Page 16 QCON PD3V100-E...


Need help?
Do you have a question about the QCon and is the answer not in the manual?
Questions and answers