Roland Fantom G6 Workshop Manual
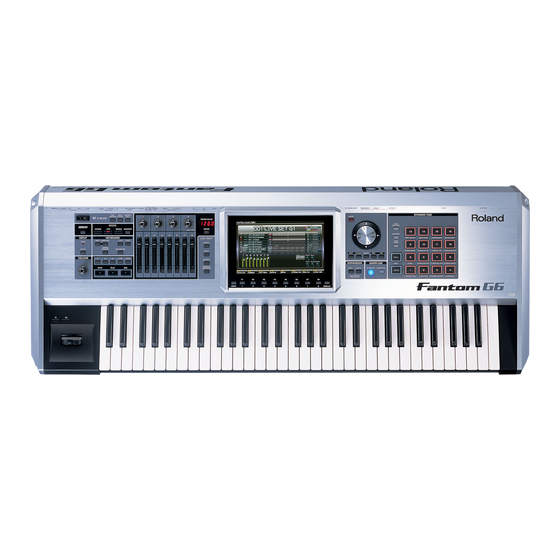
Fantom-g workstation keyboard
Hide thumbs
Also See for Fantom G6:
- Quick start manual (48 pages) ,
- Features manual (24 pages) ,
- Workshop manual (12 pages)
Table of Contents

Related Manuals for Roland Fantom G6


Summary of Contents for Roland Fantom G6
- Page 1 Workshop ®ÂØÒňΠ® Fantom-G Workstation Keyboard The Fantom-G Possibilities © 2008 Roland Corporation U.S. All rights reserved. No part of this publication may be reproduced in any form without the written permission of Roland Corporation U.S. FGWS01...
- Page 2 Each Fantom-G Workshop Series booklet focuses on one Fantom-G topic, Warnings contain important information that can help you avoid and is intended as a companion to the Fantom G6/G7/G8 Owner’s Manual. possible damage to your equipment, your data, or yourself.
-
Page 3: The Display
Beneath the display is a row of 10 buttons. To add a sustain pedal to the Fantom-G, connect a damper pedal such as a Roland DP-2 or DP-10 to the rear-panel HOLD jack. Now Hear This All the way to the left you’ll find the MENU button. (You’ve For this booklet, you can listen to your G through headphones connected already used it if you performed a factory reset on Page 2.) - Page 4 The Value Dial and Cursor Buttons ENTER, EXIT, SHIFT, INC, and DEC The five buttons below the Value dial are also important in the operation of the Fantom-G. Press the • ENTER button— to display a window or menu of choices regarding what you’ve selected onscreen, or to execute In the Workshop booklets, we refer to the operations.
- Page 5 Exploring the Fantom-G Sounds The Live Play screen appears: Live Mode and Live Sets The Fantom-G is more than anything else about Live mode, where you can select “live sets. ” A live set is a combination of • eight patches, rhythm sets, or sample sets, along with their patch effects, or “PFX”—from the Fantom-G’s internal memory.
- Page 6 PRST 001:System G Let’s begin with the first live set the Fantom-G displays when you power up: PRST 001: System G. This live set does more than just show off the great sound of the Fantom-G—it also shows you how you can split and layer patches in a live set.
- Page 7 Sounds in a live set don’t have to be split or layered—they can also be PRST 003:Within You assembled in a live set for quick access. This can particularly handy onstage Within You provides a group of instruments for playing Indian music. It or in a fast-paced studio session.
- Page 8 In G-Grand, the pads play rhythm patterns. Rhythm patterns can be great for In the Fantom-G, RPS phrases and rhythm patterns are similar, though more playing along with, onstage or when you’re composing or jamming. Press a playback options for RPS phrases are provided since they tend to be more pad to begin playback of its rhythm pattern—the pad flashes as the pattern complex.
- Page 9 Check Out the Fantom-G Realtime Controllers Although in Bell Mystic, the pads trigger only this single arpeggio style, each pad can trigger its own style, providing you a range of choices. As you try out patches, don’t forget to play around with the Fantom-G’s This is just another of the pads’...
- Page 10 Patch Remain Fantom-G, you can even use the pads to select Favorites, an extremely fast and easy way to work, especially onstage. One of the Fantom-G’s best features is its Patch Remain feature, which is • User Groups— User Groups are similar to Favorites except that they available in both Live mode and Single mode, which we’ll discuss next.
- Page 11 You can play patches, rhythm sets, or sample sets from the Fantom-G The Fantom-G’s Magic Controls offer another, quicker way to navigate keyboard in Single mode, but for now we’re just discussing how to play the Patch List screen. And—even better—a mouse lets you find a sound patches.
- Page 12 GM (for “General MIDI”)— to select one of the standardized General MIDI rhythm sets. To learn about General MIDI, see Roland’s An Introduction to MIDI InFocus booklet, which you can download from the Roland US website. This screen shows your song’s tracks, and it’s where a session starts.
- Page 13 Highlight the first song, “Be In My World, ” and press F8 (Load), and A Studio Part Party then F7 (OK) to confirm your intentions—the song loads. A studio set is made up of parts and effects, much like a live set. However, After the song’s loaded, press PLAY to hear the song as you watch its in Studio mode, there are more parts—shown here in blue—and effects, MIDI and audio tracks go by onscreen.
- Page 14 To navigate between the different types of parts on the Studio Play screen, This “INIT SONG” title is the fastest way to see in the song list if a song hold down SHIFT and use the 3 and 4 cursor buttons. song location is empty.
- Page 15 If it isn’t already highlighted—as shown above—highlight “Studio Normally, you’d use the 3 and/or 4 buttons to select the part you Set Name, ” and then press the ENTER button. want, but for now, Part 1 is the one we want, so we’re good to go. You can immediately see which part’s selected on the Studio Play screen—the part’s channel strip is red.
- Page 16 Phraseology Next, Capture Your Playing Each time you sequence in the Fantom-G, you create a chunk of MIDI data called a “phrase. ” The phrase is assigned to a MIDI track in your song for playback. There are two big advantages to phrase-based recording: Phrases make song construction and editing easier.
- Page 17 Press F8 (Close) when you’re done setting the song’s tempo. The new track is automatically named for the sound you used when The Fantom-G is waiting for you to begin sequencing. It won’t you sequenced it. actually begin capturing your playing until you press PLAY. At that point, you’ll get four countoff beats and sequencing will start.
- Page 18 Audio comes into the Fantom-G through its rear-panel AUDIO IN jacks. You Recording an Audio Track can connect Now that you’ve got three MIDI tracks sequenced, let’s record an audio track • a low impedance mic— to the MIC/GUITAR jack. The Fantom-G can to see how that’s done.
- Page 19 To begin recording, press F8 (Start)—the Audio Rec window opens. The Recording Process Press the I 3 button to return to the start of the song. Press the REC button to open the Audio Rec Standby window and start the metronome. Here we’ve selected the Input Select parameter and set it to MIC/GUITAR...
- Page 20 To balance the levels of your MIDI and audio tracks—or to add chorus Skip Back Sampling and/or reverb to them—press the STUDIO button to return to the Studio Play screen. Press F7 ( ← ) to view the Studio Play Audio Track The Fantom-G—like the Fantom-X before it—also offers a unique type of screen that contains the controls for your audio tracks.
- Page 21 You can trim your Skip Back sample so that it’s got only the passage you want to keep, using the same editing tools you’d use for any other Fantom-G sample. We’ll explain how to edit and work with samples in the Fantom-G Sampling Workshop booklet.
Need help?
Do you have a question about the Fantom G6 and is the answer not in the manual?
Questions and answers