Table of Contents
Advertisement
Advertisement
Table of Contents

Summary of Contents for Akai ADPF10XN
- Page 1 ADPF10XN Instruction Manual...
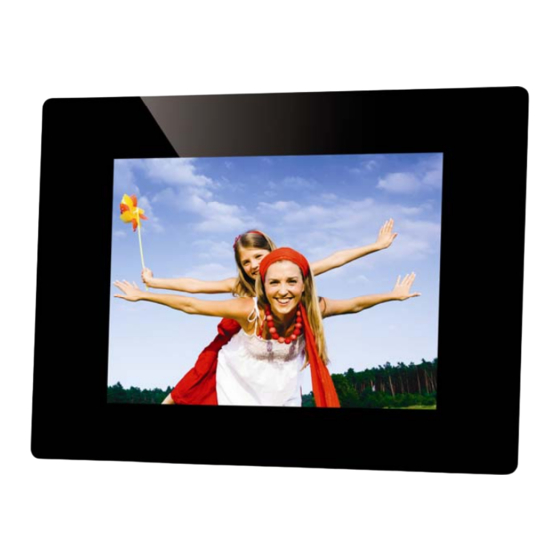
- Page 2 ADPF10XN Digital Photo Frame User Guide Thank you for purchasing the ADPF10XN 10.4” digital photo frame (DPF). Before operating your new digital photo frame please carefully read this instruction manual. If at any time during the life of your digital photo frame you encounter technical difficulties, please contact …….
-
Page 3: Table Of Contents
Table of contents Table of contents Introduction Package contents Safety Warnings Installing your unit Connecting to a computer Controls Interfaces Using your remote control Using your digital photo frame Browsing photos Photo settings Watching a video Video settings Listening to music Music settings Copy / Delete files Clock, calendar and alarm settings... -
Page 4: Introduction
The ADPF10XN lets you view digital pictures directly from your camera's memory cards. You will be able to create a slideshow using multiple transition effects, or display one picture at a time. No computer, digital camera or Internet connection is required. -
Page 5: Safety Warnings
Do not attempt to service your ADPF10XN, there are no user serviceable parts contained inside. Please refer all servicing to a qualified service agent. *Note. Some dark and bright spots may appear on your ADPF10XN. This is normal and in most cases they will disappear after a period of time. -
Page 6: Installing Your Unit
Locate and select the contents that you wish to download onto the ADPF10XN. Drag and drop the photos into the selected Removable Device. *Note: Do not insert a USB flash drive into the USB port on the ADPF10XN while it is already connected to a computer. -
Page 7: Controls
Controls 1. Up 5. Right 2. Down 6. Exit 3. Enter 4. Left Interfaces 7. USB host/port 10.. CF card Slot 8. USB device 11. Power switch 9. SD/MMC/MS/xD Card Slot 12. Power socket... -
Page 8: Using Your Remote Control
Using your remote control Button Description and function Switch on/off the ADPF10XN Switch between Image/Music/Video Start a slideshow Opens the Setup menu Opens the Function menu Back / Home Increases the volume Decreases the volume Confirm selection or rotate picture... -
Page 9: Using Your Digital Photo Frame
/ music / video from a flash device, USB, CF, SD, MMC, MS, XD. 0Press the “Enter” button or wait for 3 seconds. The ADPF10XN will enter into the corresponding IMAGE / MUSIC / VIDEO / CLOCK interface automatically. -
Page 10: Photo Settings
Photo settings While viewing an individual image, press the “Setup” button on the remote control. You will then be given a list of possible features to change: OSD Language Select the on screen display language (English, French, German, Netherlands or Spanish). Slide Duration Select the duration of time between slides (Slow/Normal/Fast). -
Page 11: Video Settings
Video Settings Press the “Func” button on the remote control to display the video setup menu. Using the directional arrows selecting and pressing the following buttons will: Play previous video file Show the video being played in full screen mode Fast forward Play / Pause video Fast backward... -
Page 12: Listening To Music
Listening to music Before starting please make sure you have at least one image, video or music file on your memory card or USB storage device. To listen to a music file please follow these steps: Press the “Back” button until the screen displays all available storage devices. Using the directional arrows highlight ‘’Music’’. -
Page 13: Copy / Delete Files
Copy / Delete files Use the following commands to copy and delete files: Copy / Delete images Under the Photo thumbnail menu, use the directional arrows to highlight the desired images. Press the “Func” button then the “Setup” button on the remote control. A menu will be displayed to copy, move or delete the selected image. -
Page 14: Clock, Calendar And Alarm Settings
Clock, Calendar and Alarm settings To set up the clock, calendar and alarm settings, follow these steps: Clock and calendar Using the directional arrows highlight the “Clock” icon Press the “Enter” button or wait for 3 seconds, it will enter into clock/calendar interface. Press the “Setup”... -
Page 15: Frequently Asked Questions
A: First, use a personal computer and popular audio editing software to convert your music to MP3 or WMA format .The ADPF10XN will only play MP3 and WMA files, so all Windows Media Player™ and/or iTunes™ files will have to be converted first. You can use a card reader or your digital camera to transfer those files to your memory card. -
Page 16: Troubleshooting
If you don’t see the inserted. lit screen, check if the power is connected to the ADPF10XN and make sure it is securely attached. No Start-up Memory card is not Insert a supported memory card.


Need help?
Do you have a question about the ADPF10XN and is the answer not in the manual?
Questions and answers