Table of Contents
Advertisement
Advertisement
Table of Contents

Subscribe to Our Youtube Channel
Related Manuals for Silex technology SX-600

Summary of Contents for Silex technology SX-600
- Page 1 SX-600 Ethernet to Wireless Client Adapter Setup Guide...
- Page 2 Information and descriptions contained herein are the property of silex technology america, Inc. Such information and descriptions may not be copied, disseminated, or distributed without the express written consent of silex technology america, Inc. This publication is subject to change without notice.
-
Page 3: Table Of Contents
Other Operating Systems..........................4 Wireless Requirements........................... 5 SX-600 Installation............................5 Configure the Network Settings on your Computer ................... 6 Configure the SX-600..........................8 Web Browser Interface..........................14 Command Line Console Configuration....................14 Connecting to your network enabled device ....................15 Verifying Succesful Installation ........................ -
Page 4: Introduction
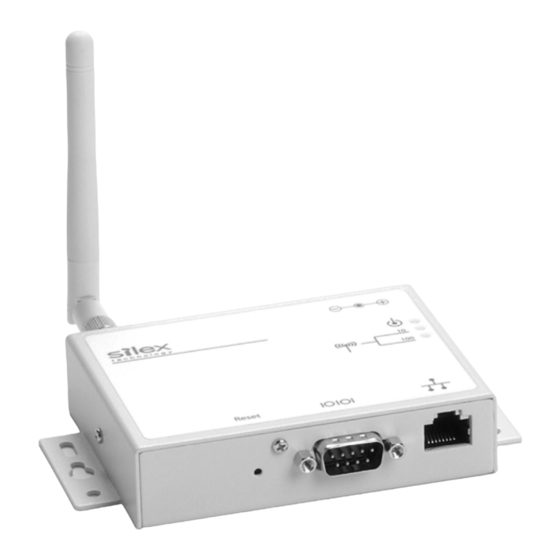
Introduction The SX-600 Ethernet to Wireless Client Adapter allows you to easily add 802.11 b/g wireless capabilities to any Ethernet product. It is ideal for connecting Ethernet enabled printers, scanners, and multifunction printers (MFPs) to a wireless network without having to change drivers or management utilities. -
Page 5: Wireless Requirements
The default interface is wired, but it can be changed to the wireless interface by depressing the button on the back of the SX-600 for less than 5 seconds or in the software configuration using either ExtendView or the web browser interface. -
Page 6: Configure The Network Settings On Your Computer
The default IP Address of the SX-600 is 169.254.111.111. You should set your computer to automatically receive an IP Address so it will acquire an Auto-IP Address in order to be on the same subnet as the SX-600 to configure it. Below are the instructions for configuring a Windows XP PC: 1. - Page 7 3. Select Internet Protocol (TCP/IP) and click Properties. 4. Select Obtain an IP Address Automatically in the TCP/IP properties and click OK, then OK again. SX-600 User’s Manual...
-
Page 8: Configure The Sx-600
Configure the SX-600 The SX-600 can be configured a variety of ways. ExtendView for Windows 1. Insert the CD supplied into the CD-ROM drive of your computer. The CD should automatically start and display a menu screen. Note: If it does not start automatically, click the Start button on the bottom left of your screen, click Run, and type D:/Install.exe (where “D”... - Page 9 5. You should see the SX-600 in the list. If you do not see the SX-600 in the list, start again and verify all the steps were made correctly for the installation up to this point again. Right-Click the SX-600 (where the H/W address matches the one on the back label of the SX-600) and click Configuration.
- Page 10 Configure Bridge via: The SX-600 will only allow configuration from one network interface at a time. While both network interfaces (wired and wireless) are enabled to transmit and receive raw packets, only one interface can be active for configuration (HTTP, Telnet or SNMP) purposes at a time.
- Page 11 'anonymous'. Realm is used with TTLS configurations, and sometimes with PEAP. Password Enter the logon password that the server uses to authenticate to the 802.1x enabled network. The user ID and password must be in the authentication server database, and is SX-600 User’s Manual...
- Page 12 If a key value is entered, it must be exactly 64 hex characters. A pass-phrase must be 8 to 63 displayable characters. SX-600 User’s Manual...
- Page 13 9. Click Finish after you have verified your settings are correct. SX-600 User’s Manual...
-
Page 14: Web Browser Interface
4. On the Configure Wireless screen, click on Configure Network Security. See the ExtendView section above for details on the settings. Command Line Console Configuration The command line console can be access either using the serial port on the SX-600, or by using Telnet. Serial Port 1. -
Page 15: Connecting To Your Network Enabled Device
Verify that both the Ethernet device and the SX-600 are powered on and ready, and that a network cable is properly connected between them. • Check that the LEDs on the SX-600 (refer to the LED chart on the next page) are displaying a successful network and wireless link. Troubleshooting •... - Page 16 • You can reset the unit to factory default by holding in the button on the back of the SX-600 for more than 5 seconds and letting go. SX-600 User’s Manual...
-
Page 17: Rear Button Function
Status Orange Power Off Device Ready Blinking Error Network Green No Wired Network Link Green On Wired network link active Green Blinking Wired Configuration mode Yellow No Wireless Network Link Wireless Link active Blink Wireless data activity SX-600 User’s Manual... -
Page 18: Where To Get Help
2. Be prepared with the serial number of the unit you are returning. You will be asked for the serial number to verify warranty coverage. Please record these serial numbers in the space provided below for future reference. Model #: ________________________________ Server S/N: ____________________________________ SX-600 User’s Manual... -
Page 19: Safety And Regulatory Notices
20 centimeters from all persons and must not be co-located or operating in conjunction with any other antenna or transmitter. End-users must be provided with specific operating instructions for satisfying RF exposure compliance. SX-600 User’s Manual... - Page 20 Ethernet to Wireless Client Adapter (802.11b and 802.11g enabled) Model No.: SX-600 silex technology america, Inc. hereby declares that the equipment specified above conforms to the above requirements. Standards used and met in the assessment: EN55022: 1998 Class B; CFR Title 47, Part 15, Subpart B and Subpart C.
- Page 21 SX-600 User’s Manual...
- Page 22 Product: Ethernet to Wireless Client Adapter (802.11b and 802.11g enabled) Model No.: SX-600 silex technology america, Inc., Inc. hereby declares that the above-referenced product, to which this declaration relates, in is conformity with the provisions of: Council Directives 1999/5/EC (March 9, 1999), Radio Equipment and Telecommunications Terminal Equipment.
Need help?
Do you have a question about the SX-600 and is the answer not in the manual?
Questions and answers