
Related Manuals for Tangent VITA 7100K

Summary of Contents for Tangent VITA 7100K
- Page 1 VITA K Series User’s Manual 2007 July V1.1 Copyright 2007 July All Rights Reserved Manual Version 1.1...
- Page 2 The information contained in this document is subject to change without notice. We make no warranty of any kind with regard to this material, including, but not limited to, the implied warranties of merchantability and fitness for a particular purpose. We shall not be liable for errors contained herein or for incidental or consequential damages in connection with the furnishing, performance, or use of this material.
-
Page 3: Important Safety Instructions
Safety IMPORTANT SAFETY INSTRUCTIONS 1. To disconnect the machine from the electrial power supply, turn off the power switch and remove the power cord plug from the wall socket. The wall socket must be easily accessible and in close proximity to the machine. 2. - Page 4 CAUTION ON LITHIUM BATTERIES There is a danger of explosion if the battery is replaced incorrectly. Replace only with the same or equivalent type recommended by the manufacturer. Discard used batteries according to the manufacturer’s instructions. LEGISLATION AND WEEE SYMBOL 2002/96/EC Waste Electrical and Electronic Equipment Directive on the treatment, collection, recycling and disposal of electric and electronic devices and their components.
-
Page 5: Table Of Contents
Table of Contents Item Checklist ....................5 System View ....................6 2.1. Front View....................6 2.1. Rear View ....................6 2.2. I/O View ....................7 Specification ....................8 Jumper Settings..................10 BIOS Settings.....................17 6. Airflow Requirements ................20... -
Page 6: Item Checklist
1. Item Checklist Remove the unit from the carton by holding it with the foam inserts: a. Driver CD b. Com port Cable c. Power Cable d. Power Adapter e. System... -
Page 7: System View
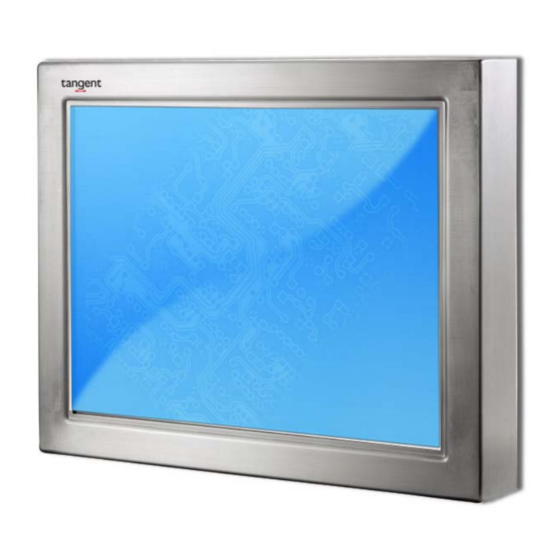
2. System View 2.1. Front View Touch Screen 2.1. Rear View VESA HDD Cover Mount I/O Ports... -
Page 8: I/O View
2.2. I/O View Cash Drawer Parallel DC IN COM1,2,3,4 Power Switch Line in Line out... -
Page 9: Specification
3. Specification Main Name VITA 7100K VITA 7300K VITA 7500K VITA 7900K CPU Support Intel Pentium M 1.8GHz Chipset Intel 855GM FSB 400 MHz System Memory 2 x DDR SO-DIMM slot, up to 2GB Graphic Memory Shared system memory 8 ~ 64MB... - Page 10 Dust & Water Proof NEMA 3 / IP 55 Dimension VITA 7100K 13.0” W x 10.4” H x 2.2” D (W x D x H mm/inch) VITA 7300K 14.5” W x 11.5” H x 2.4” D VITA 7500K 16.0” W x 13.3” H x 2.4” D VITA 7900K 17.5”...
-
Page 11: Jumper Settings
4. Jumper Settings JP11 CN18 CN13 CN21 CN15 CN20 CN19 CPU1 PCI1 IDE1 DIMM1 JP10 RJ45_1 RJ11_1 USB2 USB1 RJ45_2 CN2 CN1 PWR1 PRN1... - Page 12 1. Connectors Connector Function Connector Function Audio Line Out IED1 Primary IDE Connector Audio Line In PRN1 Parallel Port CN13 COM5 for Touch PWR1 +19V Power Adapter CN15 CPU FAN Connector RJ11_1 Cash Drawer Connector CN16 Hardware Reset RJ45_1 LAN (On Board) CN18 USB2 RJ45_2...
- Page 13 3. Cash Drawer Power Setting Voltage ◎1-2 +12V +24V +19V 4. COM3 & COM 4 Power Setting Function ◎1-2 COM3 PIN10_RI COM3 PIN10_+5V COM3 PIN10_+12V ◎7-8 COM4 PIN10_RI COM4 PIN10_+5V 9-10 COM4 PIN10_+12V 11-12 5. Card Reader Setting ◎Docking Function On Board JP11 (1-2) JP11 (3-4)
- Page 14 7. COM2 RS232 / 485 / 422 Setting ◎RS232 Function RS485 RS422 JP9 (1-2) JP9 (3-4) JP9 (4-6) JP9 (5-7) JP9 (7-8) JP9 (9-10) JP10 (1-2) JP10 (3-4) JP10 (5-6) JP10 (7-8) JP10 (9-10) JP10 (11-12) Note: OPEN SHORT 3. Connectors Pin Definition CN4: Speaker &...
- Page 15 CN13: COM5 Pin 1 DCD# Pin 2 Pin 3 Pin 4 DTR# Pin 5 Pin 6 DSR# Pin 7 RTS# Pin 8 CTS# Pin 9 Pin 10 CN15: CPU FAN Connector Pin 1 Pin 2 Feedback Pin 3 CN18: USB 2 Pin 1 +5V_USB1 Pin 2...
- Page 16 CN20: Inverter Connector Pin 1 +12V_INV Pin 2 +12V_INV Pin 3 +12V_INV Pin 4 +12V_INV Pin 5 Back-Light Pin 6 Enable Pin 7 Pin 8 Back-Light Enable Pin 9 Pin 10 Pin 11 Pin 12 CN21: POS Card Reader Connector Pin 1 Pin 2 Pin 3...
- Page 17 Pin 19 Pin 20 RS232_2_RI RJ45_2: COM1, COM2, COM3, COM4 Pin 21 Pin 22 RS232_3_DCD# Pin 23 RS232_3_DSR# Pin 24 RS232_3_RX# Pin 25 RS232_3_RTS# Pin 26 RS232_3_TX# Pin 27 RS232_3_CTS# Pin 28 RS232_3_DTR# Pin 29 Pin 30 RS232_3_RI Pin 31 Pin 32 RS232_4_DCD# Pin 33...
-
Page 18: Bios Settings
5. BIOS Settings 1. BIOS Setup Utility The BIOS setup defines how the system is configured. You must run this program the first time you configure your unit. You may need to run it again if you change the configuration. You must connect a PC keyboard to the keyboard connector to run the BIOS setup utility. - Page 19 Standard CMOS Features Use this menu for basic system configuration. Advanced BIOS Features Use this menu to set the Advanced Features available on the system. Advanced Chipset Features Use this menu to change the values in the chipset registers and optimize the system’s performance.
- Page 20 Set Supervisor Password Enables you to change, set, or disable the supervisor or user password. Set Password Change, set, or disable the password. It allows you to limit access to the system and to the setup, or just to the setup. Save &...
-
Page 21: Airflow Requirements
6. Airflow Requirements Do not block the air vents on the CPU. These vents are necessary for cooling purposes. Do not place the CPU in an enclosed area where sufficient ventilation is not available. Leave at least 150 mm (6 in.) of clearance on the sides where air vents are located.
Need help?
Do you have a question about the VITA 7100K and is the answer not in the manual?
Questions and answers