Table of Contents
Advertisement
Quick Links
Advertisement
Table of Contents

Related Manuals for Block V 100


Summary of Contents for Block V 100
- Page 1 Instruction Manual 12--21 1--11 Hi-Fi Stereo Amplifier V 100...
- Page 7 Bedienung am Gerät Power Um das Gerät in den Betrieb zu nehmen, muss auf der Rückseite des Gerätes der Power Schalter auf „on“ stehen 1. VFD Display: Im Display bekommen Sie die 6. CD Eingangs Wahltaste 7. Radio Eingangs Wahltaste Information, welche Quelle Sie gerade hören 8.
- Page 9 R 100 AM/FM RDS PLL Tuner CONTROL...
-
Page 13: Table Of Contents
INTRODUCTION & CONTENTS Introduction Contents Introduction & Contents Congratulations on purchasing this V 100 amplifier. It has been developed following an extensive research and development program 13,14 that has culminated in what we regard as an exceptional mid-range Safety instructions hi-fi product. -
Page 14: Safety Instructions
SAFETY INSTRUCTIONS Safety Instructions CAUTION: To reduce the risk of electric shock, do not remove any cover. N O U S E R - S E R V I C E A B L E PA R T S I N S I D E , R E F E R A N Y SERVICING TO QUALIFIED SERVICE PERSONNEL. - Page 15 SAFETY INSTRUCTIONS Notes On Use...
-
Page 16: Remote Control
REMOTE CONTROL BATTERY INSTALLATION By using the provided remote control unit the V 100 can be controlled from your listening position. To use the remote control unit, point it at the REMOTE SENSOR window of the 1. Remove the battery compartment cover. -
Page 17: Front Panel Controls
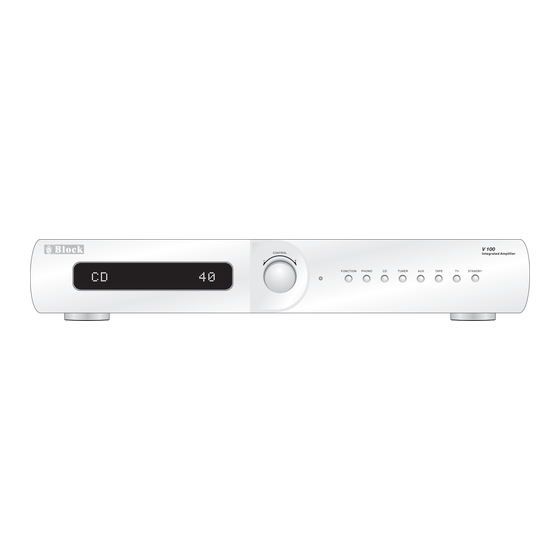
FRONT PANEL CONTROLS V 100 CON TRO L Integrated Amplifier 9 10 11 POWER SWITCH ON REAR PANEL, TURN IT ON BEFORE USE THE UNIT. 1. VFD DISPLAY. Will give the indication of level control and 6. CD INPUT SELECTOR SWITCH. -
Page 18: Rear Panel Connections
REAR PANEL CONNECTIONS 1. POWER SWITCH: Switches mains power on/off to internal LINE OUTPUT SOCKETS: This is for connection to external amplification or components, however please note that mains power is still recording equipement. applied to this unit even though this switch may be off. 8. -
Page 19: Making The Connections
" Protect ! ". Now you need to turn off V 100, check the speaker cable, and make sure all speaker cable is connected correctly, then turn on V 100 again. V 100 will return to normal working mode. -
Page 20: Installation And Position
INSTALLATION AND POSITION V 100 V 1 0 0... -
Page 21: Trouble Shooting
TROUBLE AND SHOOTING CARE AND MAINTENANCE... -
Page 22: Specifications
SPECIFICATIONS 300mV (CD, TUNER, AUX, TAPE, TV) RECOR OUT 480mV RECOR OUT +/- 14dB @ 10K Hz (+0, -3dB) +/- 14dB @ 100 Hz (+0, -3dB) 2 x 40 watts RMS @ 8 ohms 10Hz to 50KHz Less than 0.1% @ 1 watt >...
Need help?
Do you have a question about the V 100 and is the answer not in the manual?
Questions and answers