Table of Contents
Advertisement
Advertisement
Table of Contents

Summary of Contents for SuperMax FT 9950 Power Plus
- Page 1 USER’S GUIDE...
- Page 2 General Safet (Warning) General Safety (Warning) Please read the following recommended instructions carefully to avoid the risk of your physical injury before the product is operated. - Check the receiver's operation voltage : AC90-250V, 50/60Hz. - Do not cover the receiver and keep a clear space around the receiver for sufficient ventilation. - Keep a liquid away from the receiver.
-
Page 3: Table Of Contents
Contents 1. Overview (1) The front of the digital receiver (2) The back of the digital receiver 2. Remote control unit 3. Menu Guide G id 3.1 Manager (1) Channel Manager (2) Event Timer (3) USB Manager 3.2 Installation (1) Dish Setup (2) Positioner Setup (3) Auto Scan (3) Auto Scan... -
Page 4: Overview
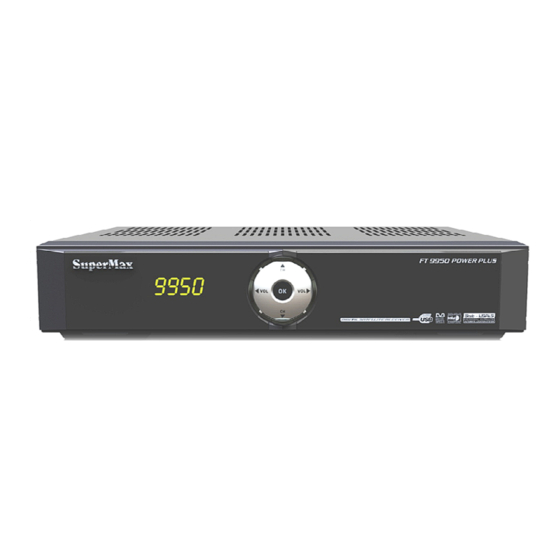
1 Overview 1. Overview (1) The front of the digital receiver STANDBY Switches the receiver power On and Standby. VOL UP/DOWN Volume up / down or selects the item of menu. CH UP/DOWN CH UP/DOWN Channel up / down or selects the item of menu. Channel up / down or selects the item of menu. -
Page 5: Remote Control Unit
2 Remote Control Unit 2. Remote Control Unit STANDBY ( ) Switches between operation and standby modes SOURCE Switching among TV/AV/VCR mode NUMERICAL BUTTONS (0~9) Used to enter a service number for service change or to specify values for menu options POSITIONER Control Diseqc1.2 or USALS miscellaneous TUNING Control tuner signal miscellaneous... -
Page 6: Menu Guide 3 M G Id
3 Menu Guide 3. Menu Guide 3.1 Manager (1) Channel Manager You may sorting, moving, delete and edit Channel names. Press OK button. Then you can control channels by Favorite, Lock channel, Hide channel, Move, Delete, Edit name and Edit PID. Note: Detail usage is at Chapter 5. -
Page 7: Installation
3 2 I 3.2 Installation ll i In this chapter you can Searching channels, Satellite Scan, Provider Scan, Edit TP/Satellite, DiSEqC Positioner and Factory Reset. (1) Dish Setup This Chapter describes how to searching channels. You can set Dish and LNB Information for channel searching. -
Page 8: Factory Reset
(5) Factory Reset (5) Factory Reset Restore the product to the factory default. Warning : Please note that once you perform Factory reset, all data such as the antenna setting information, channel list and user configured data will be deleted. (6) Information Display installed S/W information. -
Page 9: Parental Lock
(3) Parental Lock Parental Lock (4) Time Adjust Time - Auto: Adjust time from satellite signal automatically - Manual: Setting manually Manual: Setting manually. (5) Color Setting You can adjust Brightness, Contrast, Saturation. 3.4 Interface [Optional] In this chapter you can set Smart Card, Common Interface, Network and Additional functions. -
Page 10: Epg (Electronic Program Guide)
4 EPG (Electronic Program Guide) 4. EPG (Electronic Program Guide) The Electronic Program Guide displays program information about each channels, based on the date and time. You can also schedule your recording using the information given. Press the EPG button. 1. -
Page 11: Software Upgrade By Usb Stick Memory
6 Software Upgrade by USB stick memory 6. Software Upgrade by USB stick memory 1. Download a new soft-ware from website. 2. Copy the soft-ware file to your USB memory stick. 3. Insert the USB memory stick into the USB port. 4. -
Page 12: Troubleshooting Guide
8 Troubleshooting Guide 8. Troubleshooting Guide PROBLEM SOLUTION Does not display any Mess • Check the main power cable and check that it is plugged -age or the front panel or into a suitable power outlet. STB has no power. •... - Page 13 PROBLEM SOLUTION DiSEqC 1.0 • Check that you have connected the LNBs to correct connections on the switch. • Check that you have set the connected Setting in the Installation menu. DiSEqC 1.2 • Check that you have selected this in the Installation menu.
-
Page 14: Specification
9 Specification 9. Specification Tuner & Channel Input Connector F-type, IEC 169-24, Female Frequency Range 950 ~ 2150MHz Signal Level -65 ~ -25dBm LNB Power & Polarization Vertical: +13.5V Horizontal: +19V Current: 500mA Max. Overload Protection 22KHz Tone 22KHz Tone Frequency: 22 ±... - Page 15 Memory Flash Memory 2Mbyte Graphic(MPEG) & System 16Mbyte DRAM A/V & Data In / Out Video RCA: CVBS RF Modulator Audio Audio L/R, S/PDIF(Fiber-Optic) USB2.0 Host (5V, Max. 500mA) Smart Card 1 Smart Card Slot (Optional) Power Supply Input Voltage AC90~250V, 50/60Hz Type SMPS...
Need help?
Do you have a question about the FT 9950 Power Plus and is the answer not in the manual?
Questions and answers