Table of Contents
Advertisement
Advertisement
Table of Contents

Summary of Contents for Klutch 426246
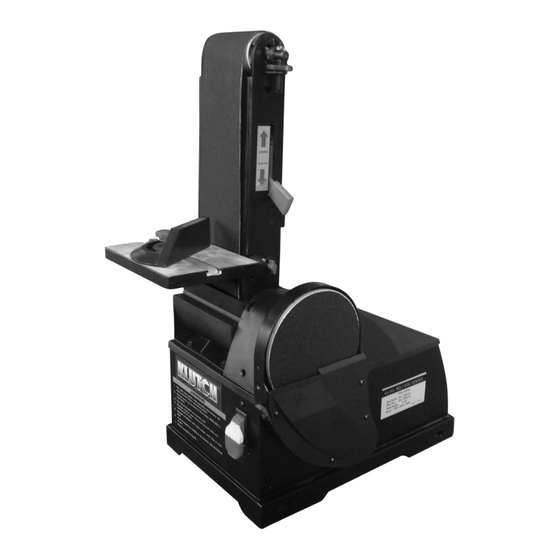
- Page 1 4IN. x 36IN. BELT/6IN. DISC SANDER OWNER’S MANUAL WARNING: Read carefully and understand RULES FOR SAFE OPERATION and instructions before operating. Failure to follow the safety rules and other basic safety precautions may result in serious personal injury. Item# 426246...
-
Page 2: Technical Specifications
4IN. x 36IN. BELT/6IN. DISC SANDER OWNER’S MANUAL • Proper electrical receptacle should be available for tool. Thank you very much for choosing a Klutch Product! For future reference, please complete the owner’s record below: Three-prong plug should be plugged directly into properly grounded, three-prong receptacle. - Page 3 4IN. x 36IN. BELT/6IN. DISC SANDER OWNER’S MANUAL TOOL USE SAFETY 13mm Wrench 3 and 5mm Hex Wrenches • Know your tool. Learn the tool’s operation, application and Combination Square specific limitations. Phillips Screwdriver • Use clamps (not included) or other practical means to secure and support the workpiece to a stable platform.
-
Page 4: Grounding Instructions
4IN. x 36IN. BELT/6IN. DISC SANDER OWNER’S MANUAL USE TABLE WITH THE BELT WARNING: This work should be performed by a quali- • Thread the Stud into the Belt Housing. fied electrician. • Position the Table over the Stud and Bracket. Secure the A temporary 3-prong to 2-prong grounding adapter (as shown) Table using the two Knobs. - Page 5 4IN. x 36IN. BELT/6IN. DISC SANDER OWNER’S MANUAL • Whenever adjusting or replacing any parts on the tool, turn • Adjustable Positive Stops are provided for both horizontal switch OFF and remove the plug from power source. and vertical positions. NOTE:The horizontal limit stop is located on top of the base •...
-
Page 6: Maintenance Requirements
4IN. x 36IN. BELT/6IN. DISC SANDER OWNER’S MANUAL work being sanded. Keep end butted against back stop and move work evenly across abrasive belt. Use extra caution when finishing very thin pieces. • Finishing curved edges: Finish outside curves on flat por¬tion of abrasive belt. -
Page 7: Troubleshooting
4IN. x 36IN. BELT/6IN. DISC SANDER OWNER’S MANUAL TROUBLE SHOOTING SYMPTOM PROBABLE CAUSE REMEDY The Belt Sander does not The Sanders is not plugged in to the electrical outlet. Plug it in. turn on. The Power Switch is defective/a Motor or wiring Replace the Switch. -
Page 8: Parts List
4IN. x 36IN. BELT/6IN. DISC SANDER OWNER’S MANUAL PARTS LIST Part# Description Part # Description Part# Description Qty. Side Cover Hex Nut Idler Drum Dust Deflector Thread Forming Screw Shaft Pan Head Screw Ball Bearing, 6201 Socket Head Bolt Pulley C-Ring Flat Washer Set Screw... -
Page 9: Warranty
4IN. x 36IN. BELT/6IN. DISC SANDER OWNER’S MANUAL WARNING Some dust created by power sanding, sawing, grinding, drilling, and other construction activities contains chemicals known to the State of California to cause cancer, birth defects or other reproductive harm. Some examples of these chemicals are: •...


Need help?
Do you have a question about the 426246 and is the answer not in the manual?
Questions and answers