Advertisement
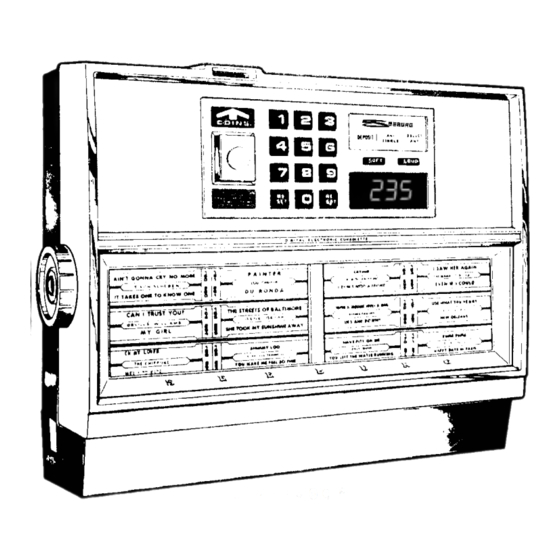
A Real Working Wallbox ...
... That Doesn't Need A Jukebox
OWNERS
MANUAL
"Bringing Technologies Together"
Data Sync Engineering
P.O. Box 539, 2 Footbridge Lane
Blairstown, New Jersey 07825
www.datasynceng.com
Copyright © 2008 Data Sync Engineering. All Rights Reserved.
D e s i g n a t e d t r a d e m a r k s a n d b r a n d s a r e t h e p r o p e r t y o f t h e i r r e s p e c t i ve owners.
Advertisement
Table of Contents

Summary of Contents for Data Sync Engineering Seeburg
- Page 1 Copyright © 2008 Data Sync Engineering. All Rights Reserved. D e s i g n a t e d t r a d e m a r k s a n d b r a n d s a r e t h e p r o p e r t y o f t h e i r r e s p e c t i ve owners.
-
Page 2: Specifications
SEEBURG DEC JUKEBOX SYSTEM USB2.0 CF Reader/Writer Retrofitted Seeburg DEC Wallbox 6-foot Line-Out Audio Cable Wireless IR Compact Flash Remote Control Memory Card 12VDC, 1 Amp Power Supply SPECIFICATIONS D.C. POWER REQUIREMENTS .... 12 volts, 1 amp INTEGRATED STEREO POWER AMPLIFIER: D.C. -
Page 3: Installation
INSTALLATION Compact Player Flash After loading music onto your Status Connector Compact Flash, carefully insert the memory card into the players CF connector. Attach the D.C. power cable then plug in the AC adapter. Service A rotating pattern will appear on Switch the display. - Page 4 CHECKING THE COMPACT FLASH CARD FORMAT Before using your Compact Flash card, check the file system. It will either be FAT or FAT32. Plug in your USB Compact Flash reader/writer. After a few moments, the computer should indicate that the flash card is ready. Click My Computer Right click on the Compact Flash drive letter Then click on Properties...
- Page 5 CREATING FOLDERS / DRAG & DROP YOUR MP3 FILES Songs are selected using a 3 or 4 digit entry. These digits are directly related to the folders & files stored on the Compact Flash card. In 3-Digit Mode, the first digit entry selects folder numbers 00-09. In 4-Digit Mode, the first two digit entries select folder numbers 00-99.
- Page 6 SERVICE MODE AUTOPLAY Service mode is entered when the slide-switch is moved The autoplay feature has three modes of operation; (1) to the SERVICE position. Upon initial entry, the keypad no autoplay, (2) timed autoplay and (3) continuous and coin signals are checked. If any signal is stuck on, autoplay.
- Page 7 SERVICE MODE PROGRAMMING Coin switch test/identifier. Identifies the coin switch number (1 to 4) for each accepted coin type Coin switch #1 monetary value (expressed in nickel units). This coin switch is usually the 5¢ chute. Enter zero if this coin switch is not used or you if don’t want to accept this coin type. Coin switch #2 monetary value (expressed in nickel units).
- Page 8 To change the keypad option, place the JCU in SERVICE mode (0). P4-3 Using the wireless remote ... ROW4 Press CHANNEL down for Seeburg DEC keypad scan (displays P40). Press CHANNEL up for standard matrix keypad scan (displays P41). P4-8 P4-7...
-
Page 9: Connector Descriptions
CONNECTOR DESCRIPTIONS SERVICE Service Remote Switch NORMAL Coin Switches Power 8 7 6 5 4 3 2 1 12 11 10 9 8 7 6 5 4 3 2 1 4 3 2 1 Keypad Display Speakers P1 – Power & External Speakers P2 –... - Page 10 WIRELESS REMOTE WITH SONG SELECTION CAPABILITY Programming the Remote 1) Press and hold "Code Search" until LED stays on 2) Press "TV" 3) Press "0" "3" "9" ON-OFF Cancels current song play VOL UP = Increase volume CHAN UP = Always autoplay VOL DN = Decrease volume CHAN DN = Timed autoplay MUTE...

Need help?
Do you have a question about the Seeburg and is the answer not in the manual?
Questions and answers