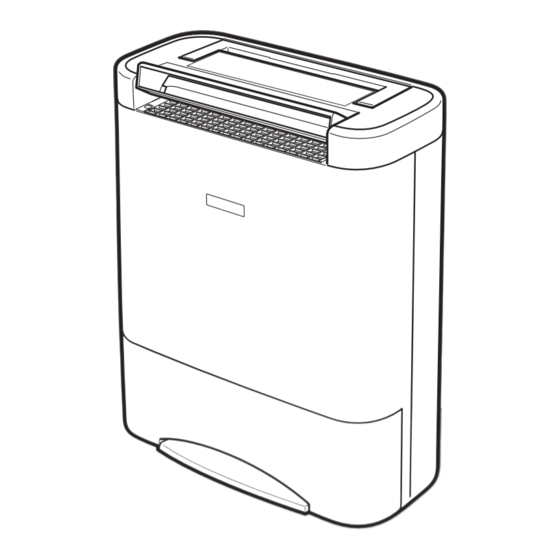
Summary of Contents for EHS XDry
-
Page 1: User Manual
D E H U M I D I F I E R USER MANUAL Please read this instruction manual in FULL before operating and keep in a safe place for future reference... -
Page 2: Important Safety Instructions
Important Safety Instructions 1. DO NOT use this unit for functions other than those described in this instruction manual. 2. The dehumidifier works within the room temperature range of 1~40 3. Do not operate the unit with a damaged cord or plug, after it malfunctions or has been dropped or damaged in any way. -
Page 3: Parts Description
Parts Description Control panel Automatic louvre Handle Air outlet Water level viewer Water tank Hand grip to pull out the water tank Power cord tie hole Cord tie Air filter Power cord Air inlet Continuous drain hole... -
Page 4: Control Panel
Control Panel Water Full indicator Indicator lights up when the water tank is full or incorrectly installed. Check indicator Indicator lights up when the unit has malfunctioned. Timer indicators Louvre swing indicators Function indicators WIDE HIGH TURBO FULL CHECK FRONT SAVING AUTO LAUNDRY... - Page 5 Control Panel Operating Instructions DRY mode HIGH TURBO WIDE FULL CHECK SAVING FRONT AUTO LAUNDRY TIMER SWING Connect the BS three pin plug to the appropriate electrical socket outlet Press the ON/OFF button to turn the appliance ON. Press the ON/OFF button again to turn the appliance OFF Note: In the event of a power failure Once the power is restored after a power failure, the appliance will continue to operate at the selected settings prior to the power failure.
- Page 6 Control Panel Operating Instructions DRY mode Press the DRY button through the sequence below: AUTO HIGH DESCRIPTION MODE The dehumidifier operates to achieve room conditions between AUTO 55 & 60% Relative Humidity The fan speed & heater power are adjusted automatically The dehumidifier operates in LOW fan speed &...
-
Page 7: Laundry Mode
Control Panel Operating Instructions LAUNDRY mode Press the LAUNDRY button through the sequence below: SAVING TURBO DESCRIPTION MODE Suitable operation for Summer time power saving SAVING Dehumidifies the air whilst ventilating the room The fan speed is high & the heater typically operates in low power Suitable operation for drying clothes in the Winter TURBO The fan speed is always high &... - Page 8 Control Panel Operating Instructions AUTO SWING LOUVRE Press the AUTO SWING button through the sequence below : WIDE FRONT HOLD (LED OFF) DESCRIPTION MODE The automatic louvre swings in an upward direction through 90° FRONT The automatic louvre swings in a forward direction through 60° WIDE The automatic louvre swings in a wide angle through 150°...
-
Page 9: Timer Mode
Control Panel Operating Instructions TIMER mode Press the TIMER button to set running hours (2, 4 or 8 hours). When the timer is set the corresponding LED(s) will be illuminated displaying the time remaining. When no TIMER is set the LED(s) will be OFF. 8hrs 2hrs 4hrs... -
Page 10: Emptying The Water Tank
Emptying the Water Tank 1. When the tank is FULL the ‘FULL’ LED on the control panel will illuminate and the dehumidifier will stop operating after several minutes. 2. DO NOT move the appliance while the tank is full, as this can lead to water spillage and create a potential hazard. - Page 11 Permanent Drain Option A hose with an inner diameter of 12mm can be connected for continuous drainage. 1. Remove the tank 2. Using a screwdriver, remove the ‘knock-out’ located on the back of the appliance and pass the hose through the hole. 3.
-
Page 12: Maintenance
Maintenance Cleaning the appliance 1. Turn the appliance OFF and ensure the BS three-pin plug is removed from the socket outlet. 2. Clean the casing using a soft damp cloth with warm water and mild detergent. Do not use solvents or abrasive materials. 3. -
Page 13: Troubleshooting
3. Is the filter dirty? Please refer to the maintenance section. 4. Are the air inlet or outlet covered? If you continue to experience problems please call the EHS (International) Ltd Help Desk on (0870) 742 5021 for advice. Specifications Model: DIOXDry... -
Page 15: Service And Warranty
ONE (1) YEAR LIMITED WARRANTY Save This Warranty Information EHS (International) Ltd. Guarantees this product free from defects in materials and workmanship for a period of one (1) year. Should this unit be operated under conditions other than those...

Need help?
Do you have a question about the XDry and is the answer not in the manual?
Questions and answers
My x dry was working perfectly up to about a month ago, hasn't been used again until now. On switching, fan running and all lights are showing on, however no water is being collected in the tank. Filter is clear and clean, also the tank has been removed and returned to the correct position in the x dry a few times, still no water in the tank. My daughter had the lend of it recently and it may have been exposed to low temperatures, but I'm unsure of that. The air outlet on the top does not seem to be warming the air coming out of it. Any info would be greatly appreciated. Thanks
Possible reasons for the EHS XDry not collecting water and the air outlet not warming include:
1. Room temperature is outside the operating range (1°C to 40°C).
2. The unit is not powered on or the three-pin plug is removed.
3. The water tank is full or not correctly positioned.
4. The float in the tank is damaged or incorrectly fitted.
5. The air filter is dirty.
6. The air inlet or outlet is covered.
7. The unit has malfunctioned (CHECK indicator is on).
This answer is automatically generated