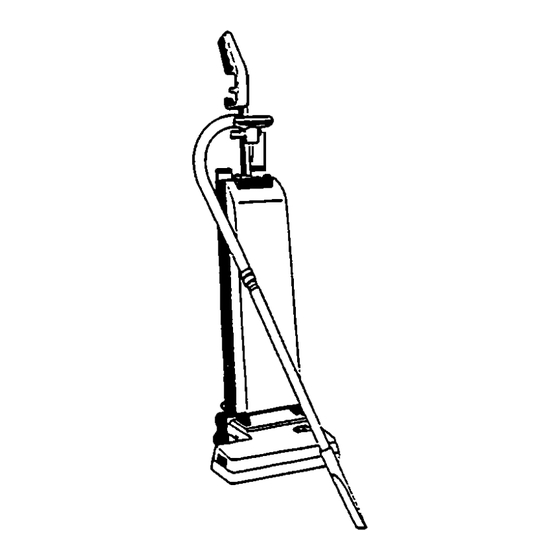
Table of Contents
Advertisement
Quick Links
Features:
1. Handle
2. Accessory Mount
3. Full Bag Light
4. Main Power Switch
5. Door Latch
6. Bag Housing
7. Handle Release Lever
8. Electronic Display
9. Handle Pivot
10. Power Brush Nozzle
11. Bumper
S S
AVE
12. Hose
13. Upper Cord Hook
14. Secondary Cord Strain Relief
15. Power Cord
16. Wand
17. Carrying Handle w/Lower Cord Hook
18. Thumb Screw
19. Base Inlet Connector
20. Cord Pigtail
21. Rear Wheel
T T
I I
HESE
NSTRUCTIONS
P
1
AGE
PN 344761 - Dual Motor Uprights Manual - Printed in USA 03/31/06
S S A A F F E E T T Y Y
A A N N D D
O O P P E E R R A A T T I I N N G G
M M A A N N U U A A L L
F F O O R R
1 1 4 4 " " & & 1 1 8 8 " "
D D U U A A L L M M O O T T O O R R
U U P P R R I I G G H H T T
V V A A C C U U U U M M S S
Advertisement
Table of Contents

Summary of Contents for MasterCraft 14"
- Page 1 S S A A F F E E T T Y Y A A N N D D O O P P E E R R A A T T I I N N G G M M A A N N U U A A L L F F O O R R 1 1 4 4 "...
- Page 2 This vacuum cleaner will afford you many If damage is discovered, immediately notify years of trouble-free operating satisfaction, the transportation company that delivered provided it is given proper care. All parts your vacuum. As a shipper, we are unable have passed rigid quality control standards to report claims for concealed damage.
- Page 3 ROUNDING ANGER Improper use of the grounding plug can result in NSTRUCTIONS a risk of electric shock. Electrical equipment must be grounded. If If repair or replacement of the cord or plug it should malfunction or breakdown, is necessary, DO NOT connect the ground- grounding provides a path of least resist- ed wire to either flat blade terminal.
- Page 4 MPORTANTES LIRE TOUTES LES INSTRUCTIONS AVANT DE FAIRE FONCTIONNER (CET APPAREIL) ESURES AVERTISSEMENT: Pour reduire les risques d'incendie, de choc electrique ECURITE ou de blessure: 1) Ne pas laisser l'appareil sans surveil- 6) Ne pas tirer, soulever ou traîner l'ap- 11) Ne pas apsirer de matières en com- lance lorsqu'il est branché.
- Page 5 Carefully unpack the vacuum, checking carefully to ensure ANDLE that you have located all necessary components. 1.Handle Assembly: Slide handle into the opening of the & vacuum housing until it bottoms out (Fig A). Secure handle SSEMBLY the with thumb screw that is packed with operation instructions.
- Page 6 PERATION NSTRUCTIONS 1. Plug the power cord into a 115 volt, 60 3. Turn the main power rocker switch to cycle receptacle. "ON". The vacuum motor will start (Fig E). 2. Adjust the brush height knob to suit the 4. Depress the YELLOW foot pedal and carpet thickness you are working on.
-
Page 7: Monthly Maintenance
PERATION S S t t e e p p O O n n e e Remove wand by snapping it out of the retainer clip NSTRUCTIONS and pulling from the inlet in the base. The brush motor will automatically stop when the wand is removed. - Page 8 P P R R O O B B L L E E M M : : Vacuum motor does not run. ROUBLE POSSIBLE CAUSE: POSSIBLE SOLUTION: HOOTING 1. Power cord may not be plugged in. 1. Check to make sure power cord is plugged into vacuum and outlet.


Need help?
Do you have a question about the 14" and is the answer not in the manual?
Questions and answers