
Subscribe to Our Youtube Channel
Related Manuals for PowaCycle Milan

Summary of Contents for PowaCycle Milan
-
Page 1: Assembly Instructions
Assembly Instructions Version 1 - 4 May 2006 PowaCycle, Ultima Networks PLC, Akhter House, Perry Road, Harlow, Essex, CM18 7PN 01279 821243 www.PowaCycle.co.uk... - Page 2 Note that some nuts and bolts and other parts come attached to the frame by the packing. Your PowaCycle comes with a spare set of keys. The spare key needs to be kept in a safe place, as replacements cannot be obtained Main Frame Pedals (L&R)
-
Page 3: Charging The Battery
Assembly Instructions 1. Charging the Battery Before assembling your PowaCycle, you should charge the battery. This will allow you to test the electrical connections during assembly. Remove the battery and charge it indoors. It normally takes 8 hours to fully charge the battery, however the first charge can take longer. Once charged, the LED turns from red to green. - Page 4 2. Fitting the Handlebars The handlebars are already attached to the frame via cables. They now need to be inserted into the frame as shown. Using an Allen key in the toolkit, lock the handlebars into place. Do not to over-tighten as they will require further adjustment once the wheel is attached.
-
Page 5: Fitting The Front Wheel
4. Fitting the Front Wheel Undo the nuts on the wheel and put the washer lock locators to one side. One person needs to support the bicycle frame, whilst the other places the wheel into the forks, keeping clear of the washers. - Page 6 The saddle also has a tension spring underneath (black). This acts as the rear suspension. Anti-clockwise slackens it off and clockwise tightens. Congratulations, your completed PowaCycle is now ready to ride. Before mounting please check that: The battery is fully charged...
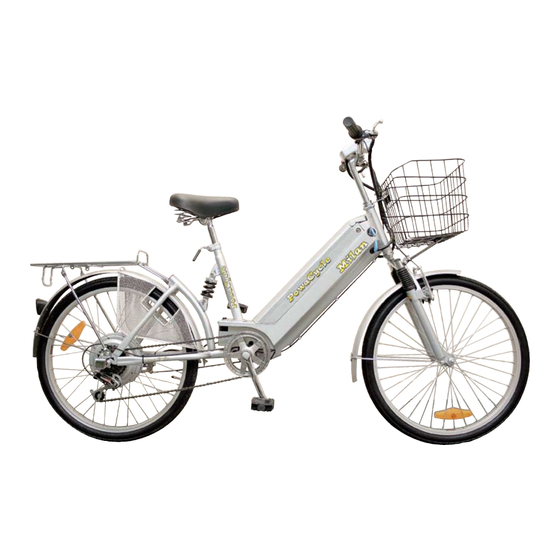
- Page 7 Operation of the Milan PowaCycle The Milan PowaCycle is an electrically assisted bicycle that operates like a standard bicycle, with the assistance of a motor and battery. The power provided supports the rider’s own efforts, giving increased performance with less effort. As soon as the rider begins to pedal, the motor supplies energy to support the rider’s efforts.
-
Page 8: Troubleshooting
Professional Maintenance We recommend that you have your PowaCycle serviced by a professional cycle engineer at least Warning– PowaCycle Milan once a year to ensure ongoing safe performance. If...
Need help?
Do you have a question about the Milan and is the answer not in the manual?
Questions and answers
What battery charger do I need for this bike
The PowaCycle Milan bike requires a battery charger that is included with the bike. The battery should be charged indoors, and a full charge typically takes 8 hours, though the first charge may take longer.
This answer is automatically generated
@Mr. Anderson
@Mr. Anderson thanks for reply, I bought the bike second hand without the charger, so wondered what charger with what connection I need