
Subscribe to Our Youtube Channel
Related Manuals for Taurus Taurus


Summary of Contents for Taurus Taurus
- Page 1 Taurus - RAID Dual-Bay Storage Enclosure for 3.5” Serial ATA Hard Drives User Manual v1.0 August 23, 2007...
-
Page 2: Table Of Contents
Table of Contents CHAPTER 1 - INTRODUCTION CHAPTER 3 - SYSTEM SET UP ONNECTION TO YOUR OMPUTER RAID AURUS RAID S VAILABLE NTERFACES ETUP -RAID RAID - D AURUS ETAILED JBOD RAID 0 - S RONT PANNING RAID 0 - S TRIPING RAID S RAID 1 - M... -
Page 3: Chapter 1 - Introduction
Taurus is built strong and rugged, offering more than enough Features mentioned capacity to store all your digital media files. Not only that, the in this manual may Taurus RAID can also back up and secure all of your data vary between thanks to RAID protection. different models. -
Page 4: Taurus Raid - Detailed View
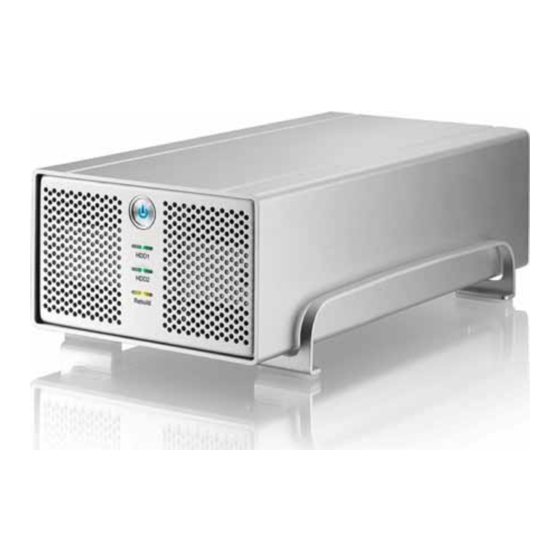
Taurus - RAID User Guide Taurus RAID - Detailed View Front View 1. ON/OFF switch (blue when ON) 2. LED indication for hard drives (green for data access, red for error) and RAID rebuild function (yellow or green during rebuild) 3. -
Page 5: Taurus Raid Ii - Detailed View
Taurus - RAID User Guide Taurus RAID II - Detailed View Front View 1. ON/OFF switch (blue when ON) 2. LED indication for hard drives (green = data access, red = error) 3. RAID rebuild indication (yellow or green during rebuild) 4. -
Page 6: System Requirements
To protect your files and help prevent the loss of your data, we strongly recommend that you keep two copies of your data, one copy on your Taurus and a second copy either on your internal drive or another storage media such as CD, DVD, Tape or an additional external drive. -
Page 7: Chapter 2 - Hard Drive Assembly
Taurus - RAID User Guide Chapter 2 - Hard Drive Assembly Your unit may come with a pre-installed hard drive. Before opening such an enclosure, please read the warranty from your vendor carefully, as this could void your warranty. Taurus RAID 1. - Page 8 Taurus - RAID User Guide 4. Install the second hard drive and mount it with two screws on each side. Be careful not to damage any cables or components, and make sure the cables are connected firmly. 5. Connect the SATA and power cables to your hard drives. Be careful not to damage any components and confirm that the cables are connected firmly.
-
Page 9: Tauru Raid Ii
Taurus - RAID User Guide Taurus RAID II 1. Remove the four screws at the bottom of the case. The aluminium stand does not have to be removed for drive assembly. 2. Push the inner enclosure out, and remove the outer chassis. -
Page 10: Taurus Raid
Taurus - RAID User Guide 5. Install the second hard drive and mount it with two screws on each side. Be careful not to damage any cables or components, and make sure the cables are connected firmly. 6. Connect the SATA and power cables to your hard drives. Be careful not to damage any components and confirm that the cables are connected firmly. -
Page 11: Chapter 3 - System Set Up
Always connect Hard Disk Mode the power adapter to your device When using your Taurus, the disk will mount to the first before you plug it connection that is presented. This will remain the default setting into the wall until the device is next restarted. -
Page 12: Raid 1 - Mirroring
HDD2 are working OK, the LED is green. When a drive fails, the corresponding LED will turn red. To replace the faulty drive, do the following: 1. Turn off the Taurus and remove both the power supply and The LED indication the interface cable. -
Page 13: Installation On Apc
• Turn on your Computer and start Windows the interface cable • Connect the Taurus and turn it on or connect the • Let Windows search and install the driver automatically device before • Open “My Computer” to see your external hard drive booting your Operating System. -
Page 14: Installation On A Macintosh
• Turn on your computer and start Mac OS device before • Connect the Taurus and turn it on booting your • No driver installation required Operating System. • The external drive will mount and show up on your desktop For factory new drives and more info about formatting, see “Partitioning &... -
Page 15: Partitioning & Formatting
Taurus - RAID User Guide Partitioning & Formatting Be aware that this will destroy all your existing data on the drive, so make sure you have a backup! This step is usually only If the drive does not required the first time you install a factory new hard drive, if you appear, make sure change the format or want to erase all data on your drive. -
Page 16: Mac Os
Taurus - RAID User Guide Mac OS For Mac OS X, use the Disk Utility to format and create partitions on your external disk. • Select “Disk Utility” in the utilities folder If the drive does not • Choose your external drive and format it according to your... -
Page 17: Chapter 4 - Appendix
• To use it on both PC and Mac FAT32 About this Manual This manual covers both the Taurus RAID and Taurus RAID II. Firmware, images and descriptions might slightly vary between this manual and the actual product you have.
Need help?
Do you have a question about the Taurus and is the answer not in the manual?
Questions and answers