LG 42LB9DF Series Owner's Manual
Lcd tv; plasma tv
Hide thumbs
Also See for 42LB9DF Series:
- Owner's manual (132 pages) ,
- Service manual (65 pages) ,
- Owner's manual (130 pages)
Table of Contents
Advertisement
DVB is a registered trademark
of the DVB Project
I I D D N N u u m m b b e e r r : : 4757: 32LB9D
4756: 42LB9DF
4755: 47LB9DF
4754: 52LB9DF
4709: 50PY3DF
4708: 60PY3DF
4836: 42PB4D
4837: 50PB4D
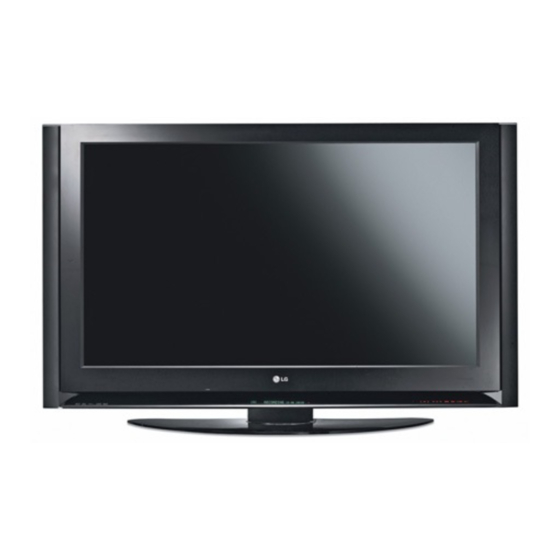
LCD TV MODELS
32LB9D*
42LB9DF*
47LB9DF*
52LB9DF*
O O N N L L Y Y : : 42LB9DF
47LB9DF
52LB9DF
50PY3DF
60PY3DF
PLASMA TV MODELS
50PY3DF*
60PY3DF*
42PB4D*
50PB4D*
Advertisement
Table of Contents


Need help?
Do you have a question about the 42LB9DF Series and is the answer not in the manual?
Questions and answers