Table of Contents
Advertisement
Quick Links
Advertisement
Table of Contents

Summary of Contents for Canyon CNP-WF511
- Page 1 CNP-WF511 Wireless PCI Adapter User Manual...
-
Page 2: Table Of Contents
Table of Contents INTRODUCTION ..........................3 AFETY RECAUTIONS ........................3 ACKAGE ONTENTS ........................4 ARDWARE VERVIEW ........................4 GETTING STARTED ........................5 ONNECTING TO EVICE .......................5 NSTALLING EVICE RIVER .......................6 BASIC OPERATION........................7 NTERNET ONNECTION IZARD ....................7 EVICE ONFIGURATION ......................9 TROUBLESHOOTING........................19 APPENDIX ............................20 ECHNICAL PECIFICATIONS .....................20... -
Page 3: Introduction
Thank you for purchasing CANYON CNP-WF511. We sincerely wish you to enjoy the 802.11b/g wireless PCI adapter. It is an easy-to-install device that connects to PC (Ad-Hoc mode for peer-to-peer file sharing) or connects to a wireless router/access point (for internet connection). To fully utilize the functions and features of CANYON CNP-WF511, please read through the user manual before you get started. -
Page 4: Package Contents
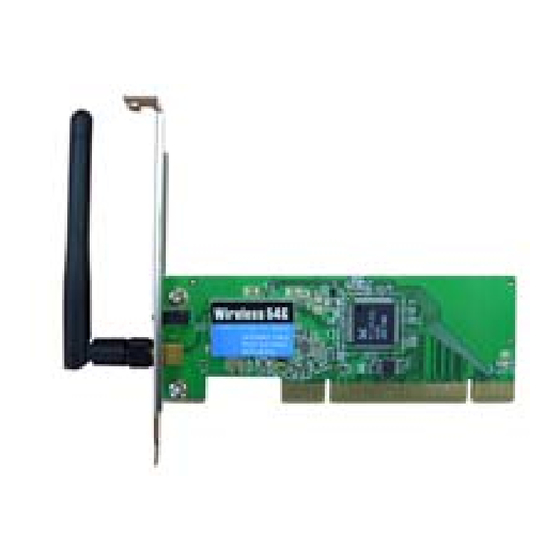
Package Contents Product Image Item Name CNP-WF511 Main Unit Warranty Card Quick Guide Driver CD Hardware Overview Antenna LINK/ACT PWR LED Lights up when device is powered LINK/ACT LED Flashes during network activities... -
Page 5: Getting Started
Getting Started Before using CANYON CNP-WF511, please make sure that the PC and the device are within range of an access point (802.11b, 802.11g, or 802.11b/g). Connecting to Device Power off PC. Open up PC casing and locate an available PCI slot on the main board. -
Page 6: Installing Device Driver
Installing Device Driver Upon inserting Driver CD, the configuration menu should pop up automatically. Please proceed with Driver Installation Wizard to install driver. Click on Install Driver &Utility for Wireless PCI Adapter to continue. NOTE: Please click on Ok when prompted to install Unsigned Driver. This is a Windows system warning that indicates the specific driver program is not certified by Windows. -
Page 7: Basic Operation
Click on Install to initiate installation process or Cancel to exit. Click on Finish to complete driver installation. Basic Operation Before setting up the device, please make sure that wireless network is setup and access point/wireless router is functioning properly. Internet Connection Wizard Click on 11bg Wire- less LAN PCI Utility... - Page 8 The Utility main page will be displayed as shown. To setup basic wireless network with existing access point or wire- less router, click on Set Wizard on tool bar menu. Select connection mode. Station (infrastructure) mode is recommended for Internet access. Click on Next to continue or Cancel to exit.
-
Page 9: Device Configuration
Review wireless network settings. Enter Passphrase (WEP) or Network Key (WPA/WPA2) if required. 10. Click on Ok to continue or Cancel to exit. 11. Select Obtain an IP address automati- cally and Obtain DNS server address auto- matically when DNS service is enabled in the wireless network. - Page 10 1. General The General tab displays current wireless connection information. Click on ReNew IP to release and renew IP address. General Information: Status: Wireless network Associated, AD-HOC Mode or Not Associated. Speed: The data transfer rate of the current connection. Type: The type of the current wireless connection, Infrastructure, AD-HOC Encryption: Current data encryption method.
- Page 11 Show Tray Icon: Show PCI Wireless LAN Utility icon in Windows Notification Area. Disable Adapter: Disable the wireless adapter. Radio off: Turn off the radio broadcasting/receiving activities of the wireless adapter. Windows Zero Config: Enable this function if desired to configure wireless connection by Windows wireless adapter configuration program.
- Page 12 Add: Creating a new Infrastructure mode profile Type in Profile Name (user defined) and SSID(actual network name from wireless router). Select Network Authentication method and type in Data Encryption method from the drop down menu. These settings must match that of wireless router.
- Page 13 Remove: Select a profile and click on Remove to delete it. Edit: Select a profile and click on Edit to modify it. Please refer to Add section for more detailed instructions. Duplicate: Select a profile and click on Duplicate to duplicate profile. Type in a new profile name and click on OK to create duplicates.
-
Page 14: Available Network
3. Available Network The Available Network tab displays a list of infrastructure and AD-HOC networks available for wireless connection. Select a connection on the list and click on Add to Profile to join network. Refer to instructions on previous section for more detailed information. - Page 15 4. Advanced The Advanced tab displays a number of advanced options. Power Save: Select the frequency of message response time. Wireless Mode: Select the wireless operation standard. Channel Plan: Select channel in accordance to wireless standard. RTS Threshold: Drag and slide bars to adjust threshold values as desired. Set Default: Click to restore factory settings.
- Page 16 5. Status The Status tab displays the detailed information of current device and wireless connection.
- Page 17 6. Statistics The Statistics tab displays the values of current wireless connection Tx and Rx. Click on Reset button to reset values and to renew to count.
- Page 18 7. Wi-Fi Protected Setup (WPS) The Wi-Fi Protected Setup tab provides an easier means to join existing wireless network. Pin Input Config (PIN): Click on Pin Input Config (PIN) to produce a set on PIN Code. Enter the PIN Code on appropriate wireless router machine to establish wireless network.
-
Page 19: Troubleshooting
Troubleshooting Please refer to the following procedures if CNP-WF511 does not function as it should be. Be advised that the following instructions are only intended for simply troubleshooting purpose. Please contact your local authorized shops for further troubleshooting and technical support. -
Page 20: Appendix
Appendix Technical Specifications Standards IEEE 802.11g, IEEE802.11b Channels 13 Channels Interface Network Protocol TCP/IP, IPX, NDIS 4, NDIS 5, NDIS 5.1, NetBEUI Transmit Power 15 dBm Sensitivity -80 dBm WEP Key Bits 64 bit, 128 bit Temperature Operating: 0° to 40° C Storage: -20°...
Need help?
Do you have a question about the CNP-WF511 and is the answer not in the manual?
Questions and answers