Advertisement
Table of Contents
- 1 Important Safety Information
- 2 Parts and Hardware
- 3 Installation and Assembly
- 4 Methods of Operation
- 5 Control Panel Operation
- 6 Temperature Limiting Control
- 7 Remote Control Information
- 8 Remote Control Battery Information
- 9 Care and Maintenance
- 10 Replacing the Light Bulb
- 11 Maintenance
- 12 Limited Warranty
- Download this manual
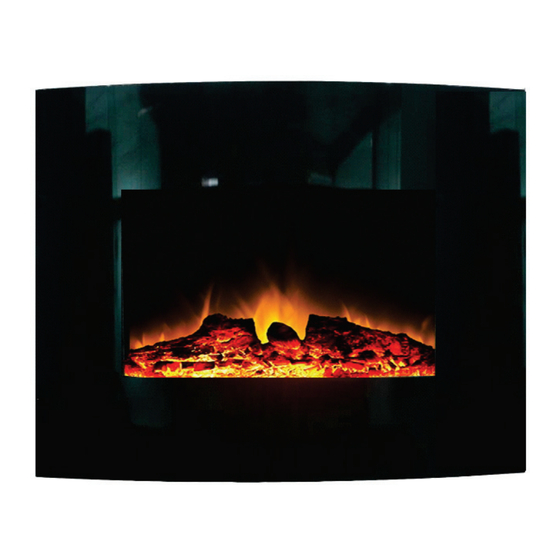
ELECTRIC FLAT PANEL FIREPLACE HEATER
OWNERS MANUAL
Model Numbers: KVWALL-24B; WS-G-03-2 MINI
Only use this heater as described in this manual. Any other use is not recommended
by the manufacturer, and may cause fire, electric shock, or other personal injury.
WARNING! Read and understand this entire owner's manual, including all safety
information, before plugging in or using this product. Failure to do so could result in fire,
electric shock, serious personal injury, or death.
WARNING! INDOOR use only! NEVER use this heater outdoors!
SAVE THESE INSTRUCTIONS!
CAUTION! Keep this owner's manual for future reference. If you sell or give this product
away, make sure this manual accompanies this product.
Advertisement
Table of Contents

Related Manuals for VDG KVWALL-24B

Summary of Contents for VDG KVWALL-24B
- Page 1 ELECTRIC FLAT PANEL FIREPLACE HEATER OWNERS MANUAL Model Numbers: KVWALL-24B; WS-G-03-2 MINI Only use this heater as described in this manual. Any other use is not recommended by the manufacturer, and may cause fire, electric shock, or other personal injury.
-
Page 2: Important Safety Information
IMPORTANT SAFETY INFORMATION! WARNING ALWAYS keep electric cords, home furnishings, drapes, clothing, papers, or other combustibles at least 3 feet (0.9m) away from the front of this heater, and away from the bottom, sides, and rear of this heater. ... - Page 3 WARNING Risk of electric shock! DO NOT OPEN! No user-serviceable parts inside! ALWAYS disconnect this unit from the power supply before performing any assembly or cleaning, before replacing the light bulb, or before relocating the electric fireplace. NEVER use this heater in bathrooms, laundry rooms, or any other location where the heater could fall into a bathtub or pool, become damp or come in contact with water.
-
Page 4: Parts And Hardware
Preparation This product includes a GLASS panel! Always use extreme caution when handling glass. Failure to do so could result in personal injury or property damage. Remove all parts and hardware from the carton and place them on a clean, soft, dry surface. Parts and assembly steps are grouped for free-standing or wall-hanging use. - Page 5 The wall mount fasteners included with this fireplace are for use ONLY with a NOTICE wood-framed wall covered in drywall (sheet rock). For concrete walls, cinder blocks, or other wall types, consult a professional for the best attachment methods. ALWAYS unplug this fireplace heater before assembly or cleaning, or before relocating.
- Page 6 STEP 4. Align the holes in the wall bracket (E) with the pilot holes and drywall anchors. Thread three wood screws (B) through the holes in the wall bracket and directly into the wall studs and drywall anchor(s). Make sure the bracket is level. Tighten all screws securely with a screwdriver. ALWAYS unplug this fireplace heater before assembly or cleaning, or before relocating.
-
Page 7: Methods Of Operation
Operation Read and understand this entire owner’s manual, including all safety information, before plugging in or using this product. Failure to do so could result in electric shock, fire, serious injury, or death. Power Make sure the ON/OFF switch, located on the left side panel, is in the OFF position. Plug the power cord into a 110~120 Volt 15 Amp grounded outlet (see IMPORTANT SAFETY INFORMATION on Pages 2 and 3). -
Page 8: Control Panel Operation
Control Panel Operation BUTTON ACTION and INDICATION CONTROL PANEL 1. Press ON (l). Power turns on. All functions are enabled. 2. Press OFF (O). Power, flame effect, and all functions turn off. 1. Press once. Flame effect and indicator turn on. POWER 2. -
Page 9: Temperature Limiting Control
Remote Control (Control panel POWER switch must be ON to use remote control.) BUTTON ACTION and INDICATION REMOTE CONTROL 1. Press once. Flame effect turns on High and indicator light turns on. 2. Press again. Power and all functions turn off. POWER 1. -
Page 10: Remote Control Information
Remote Control Information NOTE: This equipment has been tested and found to comply with the limits for Class B digital device, pursuant to part 15 of the FCC Rules. These limits are designed to provide reasonable protection against harmful interference in a residential installation. -
Page 11: Replacing The Light Bulb
Plastic: • Wipe gently with a slightly damp cloth and a mild solution of dish soap and warm water. • NEVER use abrasive cleansers, liquid sprays, or any cleaner that could scratch the surface. Replacing the light bulb ALWAYS turn the heater OFF and unplug the power cord from the outlet before changing the bulb. -
Page 12: Limited Warranty
Limited Warranty Manufacturer warrants this product for replacement or repair of parts to the original purchaser for a period of 1 (one) year from the original date of purchase. The original dated sales receipt is required for all warranty claims. This limited warranty does not cover replacement of glass or light bulbs, shipping costs, and normal wear and tear.
Need help?
Do you have a question about the KVWALL-24B and is the answer not in the manual?
Questions and answers