Table of Contents
Advertisement
Quick Links
Advertisement
Table of Contents

Summary of Contents for Innoband 8012-G1
- Page 1 ADSL2/2+ Modem 8012-G1 User’s Manual Version 3.0 Last Revised: 07-16-2008...
-
Page 2: Table Of Contents
Model and Serial Numbers ................. 15 Minimum System Requirements................. 15 Package Contents ....................16 ....................17 ETTING TARTED .................18 USTOMER NFORMATION ECORD HARDWARE INSTALLATION ........... 19 8012-G1 .................20 BOUT NNOBAND ..................22 ARDWARE NSTALLATION ..................23 ONNECTING ICROFILTERS CONFIGURING YOUR COMPUTER ......24 2000 ...........25... - Page 3 8012-G1 DSL M ’ ........32 HECKING YOUR NNOBAND ODEM TATUS INNOBAND SETUP WIZARD ..........33 8012-G1’ ...........34 PENING NNOBAND ONFIGURATION ...................36 SING THE TATUS PTION TECHNICAL SPECIFICATIONS ......... 37 ..............38 ACTORY EFAULT ETTING ALUES TROUBLESHOOTING ..............39 A. P ..................39...
- Page 4 (“Marks”) displayed on this manual are the property of Innoband or other third parties. Users are not permitted to use these Marks without the prior written consent of Innoband or such third party that may own the Mark. IBM is a registered trademark of International Business Machines Corporation.Intel and Pentium are registered trademarks of Intel Corporation.Microsoft,...
- Page 5 You own the disk or other media on which the Software is originally or subsequently recorded or fixed; but, as between you and Innoband (and, to the extent applicable, its licensors), Innoband retains all title to and ownership of the Software and reserves all rights not expressly granted to you.
- Page 6 Innoband will provide such information to you within a reasonable time and on reasonable conditions. In any event, you will notify Innoband of any information derived from reverse engineering or such other activities, and the results thereof will constitute the confidential information of Innoband that may be used only in connection with the Software.
- Page 7 Software (including any portions or copies thereof) to Innoband. The license will also terminate automatically without any notice from Innoband if you fail to comply with any term or condition of this Agreement. You agree upon such termination to return the Software (including any portions or copies thereof) to Innoband.
- Page 8 Some countries/states do not allow the exclusion of implied warranties, so the above exclusion may not apply to you. Innoband disclaims all warranties of any kind if the Software was customized, repackaged or altered in any way by any third party other than Innoband.
- Page 9 In this event, your sole remedy to restore such functionality is to download a product update from Innoband’s website, of if you do not have internet access, Innoband will use commercially reasonable means to provide replacement software.
- Page 10 Innoband disclaims any liability with regard to any illegal use of the Innoband product and Innoband shall in no event be liable with regard to the origin of any data stored in a compressed audio file. You acknowledge and agree that the exportation or use of MP3 Codecs in real-time broadcasting (terrestrial, satellite, cable or other media) or broadcasting via Internet or other networks, such as but not limited to intranets etc., in pay-...
- Page 11 audio or pay-on-demand applications, is not authorized and/or licensed (see also http://www.iis.fhg.de/amm/).
- Page 12 Safety & Regulatory Information The following sections contain notices for various countries: CAUTION: This device is intended to be connected by the user to a CSA/TUV/UL certified/listed IBM AT or compatible personal computers in the manufacturer’s defined operator access area. Check the equipment operating/installation manual and/or with the equipment manufacturer to verify/confirm if your equipment is suitable for devices to be connected to it.
- Page 13 Any changes or modifications not expressly approved by the grantee of this device could void the user’s authority to operate the device. Notice for Canada This apparatus complies with the Class “B” limits for radio interference as specified in the Canadian Department of Communications Radio Interference Regulations.
-
Page 14: Introduction
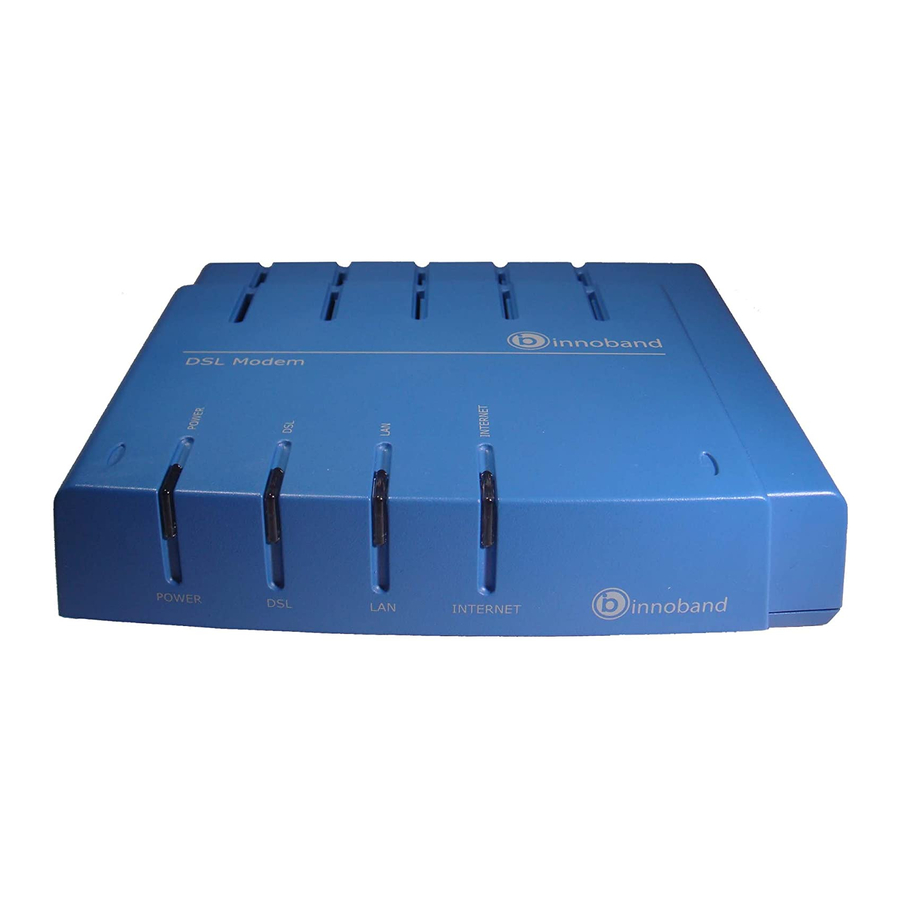
Innoband 8012-G1 uses the most advanced “splitterless” Asymmetric DSL (ADSL) technology that transforms ordinary telephone lines into broadband high-speed digital lines for fast Internet access. Innoband 8012-G1 is compliant with both ITU G.Lite and G.DMT standards that provides downstream data transmission up to 8 Mbps and upstream data transmission up to 1 Mbps, depending upon your agreement with your DSL service provider. -
Page 15: Important Safety Instructions
If your modem needs any service or repairs, only qualified service personnel must handle it. Model and Serial Numbers Your Innoband 8012-G1 has model and serial numbers. You can find it on the bottom of your modem. Note down the model and serial numbers for future reference. -
Page 16: Package Contents
Package Contents Before you begin hardware installation, check your Innoband 8012-G1 package to ensure all the following items are available: •Innoband 8012-G1 ADSL 2/2+ Modem unit •One CD-ROM that contains a) Installation Driver b) User Manual (PDF) c) Acrobat Reader •DC power adapter... -
Page 17: Getting Started
•You must sign up with a DSL service provider. •Make sure that your telephone line has been enabled for the DSL service. •Follow these steps to connect your 8012-G1 modem to your computer and Internet: (a) Install the hardware as explained in Chapter 1: Hardware Installation. -
Page 18: Customer Information Record
Customer Information Record Keep a record of your DSL service information: 8012-G1 Product Registration User ID and Password: E-mail Address: Outgoing Mail Server (SMTP): Incoming Mail Server (POP3): IP Address: Subnet Mask: Default Gateway: Primary DNS Address: Secondary DNS Address:... -
Page 19: Hardware Installation
ARDWARE NSTALLATION This chapter provides information about your Innoband 8012-G1, as well as hardware installation. To ensure the proper setup and performance, before you begin connecting cables and devices to your Innoband 8012-G1, you must carefully go through the following sections:... -
Page 20: About Your Innoband 8012-G1
Using the RJ-45 Ethernet cable, the Ethernet port connects your Innoband 8012-G1 to the Ethernet Network Interface Card in a PC. You can also use the Ethernet port on Innoband 8012- G1 to connect multiple computers through a hub. Then, you must use a proper Ethernet cable (crossed or straight) depending upon the type of port on the hub. - Page 21 Use ONLY the supplied power adapter to power the Innoband 8012-G1. Reset Switch On the rear panel of Innoband 8012-G1, there is a Reset Switch for restoring the router’s settings to the factory default values, if required. The Reset Switch allows the user to recover from situations like forgetting the Innoband’s password, or IP settings.
-
Page 22: Hardware Installation
6. Turn on the power supply. If your Innoband 8012-G1 is set up correctly, the LAN LED lights 7. If you have telephones and fax machines sharing the same phone line, connect them to the telephone wall outlet or your Innoband 8012-G1 phone port with microfilters as shown in Figure 2-2. -
Page 23: Connecting Microfilters
Connecting Microfilters Each analog device, such as a telephone equipment, fax machine, answering machine, or analog modem that you connect on your DSL line requires a microfilter, as illustrated in Figure 1-4. 1. Plug one end of a RJ11 telephone cable into a microfilter and connect the analog device to the other end of this RJ11 cable. -
Page 24: Configuring Your Computer
ONFIGURING OMPUTER Before you can use your Innoband 8012-G1, you need to configure your computer properly to reflect the networking environment set by your DSL Service Provider. This chapter provides you with instructions on how to configure your Innoband 8012-G1 network and how to configure your Internet setting using Innoband User Interface. -
Page 25: Networking Configuration In Windows 2000
Networking Configuration in Windows 2000 1. In Windows 2000, click Start → Settings → Control Panel (Figure 3-1). Figure 3-1 2. In the “Control Panel” window (Figure 3-2), double-click the Network icon. Figure 3-2 3. In the Network and Dial-up Connections window, right- click the Local Area Connection icon and then click the Properties option (Figure 3-3). - Page 26 4. In the “Local Area Connection Properties” dialog box that appears (Figure 3-4), in the “Components checked are used by this connection” box, select Internet Protocol (TCP/IP) and click the Properties button. Figure 3-4 5. The “Internet Protocol (TCP/IP) Properties” dialog box appears (Figure 3-5).
-
Page 27: Networking Configuration In Windows Xp
Networking Configuration in Windows XP 1. In Windows XP, click Start → Settings → Network Connections. 2. In the “Network Connections” window, double-click the Local Area Connection icon. 3. In the “Local Area Connection status” dialog box that appears (Figure 3-6), click the Properties button. Figure 3-6 4. -
Page 28: Networking Configuration In Windows Vista
Networking Configuration in Windows Vista 1. Go to Start -> Control Panel -> Network and Sharing Center -> Manage Network Connections (see Figure 3-8) 2. Double click on your Local Area Connection. 3. Click on Properties. 4. Click on Continue. Figure 3-8 5. -
Page 29: I N This Page
7. In this page, click the Obtain an IP address automatically radio button. (See Figure 3-10) 8. Select Obtain DNS server address automatically radio button and click OK to finish the configuration. Figure 3-10 Configuring your computer... - Page 30 Innoband User Interface After you have configured your network use the Innoband User Interface to connect your DSL modem to the Internet. The following instructions are for all supported Windows operating systems. 1. Insert the Installation CD into your CD-ROM drive. Click on Start → Run and type d:\fscommand\setup.exe.
- Page 31 4. In the Windows Task Bar, click on the Innoband User Interface Icon, as shown in Figure 3-14. Figure 3-13 5. In the Innoband User Interface window, select the Login tab and enter your username and password supplied by your DSL service provider. (Figure 3-15).
- Page 32 Checking your Innoband 8012-G1 DSL Modem’s Status BBUI allows you to view statistics from your DSL Modem and DSL connection. Select the tab of the various statistics you want to view as shown in Figure 3-17. Figure 3-16 BBUI also enables you to perform additional diagnostic tests.
-
Page 33: Innoband Setup Wizard
ETUP IZARD An Innoband 8012-G1 hosts an internal Web server that has a tool to configure the device according to the information provided by your ISP. The System Configuration tool is available for checking the system configuration, password, statistics, and for software upgrades. To use it, a... -
Page 34: S Configuration Page
Opening Innoband 8012-G1’s Configuration Page 1. Start your Web browser. In the URL field (Address field) of your Web browser window, enter the IP address 192.168.1.1 (see Figure 3-1) and press the Enter key. This will take you to the login screen of the web-based configuration tool.(see Figure 4-1) - Page 35 Setup” page, similar to Figure 4-4, and enter the user name and password provided by your DSL service provider. Click the Connect button. Figure 4-3 4. Congratulations, you are now connected to the Internet and can start to use your DSL connection. Figure 4-4 Innoband Setup Wizard...
-
Page 36: Using The Status Option
Using the Status Option The Status option provides valuable information about your Innoband 8012-G1 and your DSL service setup. It consists of DSL Connection, and Diagnostic Test. While you are in the Status section, all pages are automatically refreshed approximately every 30 seconds. -
Page 37: Technical Specifications
ECHNICAL PECIFICATIONS This section provides certain technical specifications for the Innoband 8012-G1: Data Encapsulation Protocol: - RFC 1483 Multiprotocol Encapsulation over ATM Adaptation Layer 5 ADSL Line Interface: - ANSI T1.413 Issue 2 - G.992.1, G.992.2 ADSL - G.992.3, G.992.4 ADSL2 - G.992.5 ADSL 2+ (optional) -
Page 38: Factory Default Setting
Factory Default Setting Values Innoband 8012-G1 — ADSL modem with built-in bridge pre-configured by the manufacturer. The factory default setting values are: Auto detection VPI/VCI 0/35, 8/35, 0/32, 0/36, 0/38, 1/35 Encapsulation Mode = Auto detection Half Bridged or Bridged Ethernet Port IP Address = 192.168.1.1... -
Page 39: Troubleshooting
Check if you have connected the microfilters properly. If your service provider has installed a splitter, do not use the microfilters.. 3) Innoband 8012-G1 does not connect to the Internet or the WAN LED keeps on flashing Cause You did not connect your Innoband correctly and securely. - Page 40 Ethernet cable. If your Innoband is connected through a hub with Normal port, be sure that you have used a crossed Ethernet cable, however, if the hub has Uplink port, then use straight Ethernet cable. Be sure that the power adapter is plugged in securely and power is switched Be sure that the phone line from the wall outlet is DSL enabled and is connected securely to the LINE jack of your Innoband.
-
Page 41: Innoband 8012-G1 Led S
Observe the LEDs on your 8012-G1 to check if the device is functioning properly. Normal Setup Status When your Innoband 8012-G1 is powered up, after a few seconds, all the LEDs go into their correct states: Power - ON when your 8021-G1 is connected to a power source and is switched ON... - Page 42 Be sure to turn ON your 8012-G1, as well as the power outlet. 2. The LAN LED on 8012-G1 is OFF Cause Your 8012-G1 is not properly connected to a computer through the Ethernet or USB port. Solution Try the corresponding solutions: Ensure that both ends of the RJ-45 Ethernet cable are plugged in securely —...
-
Page 43: Frequently Asked Questions
Innoband 8012-G1. Thus, these computers can share a single public IP address. Can I connect a LAN to my Innoband 8012-G1? Yes, you can connect your LAN to the Ethernet port of Innoband 8012-G1. For example, you can connect multiple computers through your own DSL router. - Page 44 How do I connect to the Internet? DSL provides you a permanent, always-on, connection to the Internet. On your DSL connection, once you have installed the 8012-G1 you are not required to dial any number or make or alter any connection.
- Page 45 the fact that your computer is always connected to the Internet, the DSL security breaches are rare to come by because of the security system installed by your service provider. Besides, Windows 2000 and Windows Me have enough security feature. Windows 95/98 user can download security related patches from Mircosoft’s website.
-
Page 46: Glossary
LOSSARY In order to understand a new technology, it is important that you understand its terminology. This section offers basic explanation to some of the common networking and DSL terms. ADSL - Asymmetric Digital Subscriber Line — A Digital Subscriber Line (DSL) technology that allows digital data to be sent over existing telephone lines and the downstream data rates are appreciably higher than the upstream data rates. - Page 47 CPE - Customer Premises Equipment — The equipment installed at a customer’s premises for the DSL service, for example a DSL modem. Desktop - See Windows desktop. DHCP - Dynamic Host Configuration Protocol — A method of assigning a temporary IP address to a host, such as a computer, connected on a specific network.
- Page 48 G.DMT - An industry standard known as G.992.1, which refers to ADSL technology that uses DMT modulation and does not require a splitter box to be installed at the user’s premises. This technology supports upstream data rates of up to 8 megabits per second and downstream data rates of up to 1.544 megabits per second.
- Page 49 LED - Light Emitting Diode — An electric component that emits light (turns ON) when current flows through it. Local loop - The telephone lines running from a telephone company's central office in a local area to its customers' telephones at homes and offices. Login - The account name (user name or user ID) and/or password used to access a computer system or a Web site.
- Page 50 POTS Splitter - The POTS splitter box enables the telephone line — the plain old telephone service (POTS) — to carry voice signals and digital signals simultaneously. The DSL-enabled line is connected to the POTS splitter and the splitter provides two outputs — one containing both the POTS and DSL signals and the other containing only the POTS signals.
- Page 51 used for the subnet address. A Subnet Mask is usually represented in dotted-decimal notation, for example, 255.255.255.0. Subnet or Subnetwork - Any network that is a part of a larger IP network and is identified by a subnet address. TCP/IP - Transmission Control Protocol/Internet Protocol. A suite of communication protocols that are used by computers or networking devices on the Internet so that they can communicate with each other.
-
Page 52: Warranty Information
Fill out the next page and mail or fax to Innoband Technologies, Inc. for product registration. Warranty Information... -
Page 53: Registration Card
Registration Card Innoband 8012-G1 Product Registration Name: Company: Address: City/State/Zip: Phone: E-mail: Serial Number: Purchased from: Date of Purchase: Please cut out the above Product Registration Card and send in with a self-addressed stamped envelope to: Innoband Technologies, Inc. 1921 Concourse Drive... -
Page 54: Fcc Registration Information For Users
FCC Registration Information for Users This product is compliant and registered with the CFR47-Part 68 of the Federal Communications Commission (FCC). The FCC requires us to provide you with the following information: • Connection to the nationwide telephone network should be made by using standard modular telephone jacks, type RJ-11. -
Page 55: Contact Information
Contact Information Reach us by E-Mail: Send your questions and comments by e-mail to the following address: E-Mail: support@innoband.com Reach us by Mail: Innoband Technologies, Inc. 1921 Concourse Drive San Jose, CA 95131 Reach us on the Web: http://www.innoband.com Contact Information...