
Summary of Contents for Light Symphony iPort LS30970PORT
- Page 1 Operating Manual & Installation Guide Model: LS30970PORT Create A Scene Outdoors!
-
Page 2: Table Of Contents
Section 1 Index Section 1 - Installation Introduction Installation Installation Location Section 2 - Setup Getting Started Front Panel Set the System Code 9 - important! Light Show Setup Section 3 - Advanced Setup Introduction Connecting via a Browser Network Settings Fixed IP Address Router &... -
Page 3: Section 1 - Installation
Section 1 Installation Introduction The Light Symphony iPort provides a link between the iSymphony app on your smart phone, tablet or computer and the wireless Light Symphony system. If you do not have the app already, please search for ‘iSymphony’... -
Page 4: Installation
Section 1 Installation Installation Please check you have all the following parts... Power Adaptor RJ45 Cable iPort Using the supplied cable, connect the iPort to a spare LAN port on the back of your existing WiFi router and connect the aerial and power adaptor; (existing) Home Router iPort (rear) -
Page 5: Installation Location
Section 1 Installation Installation Location Please give some thought to the physical location of your iPort. It has a wireless range of 1,000m but walls and other obstacles can reduce this considerably. Consider that it needs to transmit reliably to the lighting controllers, which are often located in the garden or garage etc. -
Page 6: Section 2 - Setup
Section 2 Setup Getting Started The iPort requires very little setup, please follow these steps: Connect & power the iPort - page 4 Set the System Code - page 9 Check the wireless range / reliability - page 5 Create or control your lighting zones - page 7 Step 1 - Connect &... - Page 7 Section 2 Setup Getting Started continued.. Step 4 …- Create or control your lighting zones... If it’s a new installation, first create some lighting Areas (zones) to control. This means teaching each Lighting Controller (receiver) which outputs to include in each Area (zone) e.g. Area (zone) 1 Output 1 Area (zone) 2...
-
Page 8: Front Panel
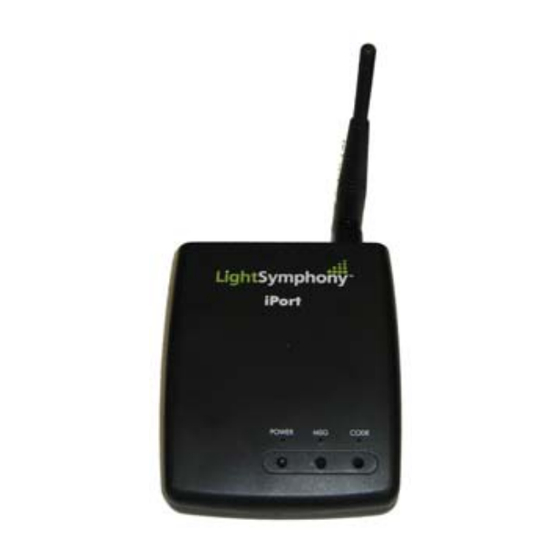
Section 2 Setup Front Panel The iPort includes a few simple set-up buttons, as shown below; POWER POWER CODE CODE The indicators provide the following information; POWER On : Power is on and iPort is ready for use. Flashing : no connection to network (RJ45 cable) or the DHCP server is not found. -
Page 9: Set The System Code
Set the ‘System Code’ The ‘System Code’ prevents your iPort from interfering with your neighbour’s Light Symphony system and vice-versa. Factory default is System Code = 1, so it’s important that it is changed to avoid interference. Pick any new random number from 2 to 31, for example your house number. -
Page 10: Light Show Setup
Section 2 Setup Light Show setup The iPort includes a Light Show feature, which is only required for controlling and synchronising coloured (RGB) LEDs. By default this feature is disabled. To use the Light Show feature you must first create an Area (zone) to be controlled. -
Page 11: Section 3 - Advanced Setup
Section 3 Advanced Setup Introduction By default, the iSymphony app only works when it’s at home and connected to your home WiFi network. To allow control from elsewhere the router and iPort must be configured to accept a connection originating from outside the home i.e. -
Page 12: Connecting Via A Browser
Section 3 Advanced Setup Connecting via a Browser The iPort contains a simple web server for configuration purposes. Please follow the installation steps in Sections 1 and 2 to connect it to the local network first. Next, open a web browser on a PC connected to the same local network and enter the address ‘http://light-symphony/’... -
Page 13: Network Settings
Section 3 Advanced Setup Network Settings Select the ‘IP Setup’ tab to configure the iPort for external control, using a fixed IP address;... -
Page 14: Fixed Ip Address
Section 3 Advanced Setup Fixed IP Address Un-tick the “Set IP Address automatically” (see page 13) and set a fixed IP address for the iPort that’s away from the router’s DHCP range, e.g. 192.168.xxx.250. Click the SAVE button and the iPort will re-boot to the selected address... -
Page 15: Router & App Configuration
Section 3 Advanced Setup Router & App Configuration The network router must also be configured to forward an incoming connection on UDP port 10001 to the iPort, at the IP address you set e.g. 192.168.xxx.250. For more information, please consult your router’s documentation on ‘port forwarding’... -
Page 16: Specifications
Specifications Supply 9VDC (regulated) 200mA Power Consumption 434.075MHz, 25mW Narrow Band FM Protocol Light Symphony Weight 0.3Kg with PSU Size 120mm x 100mm x 30mm Electrical Safety : Low-voltage, isolated device requiring no special electrical precautions or earth EMC emission/immunity EN 50081 - 1/ To EN 50082 –...
Need help?
Do you have a question about the iPort LS30970PORT and is the answer not in the manual?
Questions and answers