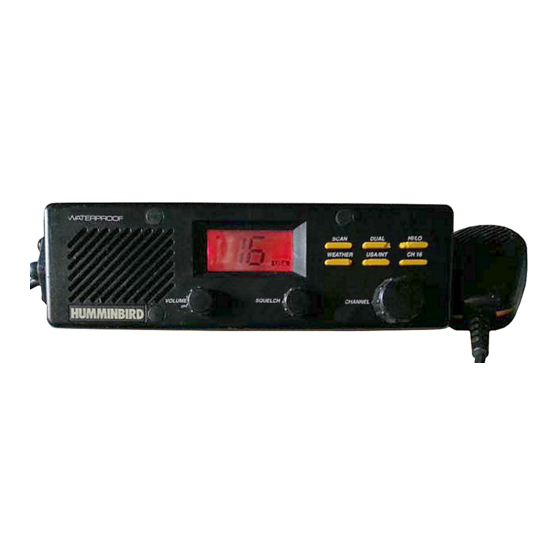
Summary of Contents for Humminbird DC 25
- Page 2 A high Quality antenna will maximize your transmit range and reception clarity, and compliment your Humminbird VHF radio. You can use your Humminbird VHF radio with any other quality marine band antenna . If you intend to use a previously installed antenna, check it before installing your radio to make sure all connections are tight and free of corrosion.
- Page 3 Installing The VHF Radio Installation Location The first step in installing the Humminbird VHF radio is to determine the best mounting location. The gimbal mount included with your radio offers mounting capabilities for the top or bottom of a shelf, the bulkhead, or overhead. The radio can be tilted up or down on its mount to allow maximum ease of viewing and operation.
- Page 4 For additional tips on mounting locations, see “Installation Location” earlier in this manual. Note: Do not operate the Humminbird VHF radio without a 50-ohm marine band antenna. Attempting to do so may damage the unit. Humminbird is not responsible for damages caused by operation without an antenna or with an inappropriate antenna.
-
Page 5: Testing The Installation
TESTING THE INSTALLATION After connecting your antenna to the Humminbird VHF radio, you’re ready to verify that it is properly installed and powered up. Turn the radio volume knob to the right. The LCD screen should light up and display the number 16 (for the preselected Channel 16). - Page 6 VOLUME ON/OFF turns power to the radio on and off, and controls the volume of both the built-in speaker and any auxiliary speaker connected to the radio. When power is first turned on, the radio is automatically set to Channel 16 (emergency and calling) in the USA frequency band. SQUELCH eliminates background noise when the radio is not receiving a signal and controls the sensitivity of the scan function.
- Page 7 HI/LO selects the power level for transmission. HI transmits at the maximum legal wattage for each channel, usually 25 watts; LO transmits at 1 watt. Use LO for in-port or short-range communications, HI for longer range communications. The current HI/LO selection is indicated on the LCD screen.
-
Page 8: The Lcd Screen
Humminbird factory or to an authorized service center. THE LCD SCREEN The Humminbird VHF radio’s LCD screen keeps you informed of the current state of the communications set-up. HI or LO indicates whether you are set to transmit at the maximum legal wattage for the current channel, or at the lower 1 watt of power. - Page 9 Note: Do not operate the Humminbird VHF radio without a 50 ohm marine band antenna. Attempting to do so may damage the unit. Humminbird is not responsible for damage caused by operation without an antenna or with an inappropriate antenna.
- Page 10 To use this function, select any channel for receiving (for example, a weather channel). Then, press the DUAL button. The radio remains tuned to the channel you selected, but will switch to Channel 16 immediately if a signal is detected. To cancel dual watch, press the Dual button again.
- Page 11 Note: If you receive a distress message and are sure the caller is not in your vicinity, wait a short time for others to acknowledge the call. Placing an Emergency Call To place an emergency call, press the CH 16 button to select Channel 16 (emergency and calling channel).


Need help?
Do you have a question about the DC 25 and is the answer not in the manual?
Questions and answers