
Subscribe to Our Youtube Channel
Related Manuals for Garry ULTRA LIGHT


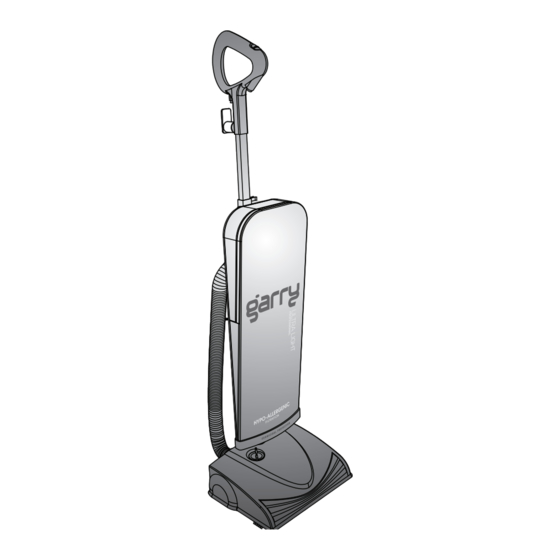
Summary of Contents for Garry ULTRA LIGHT
- Page 1 ULTRA LIGHT PROFESSIONAL VACUUM WWW.GARRYVAC.COM OWNER’S MANUAL WWW.GARRYVAC.COM GV061813DRT...
-
Page 2: Table Of Contents
Ultra Light Professional Vacuum is one TROUBLESHOOTING product you can’t live without! LIFETIME WARRANTY PLEASE READ ALL SAFETY INSTRUCTIONS IN THIS PRODUCT MANUAL BEFORE USING THE GARRY® VACUUM. FOR HOUSEHOLD USE ONLY. FOR MORE INFORMATION VISIT: WWW.GARRYVAC.COM KEEP THIS PRODUCT MANUAL FOR FUTURE REFERENCE. -
Page 3: Important Safety Instructions
ƒ Use the Garry® vacuum only as described in this manual. Use only manufacturer recommended attachments. Upper and Lower ƒ Do not use with a damaged cord or plug. If your Garry® vacuum cleaner is not working as it Bag Door should, discontinue use immediately and have it repaired at an authorized service center. -
Page 4: Box Content
BOX CONTENTS ASSEMBLY INSTRUCTIONS 1. Outer Bag 6. Middle Tube 11. Crevice Tool 2. Hypo-Allergenic Bag 7. Handle 12. Upholstery Tool 3. Hose 8. Handle Tube 13. Round Nozzle STEP 1 4. Power Base 9. Power Cord Tool 5. Extension Wand 10. - Page 5 (Assembly Instructions continued) Step 5 STEP 3 Remove the 2 nuts and bolts Gently insert the hose into the from the handle. Insert handle hose attachment socket and tube into the square tube on twist clockwise until it softly the bag as shown. Verify the clicks.
-
Page 6: Cleaning
(Assembly Instructions Continued) CLEANING • The outer bag (the large black outer vacuum bag with the Garry® logo) is not washable. STEP 7 You can clean it by using a damp cloth or lint brush. • If you inadvertently spill dirt inside the outer vacuum bag (the large black outer vacuum Wind the cord around the upper bag with the Garry®... -
Page 7: Instructions For Use
Do not try to reuse quickly remove the entire cord length by simply a bag. The Garry® vacuum cleaner makes it easy to twisting the upper cable hook 1/2 turn and removing check and replace the bag. You can easily check to see the entire cord. -
Page 8: Changing The Belt
After some time, string and other debris may start to accumulate on the roller. To keep your Garry® vacuum running as efficiently as possible, the debris should be removed. To do this, turn the vacuum over so the roller is viewable and accessible. With a sharp pair of scissors, carefully cut the debris from the roller by cutting parallel to the roller. -
Page 9: Troubleshooting
TROUBLESHOOTING TROUBLESHOOTING (CONTINUED) If you experience problems with your Garry® vacuum cleaner, please review the following before contacting customer support. If you still require assistance, please refer to the WARRANTY section near the end of this manual for Customer Support contact information. -
Page 10: Lifetime Warranty
In OR OTHER PROCEEDING WHERE YOU REPRESENT OTHER PERSONS OR OTHER PERSONS REPRESENT order to obtain a replacement vacuum, you will be required to return your damaged Garry ®...
Need help?
Do you have a question about the ULTRA LIGHT and is the answer not in the manual?
Questions and answers
I need the top switch that turns the sucking part to the vacuum. Or do I need the motor it got twisted off. The vacuum is mod GL120