Advertisement
Quick Setup Guide
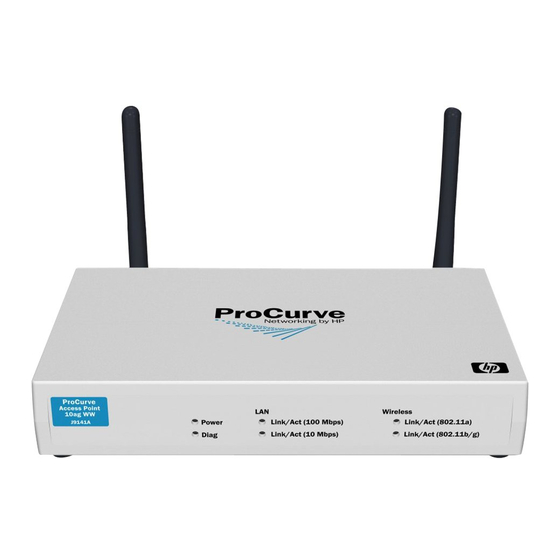
for the ProCurve Wireless
Access Point 10ag
This guide provides quick setup instructions. For detailed
instructions, see the ProCurve Wireless Access Point 10ag
Installation and Configuration Guide.
Note
Typical AP 10ag Network Installation
The Access Point (AP) does not have a power
switch. It is turned on when power is connected
through one of the following methods:
the AC power adapter, or
the LAN cable when it is connected to a PoE
(Power over Ethernet, IEEE 802.3af) switch
or similar device.
1
Advertisement
Table of Contents

Summary of Contents for ProCurve 10ag
-
Page 1: Quick Setup Guide
Quick Setup Guide for the ProCurve Wireless Access Point 10ag This guide provides quick setup instructions. For detailed instructions, see the ProCurve Wireless Access Point 10ag Installation and Configuration Guide. Note The Access Point (AP) does not have a power switch. - Page 2 AP 10ag Factory-Default Settings To set up your AP 10ag on your network, you will need to know its factory-default settings: Parameter Factory Default Setting User name admin Password password IP address 192.168.1.14 Subnet mask 255.255.255.0 Default gateway not set Radio mode 802.11 b/g (disabled)
- Page 3 Connect an Ethernet LAN cable directly from your PC to the AP 10ag. Connect the supplied AC power adapter to the AP 10ag and a power outlet. This turns the AP 10ag on. Verify that the AP 10ag properly boots up. For information on the behavior of the front panel LEDs, see the Installation and Configuration Guide.
- Page 4 Install the AP 10ag on Your Network Verify wireless communications with the access point. Connect the AP 10ag to your network, and verify that a PC with matching wireless network settings can connect to the access point. Then install the access point in the network location of your choice.


Need help?
Do you have a question about the 10ag and is the answer not in the manual?
Questions and answers