
Related Manuals for Swann PRO-681


Summary of Contents for Swann PRO-681
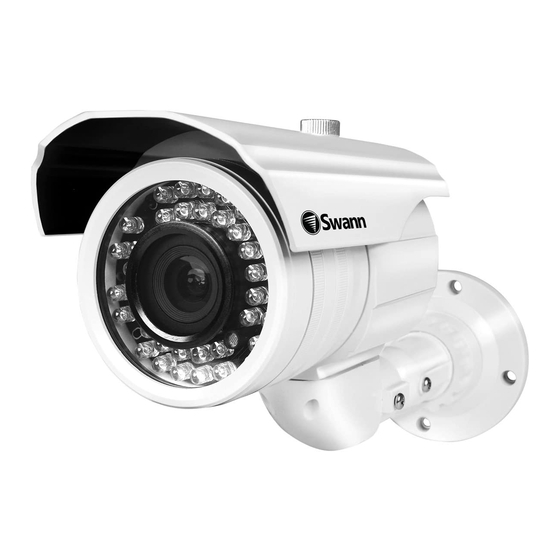
- Page 1 English PRO-660 PRO-670 PRO-680 PRO-661 PRO-671 PRO-681 Advanced Features: On-Screen Display MOSD06052011...
-
Page 2: Table Of Contents
About the OSD So - you’ve got one (or more!) of Swann’s range of PRO cameras, and you want to use some of the advanced features. Good call! It may seem a little tricky at first, but it’s pretty easy once you’re up and running. -
Page 3: Thers485 Controller
The RS485 Controller Quick Adjust - Quick Adjust + Arrow Buttons Main Menu The arrows are used to navigate through the main menu. Quick Config Save Quick Config Using the Quick Configuration The Quick Config button will give you instant access to the following settings: 1. -
Page 4: Connection Guide
Connection Guide 1. Connect the DC in plug on the camera cable to the DC out pin on the end of the extension cable. 2. Connect the BNC connector on the camera cable to the BNC connector on the extension cable. 3. - Page 5 Attaching the RS485 Plug 1. Using a small, flat blade screwdriver, loosen the two screws. 2. Observing the adjacent diagram, insert the PURPLE/RED wire into the LEFT/ UPPER port, and tighten the screw so that it is held securely. 3. Repeat with the GREY/BLACK wire into the RIGHT/LOWER port.
-
Page 6: Menu Structure
Menu Structure Shutter Brightness Exposure DWDR Cam Title Motion Special Privacy Font Color Image Adj Display Setup White Balance WB Manual Backlight Reset Factory Default... -
Page 7: Setup (Main) Menu
Setup (Main) Menu Exposure: Controls how sensitive the camera will be to light. Press SELECT to enter the Exposure sub-menu (page 9) to access the detailed exposure controls. Note: As the cameras have fixed iris lenses, control over exposure is determined by the electronic shutter (that is, how long each frame is “exposed”... -
Page 8: Setup Menu: Continued
Setup Menu: Continued AWC --> SET: Allows you to create a custom white balance. You’ll need a sheet of thick white card/paper. Hold the paper in front of the camera so that it covers just over half the viewing area. If you are using a camera with a vari-focal lens (such as the PRO-680/681) adjust the focus so that the piece of paper’s edge is sharp and clear. -
Page 9: Exposure Menu
Exposure Menu From the EXPOSURE menu, you can control how the camera reacts to lighting conditions. SHUTTER: This setting controls the behaviour of the electronic shutter. In a nutshell, it controls how long the camera will expose each frame. The longer that the electronic shutter is “open”, the more light it will let in. -
Page 10: Dwdr Menu
DWDR Menu DWDR (Digital Wide Dynamic Range) Menu You can change and set the way that the camera captures and represents different lighting conditions. LEVEL: The higher you set the LEVEL, the more dynamic your images can be. It works by changing how the camera interprets data from the CCD (the actual image sensor). -
Page 11: Special Menu
– you won’t be able to remove it! A better option is to apply a privacy setting on your DVR (if your DVR supports it). The Swann DVR-2600 series and the DVR-2550 series support privacy masking. -
Page 12: Motion Menu
Motion Menu AREA SELECT: Choose which areas of the camera’s view that you’d like to configure. You can have up to four areas defined and active simultaneously, which can overlap or be quite discrete. AREA STATE: Whether the area has motion detection enabled or not. A disabled area retains its border definitions, size and placement, but will simply not register activities. -
Page 13: Image Adjustment Menu
Image Adjustment Menu IMAGE ADJ.: The Image Adjustment menu allows you to control many aspects of the camera’s pictures. LENS SHAD.: If your lens is exposed to direct light, the LENS SHADE option can improve the quality of your images. When this is ON, the camera will automatically adjust the content of your images to remove as much as possible of the direct light. -
Page 14: Inage Adjustment Menu: Continued
Image Adjustment Menu: Continued FONT COLOR: What colors the on-screen text will be. There are fifteen options, the default (white) is #3. The text will always have a black border. CONTRAST: Controls the dynamic range of the camera’s output. The higher the contrast, the greater the difference between the blackest black and the whitest white will be. -
Page 15: Crt Adjustment Menu
CRT Adjustment Menu PED LEVEL: Altering the PED level will slightly alter the output voltage of the composite video out, altering the way that a CRT monitor will build images by combining the red, green and blue pixels on screen. Higher values will give brighter images, particularly in darker areas of greyscale. -
Page 16: Lcd Adjustment Menu
LCD Adjustment Menu GAMMA: Allows you to fine tune the gamma reproduction curve of your monitor. This is an expert feature, and intended for advanced users only. If you want to make adjustments to your images, we suggest using the Image Adjustment menu and the options located therein: the vast majority of outcomes achievable by using the GAMMA adjustment setting here can also be achieved, more easily and accurately, by tweaking the Brightness and Contrast settings on the ProcAmp. -
Page 17: Backlight Compensation Menu (Blc)
Backlight Compensation Menu (BLC) AREA SELECT: Choose which areas of the camera’s view that you’d like to configure. You can have up to four areas defined and active simultaneously, which can overlap or be quite discrete. AREA STATE: Whether the area has backlight compensation enabled or not. A disabled area retains its border definitions, size and placement, but will simply not register activities. -
Page 18: Highlight Compensation Menu (Hlc)
Highlight Compensation Menu (HLC) LEVEL: Sets when highlights will be masked. The lower the value, the lower the required luminance value will be for the camera to mask it, and thus the more areas of the screen will be masked. MODE: You can choose when HLC will be active. -
Page 19: Manual White Balance Menu
Manual White Balance Menu COLOR TEMP: Color temperature (technically measured in degrees kelvin) is a measurement of the average wavelength of light being photographed. Artificial lights (particularly older style tugnsten bulbs) have a low color temperature, somewhere between 3000°K and 3500°K, and this appears to be an orange/yellow color. -
Page 20: Technical Support
Any unit which proves defective during the stated period will be repaired without charge for parts or labour or replaced at the sole discretion of Swann. The end user is responsible for all freight charges incurred to send the product to Swann’s repair centres. The end user is responsible for all shipping costs incurred when shipping from and to any country other than the country of origin.
Need help?
Do you have a question about the PRO-681 and is the answer not in the manual?
Questions and answers