Advertisement
Advertisement
Table of Contents

Subscribe to Our Youtube Channel
Related Manuals for Nexstar CX 3.5

Summary of Contents for Nexstar CX 3.5
- Page 1 U S E R ’ S M A N U A L...
-
Page 2: Package Contents
Package Contents: NexStar CX 3.5” SATA to SuperSpeed USB 3.0 External Hard Drive Enclosure 3.5" NexStar CX HDD Enclosure Power Adapter USB 3.0 Cable (3ft A to B Cable) Enclosure Stand User’s Manual Installation Screws U S E R ’ S M A N U A L TRADEMARKS MS-DOS, Microsoft, Windows NT/2000/XP/Vista/7 are trademarks of Microsoft Corporation. -
Page 3: Table Of Contents
........................02 2. Specifications/Features ..................03 3. System Requirements ..................04 4. Parts Layout ........................05 5. Installation 5.1 Hardware Installation ....................06 6. Disconnecting the NexStar CX ..............09 7. Creating A New Partition ..................10 8. Warranty ...........................13 9. Contact ..........................13 Table of Contents... -
Page 4: Introduction
1. Introduction: Vantec introduces the NexStar® CX 3.5" SuperSpeed USB 3.0 External Hard Drive Enclosure, ideal for anyone in need of storing and transfer- ring large amounts of data. Integrated with the latest USB 3.0 technology, performance is increased by 10 fold offering maximum speeds of up to 5 Gbps. -
Page 5: Specifications/Features
2. Specifications/Features: NexStar CX SuperSpeed SATA to USB 3.0 External 3.5” HDD Enclosure: Features: • Maximum Transfer Rates Up to 5 Gbps With USB 3.0 • Maximum Transfer Rates Up to 480 Mbps With USB 2.0 • Backward-Compatible with USB 2.0 or 1.1 •... -
Page 6: System Requirements
3. System Requirements: Mac OS 10.4 & greater Microsoft Windows XP/Vista/7 For USB 2.0 speeds, the system must For USB 2.0 speeds, the system must support USB 2.0 specifications support USB 2.0 specifications For USB 3.0 speeds, the system must For USB 3.0 speeds, the system must support USB 3.0 specifications support USB 3.0 specifications... -
Page 7: Parts Layout
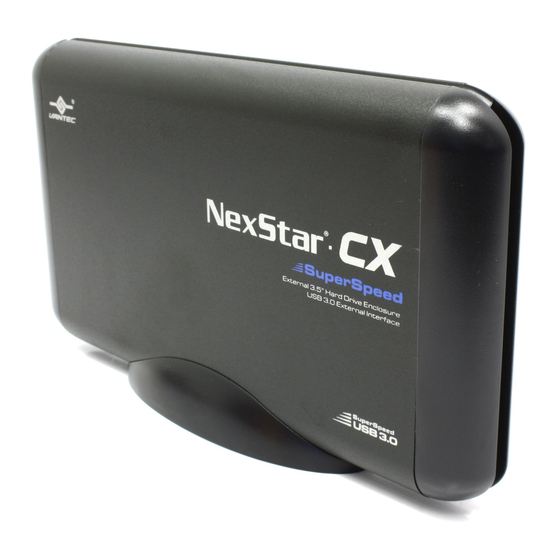
4. Parts Layout: NexStar CX SuperSpeed SATA to USB 3.0 External 3.5” HDD Enclosure: Aluminum Housing LED Cable SATA/Power Connector Hard Drive Caddy Parts Layout... -
Page 8: Installation
5. Installation: NexStar CX SuperSpeed SATA to USB 3.0 External 3.5” HDD Enclosure: 5.1. Hardware Installation: Preparing the hard drive: If there are jumper settings on the hard drive, please set the hard drive jumpers to MASTER or SINGLE DRIVE ONLY. Please refer to the hard drive manufacturer’s... - Page 9 Installing the hard drive to the NexStar CX SuperSpeed: (1) Connect the SATA and power connector to the hard drive as pictured. ( figure 5.1-B ) ( figure 5.1-B ) (2) Align the hard drive mounting holes with the holes on the back of the drive caddy and secure the hard drive with the screws provided.
- Page 10 NexStar CX SuperSpeed and automatically install the necessary drivers. Once your operating system finishes setting up the NexStar CX, it will mount your hard drive. On Mac OS systems, the new volume should appear on desktop. On a Windows PC, the new volume will appear under My Computer.
-
Page 11: Disconnecting The Nexstar Cx
WARNING : NEVER remove the NexStar CX SuperSpeed while the hard drive is in use. Doing so may corrupt the data on the hard drive or damage the hard drive, NexStar CX SuperSpeed and the computer. Disconnecting the NexStar CX... -
Page 12: Creating A New Partition
7. Creating A New Partition: For Windows XP/ Vista/7 Users: NOTE : Right click on “My Computer” and choose Most hard drives should come with a CD that “Manage”. ( figure 7-A ) includes an installation program. If not, a download Under “Storage”... - Page 13 Follow the directions of the wizard. The recommended type is “primary” and VANTEC the recommended file system is “NTFS.” Please note that Windows® XP/Vista/7 limits FAT32 partitions to only 32GB. ( figure 7-C ) Windows Disk Management will format and partition the disk according to your settings.
- Page 14 Finder menu bar. through a PC system first. Once formatted, connect Select Disk Utility which is in the Utilities the NexStar Enclosure to your Mac and run the Disk Folder. Utility Tool again. The Disk Utility Tool should be When the Disk Utility window is open, select...
-
Page 15: Warranty
8. Warranty: The NexStar CX SuperSpeed comes with a 1 year limited warranty ( 90 day parts ) . If your unit should become defective within that time frame, please go to www.vantecusa.com for information on how to receive warranty exchange or repair.
Need help?
Do you have a question about the CX 3.5 and is the answer not in the manual?
Questions and answers