Table of Contents
Advertisement
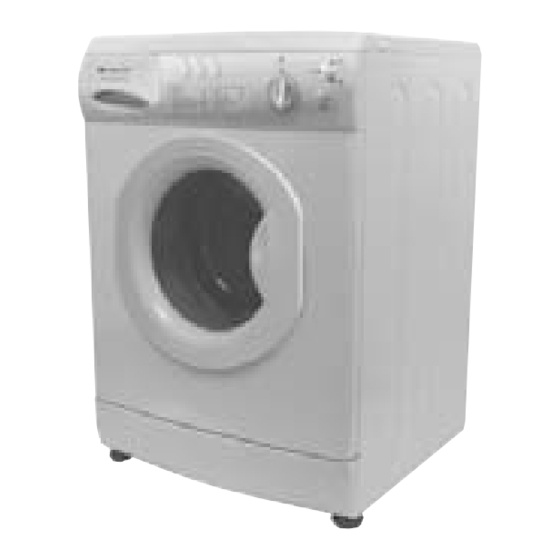
INSTRUCTIONS on INSTALLATION & USE for the FIRST EDITION RANGE
Hotpoint recommends, for your own safety and to ensure you get the best possible results from your
Washing Machine, you read through this booklet and follow these steps thoroughly.
STEP 1
Electrical Guide
Choose a location for your washing
machine where possible on a solid floor,
with the electrical sockets and water
supply tap easily accessible.
Allow sufficient space: 600mm width,
600m depth and 900mm height.
DO NOT install in a bath or shower
WARNING: This appliance must be earthed.
STEP 3
Dispenser Drawer
Read through this section to familiarise
yourself with the different
compartments within the dispenser
NOTE: Always follow manufacturer's dosage
STEP 5
Using your Machine
How to start your selected programme
and how to stop or change the
programme if so required.
NOTE: Progress indicator lights show what stage in
the programme cycle has been reached.
STEP 7
A Typical Wash Programme
A picture guide provides a clear
explanation how to set a wash
DO NOT overload the washing machine.
NOTE: Hotpoint recommend, on completion of
your programme, that you switch off both the
electricity and water supply to the appliance.
Read the rest of these instructions to get the best from your appliance, remember to fill in your guarantee registration.
FEW14, FEW12, FEW10
room.
drawer.
recommendations.
programme.
Keep this Book in a safe place for quick reference.
STEP 2
Installation Guide
Dispose of packaging material in a safe
place and remove any labels.
Please read instructions thoroughly to
ensure you understand each stage
before you begin.
Remember you may be charged for a service call if a
problem with your washing machine is caused by
incorrect installation or misuse.
STEP 4
Programme Selector Dial
A wash chart is provided to help you to
select your required programme.
Examples given for the maximum washing load
weight for different fabric types.
STEP 6
Options Guide
All available optional wash features are
explained within this section - These
allow you to adjust your selected wash
programme to suit your needs.
NOTE: In addition to the temperature of the
incoming water, the selection of optional wash
features will affect the programme times.
STEP 8
Troubleshooting
Please refer to the Troubleshooting
section if you have any problems when
using your washing machine.
READ BEFORE
There may be nothing wrong!
CONTACTING
SERVICE!
Advertisement
Table of Contents

Related Manuals for Hotpoint FEW10


Summary of Contents for Hotpoint FEW10
- Page 1 INSTRUCTIONS on INSTALLATION & USE for the FIRST EDITION RANGE Hotpoint recommends, for your own safety and to ensure you get the best possible results from your Washing Machine, you read through this booklet and follow these steps thoroughly. STEP 1...
-
Page 2: Getting To Know Your Appliance
Dispenser Drawer Interlocking door and release lever Hooked End Support Mains Cable Rating Plate Cold Water inlet point and attached Fill Hose (Blue connector) Two Transit Fixings (! BOTH must be removed before you use your machine). Plumbing Indicator Line label Drainage Hose Back Feet Over 1100 trained specialists, directly employed by us, ensure that you can have complete confidence in both the appliances and... -
Page 3: Technical Details
Changing the Mains Lead If you have damaged the existing lead and need a new one, contact Hotpoint Service UK on: 08709 066 066 or www.theservicecentre.co.uk (or in the Republic of Ireland on: 1850 302 200). A charge will be made. -
Page 4: Installation
CONNECT TO THE POWER SUPPLY... PLUG YOUR MACHINE INTO AN ELECTRICAL SOCKET WHICH IS EASILY ACCESSIBLE. SWITCH ON. NOTE: Hotpoint recommend extension leads are not used. Move your machine into position, take care not to trap or kink the hoses. - Page 5 CONNECT TO THE COLD WATER SUPPLY... PLEASE USE THE NEW HOSE SUPPLIED, FITTED TO THE MACHINE. Old hoses may cause leaks due to worn out washers. DO NOT REMOVE! Connect fill hose (Blue Check the cold connector) to the cold water supply is water supply tap.
-
Page 6: Programme Selector Dial
STEP 4 IMPORTANT INFORMATION: The temperature of the incoming water supply and selection of any Optional Wash Feature, ie. Energy Save, will affect the programme times*. Turn the programme selector dial from ‘OFF’ to the programme you need... Wash Fabric label Automatic Pre-wash and Wash Programmes White Cotton, Heavy soil... - Page 7 STEP 5 WARNINGS: ● In the unlikely event of something not working, see ‘Troubleshooting’ STEP 8. On-Off / Selecting a programme... The machine is switched on, by turning the programme selector dial away from the ‘OFF’ position to your selected programme. To start the programme press and release the ‘START/HOLD TO RESET’...
-
Page 8: Automatic Features
STEP 6 To select an option, press the button and you will see a light come on above the button. Button Selection: Press again to cancel, and the light will go out. You cannot alter the options once the machine is running. Super Rinse... -
Page 9: A Typical Wash Programme
STEP 7 Sort laundry into groups by washcare labels. Load the machine, making sure that the laundry is not trapped in the door. Close the door by pushing it until it clicks. When all selections have been made press the ‘START/HOLD TO RESET’... -
Page 10: Washcare Tips
STEP 8 Washcare Tips: ● Do not overload the machine (maximum load 5.5kg). In addition to reducing the quality of the wash, this may also damage your laundry and the machine. ● We strongly recommend that you do not wash underwired bras in this machine. -
Page 11: Indicator Lights
THE DISPENSER WILL NOT MY MACHINE IS LEAKING Is the drawer clogged with Is the fill hose on correctly? If not tighten it. Does the washer need Clean the dispenser drawer, see replacing? STEP 3:‘The Dispenser Drawer’ Is your water pressure too ✗... -
Page 12: After Sales Service
Republic of Ireland: 1850 502 200 Whether you have just one or a number of Hotpoint appliances in your kitchen, we offer two service cover plans to give you total peace of mind. ● Repair Protection Plan - FREE service repairs for a single Hotpoint appliance during the period of cover.
Need help?
Do you have a question about the FEW10 and is the answer not in the manual?
Questions and answers