Sign In
Upload
Download
Table of Contents
Contents
Add to my manuals
Delete from my manuals
Share
URL of this page:
HTML Link:
Bookmark this page
Add
Manual will be automatically added to "My Manuals"
Print this page
×
Bookmark added
×
Added to my manuals
Manuals
Brands
Asus Manuals
Monitor
VB195 Series
User manual
Asus VB195 Series User Manual
Hide thumbs
Also See for VB195 Series
:
User manual
(18 pages)
1
2
Table Of Contents
3
4
5
6
7
8
9
10
11
12
13
14
15
16
17
18
19
20
page
of
20
Go
/
20
Contents
Table of Contents
Bookmarks
Table of Contents
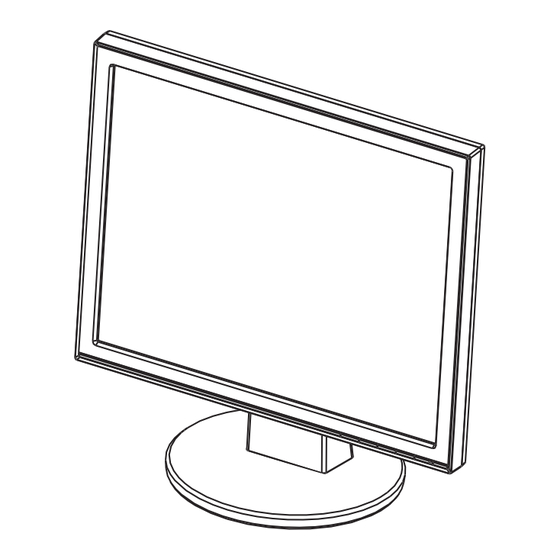
Lcd Monitor
User Guide
Table of Contents
Notices
Safety Information
Care & Cleaning
Chapter 1 : Product Introduction
Welcome
Package Contents
Assembling the Monitor Base
Monitor Introduction
Front of the LCD Monitor
Rear of the LCD Monitor
Chapter 2 : Setup
Adjusting the Monitor
Detaching the Arm/Stand (for VESA Wall Mount)
Chapter 3 : General Instruction
OSD (On-Screen Display) Menu
Advertisement
Quick Links
1
Lcd Monitor
2
Osd (On-Screen Display) Menu
Download this manual
Инструкция
Asus VB195T
Перейти в карточку товара
8 800 775 98 98
Table of
Contents
Previous
Page
Next
Page
1
2
3
4
5
Advertisement
Table of Contents
Need help?
Do you have a question about the VB195 Series and is the answer not in the manual?
Ask a question
Questions and answers
Related Manuals for Asus VB195 Series
Monitor Asus VB171 Series User Manual
Lcd monitor (18 pages)
Monitor Asus VB191T Service Manual
19" lcd color monitor (82 pages)
Monitor Asus VB191T Service Manual
19'' lcd color monitor (82 pages)
Monitor Asus VB171T Service Manual
17" lcd color monitor (79 pages)
Monitor Asus VB171S Service Manual
17" lcd color monitor (79 pages)
Monitor Asus VB171D Service Manual
17" lcd color monitor (56 pages)
Monitor Asus VB191D Service Manual
19" lcd color monitor (53 pages)
Monitor Asus VB178TL User Manual
Vb178 series (19 pages)
Monitor Asus VB175 Series User Manual
(20 pages)
Monitor Asus VB172T User Manual
User guide (22 pages)
Monitor Asus VB198T User Manual
User guide (19 pages)
Monitor Asus VB172 Series Quick Start Manual
(102 pages)
Monitor Asus VB199 Series User Manual
Vb199 series; (19 pages)
Monitor Asus VB199 Manual
(2 pages)
Monitor Asus VB199 L Series User Manual
(19 pages)
Monitor Asus VB195 L Series User Manual
(18 pages)
This manual is also suitable for:
Vb195t
Vb175t
Vb195s
Vb175d
Vb191t
Vb171 series
...
Show all
Vb191 series
Vb175 series
Vb195d
Vb195n
Vb191s
Vb191d
Vb171t
Vb171s
Vb171d
Vb175s
Vb175n
Vb191 series
Table of Contents
Print
Rename the bookmark
Delete bookmark?
Delete from my manuals?
Login
Sign In
OR
Sign in with Facebook
Sign in with Google
Upload manual
Upload from disk
Upload from URL


Need help?
Do you have a question about the VB195 Series and is the answer not in the manual?
Questions and answers