Table of Contents
Advertisement
Quick Links
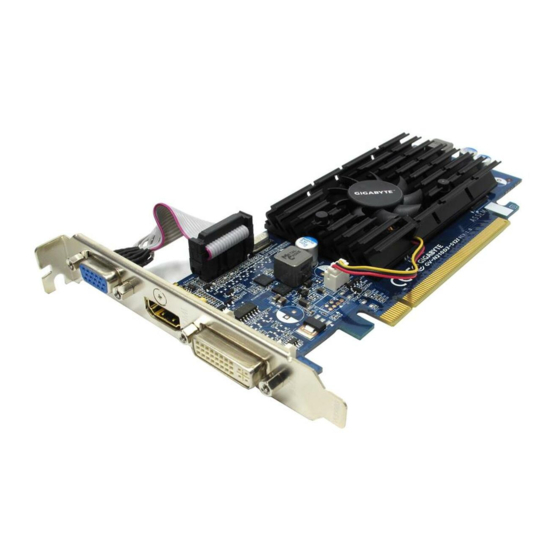
GV-N210OC-512I/
GV-N210D3-512I/
GV-N210TC-1GI
NVIDIA
GeForce
210 Graphics Accelerator
®
TM
User's Manual
Rev. 102
12MM-N210O5I-102R
Copyright
© 2010 GIGABYTE TECHNOLOGY CO., LTD
Copyright by GIGA-BYTE TECHNOLOGY CO., LTD. ("GBT"). No part of this manual may be reproduced or transmitted
in any form without the expressed, written permission of GBT.
Trademarks
Third-party brands and names are the properties of their respective owners.
Notice
Please do not remove any labels on this graphics card. Doing so may void the warranty of this card.
Due to rapid change in technology, some of the specifications might be out of date before publication of this this manual.
The author assumes no responsibility for any errors or omissions that may appear in this document nor does the author
make a commitment to update the information contained herein.
Macrovision corporation product notice:
This product incorporates copyright protection technology that is protected by U.S. patents and other intellectual property
rights. Use of this copyright protection technology must be authorized by Macrovision, and is intended for home and other
limited viewing uses only unless otherwise authorized by Macrovision. Reverse engineering or disassembly is prohibited.
Advertisement
Table of Contents


Need help?
Do you have a question about the GV-N210OC-512I and is the answer not in the manual?
Questions and answers