Advertisement
Quick Links
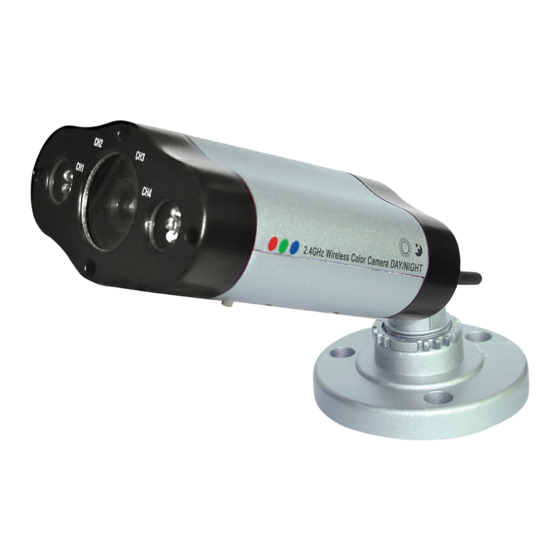
WIRLESS CAMERA-CW5700TX
1. POWER JACK
Plug the supplied AC adapter (DC 15V 250mA).
2. ANTENNA
Sends audio and video signals.
3.CHANNEL
SELECTION BUTTON
Must select the same channel on both transmitter and receiver. Press the button to
select a channel and the corresponding red LED on the front will be lit.
4. IR LED
Automatically turns on at night to view objects in darkness.
5. Mounting bracket
Install the mounting bracket on the wall or ceiling where you want to.
6. C-MIC
High sensitivity condenser microphone.
Advertisement

Related Manuals for Clover CW5700TX


Summary of Contents for Clover CW5700TX
- Page 1 WIRLESS CAMERA-CW5700TX 1. POWER JACK Plug the supplied AC adapter (DC 15V 250mA). 2. ANTENNA Sends audio and video signals. 3.CHANNEL SELECTION BUTTON Must select the same channel on both transmitter and receiver. Press the button to select a channel and the corresponding red LED on the front will be lit.
- Page 2 WIRELESS RECEIVER-CW5700RX/USB DVR 1. ANTENNA Receives the audio and video signals. 2. USB indicator The blue LED is lit when the receiver is connected to computer with USB cable. 3. POWER INDICATOR The red LED is lit when the power is on. 4.
- Page 3 AUDIO IN respectively. 13. CHANNEL SELECTION BUTTON Use to find optimal reception. Must select the same channel on both transmitter and receiver. 14. Connector to USB Transfer signal to USB connector. Product includes 1- 2.4 GHz Wireless Color Camera 1- 2.4 GHz Wireless Receiver Built-in USB DVR 1- Bracket for the Receiver to Stand 2- UL Approved AC Adapter 1- A/V (audio/video) Cable...
-
Page 4: How To Install
How to Install 1. Connect the one end (small plug) of USB cable to the jack on the receiver. 2. Connect the other end of USB connector to your computer’s USB port. Computer Wireless Receiver USB DVR connects to the computer with the provided USB cable.