Advertisement
Table of Contents
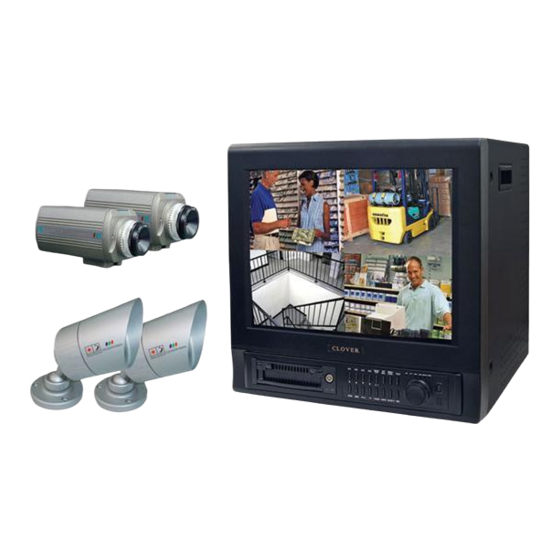
Installation
The following illustration is showing the fully installed system.
CAMERA(6 PIN MINI DIN)
CAMERA (BNC)
Audio Input
(Microphone).
VIDEO INPUT
CH1
CH2
CH3
CH4
AUDIO INPUT
ETHERNET
-
1
2
3
4
GND
RS232
+
VIDEO
AUDIO
VIDEO
AUDIO
TRIGGER OUT
RS-485
VCR OUT
MONITOR OUT
ALARM
INTERNET
COMPUTER
PTZ
TIME LAPS VCR
Advertisement
Table of Contents

Subscribe to Our Youtube Channel
Related Manuals for Clover C1704DVR


Summary of Contents for Clover C1704DVR
-
Page 1: Audio Input
Installation The following illustration is showing the fully installed system. CAMERA(6 PIN MINI DIN) CAMERA (BNC) Audio Input (Microphone). VIDEO INPUT AUDIO INPUT ETHERNET RS232 VIDEO AUDIO VIDEO AUDIO TRIGGER OUT RS-485 VCR OUT MONITOR OUT ALARM INTERNET COMPUTER TIME LAPS VCR... - Page 2 CAMERA This product can be installed up to 4 cameras. Connect the provided cameras (6 Pin Din) to the VIDEO IN on the back panel of the product. To connect a PTZ camera, connect the PTZ camera’s control line to the RS-485 (+, -) terminal and connect the video output to one out of VIDEO IN on the back panel of the product.
- Page 3 AUDIO The system includes two indoor cameras built-in Audio and two outdoor camera (without Audio) built-in IR LEDs (Infrared) to view objects in the darkness. Install two indoor cameras to any channel and select one of the corresponding channel with A-SEL button on the front panel to record the audio along with video signal or communicate with others where the camera is installed (Press the TALK button to communicate).
- Page 4 Monitor There are two video outputs (BNC) on the rear panel of this system. Connect monitors, Time Lapse VCR for backup on the tape and etc. depending on your application. VIDEO INPUT AUDIO INPUT RS232 VIDEO AUDIO TRIGGER OUT RS-485 VCR OUT TIME LAPS VCR ETHERNET...
Need help?
Do you have a question about the C1704DVR and is the answer not in the manual?
Questions and answers