Audio Note M3 Phono Owner's Information
Pre amplifier
Hide thumbs
Also See for M3 Phono:
- Owner's information (6 pages) ,
- Owner's information (8 pages) ,
- Owner's information (17 pages)
Table of Contents
Advertisement
Quick Links
Advertisement
Table of Contents

Related Manuals for Audio Note M3 Phono


Summary of Contents for Audio Note M3 Phono
- Page 1 M3 Phono PRE AMPLIFIER OWNERʼS INFORMATION...
- Page 2 CONTENTS 1) IMPORTANT SAFETY INFORMATION 2) CE DECLARATION OF CONFORMITY DISPOSAL POWER REQUIREMENTS 3) INTRODUCTION 4) OVERVIEW 5) UNPACKING AND INSTALLATION 6) CONNECTION 9) OPERATION 11) TECHNICAL SPECIFICATIONS 12) WARRANTY INFORMATION 13) CONTACT INFORMATION...
-
Page 3: Important Safety Information
! IMPORTANT SAFETY INFORMATION ! RISK OF SHOCK OR ELECTROCUTION! INTERNAL OPERATING VOLTAGES ARE LETHAL! Do not remove top cover, unless specifically instructed to do so in the user manual. This unit contains fuses and other safety components in accordance with BS60065 requirements. -
Page 4: Ce Declaration Of Conformity
BS EN 60065 in accordance with the regulations 73/23/EEC, 89/336/EEC (from 1 January 1997) CE 94 Peter Qvortrup, Director Audio Note (UK) Limited 25 Montefiore Road Hove East Sussex BN3 1RD United Kingdom... - Page 5 INTRODUCTION Thank you for purchasing this Audio Note (UK) product. With the correct care it should give you many years of pleasure and enjoyment. Please take the time to read all of the information in this manual before connecting your new component to an electrical supply or your system, to ensure both your safety and satisfaction.
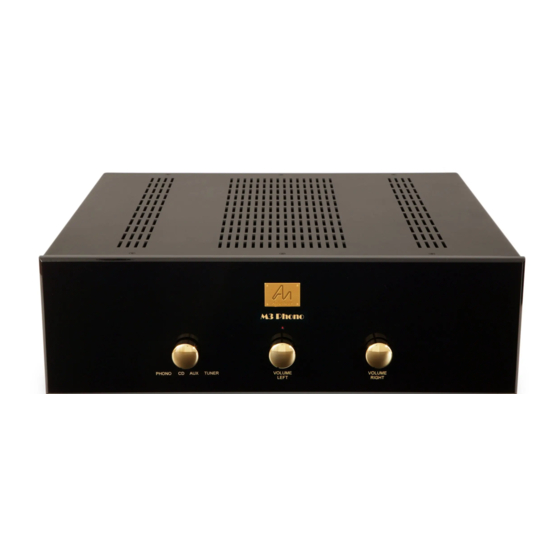
- Page 6 ʻcorrectiveʼ measures, such as inherently error-prone feedback loops. The M3 Phono Pre Amplifier features an ECC82 and 5687WB line stage, and uses a 6X5 valve rectified power supply based on the M10ʼs Galahad PSU. Audio Note (UK)
-
Page 7: Unpacking And Installation
UNPACKING AND INSTALLATION Please take care when unpacking your M3 Phono Pre Amplifier. Choose a clean, clear location to unpack your unit. Be aware that the Pre Amplifier is very heavy; before attempting to unpack or lift the unit, check the weight and if necessary use more than one person so that it can be moved safely and easily. - Page 8 RIGHT channel connection, WHITE is for LEFT channel connection. Phono input The M3 Phono is equipped with a high quality, valve, Moving Magnet (MM) phonostage. Connect the cables from your tonearm to the ʻPhonoʼ socket inputs. If your turntable is equipped with a separate earth wire, connect this to the dedicated grounding / earth post, located next to the ʻPhonoʼ...
- Page 9 CONNECTION continued… Balanced The M3 Phono is equipped with custom designed and manufactured output transformers, which utilize an improved output and grounding scheme to provide the best possible connection to the power amplifier. Below is a description of the various cable and connection options: -...
- Page 10 CONNECTION continued… CABLE CONFIGURATION OPTIONS POWER AMP INPUT PREAMP OUTPUT SCREEN XLR FEMALE XLR MALE CONVENTIONAL: SCREEN CONNECTED AT BOTH ENDS POWER AMP INPUT PREAMP OUTPUT SCREEN XLR FEMALE XLR MALE SCREEN CONNECTED AT PREAMP END ONLY, TO ELIMINATE GROUND LOOPS POWER AMP INPUT PREAMP OUTPUT SCREEN...
-
Page 11: Operation
OPERATION Once all the connections are completed and checked, ensure that the volume controls are at the minimum setting (rotated all the way left). Ensure that all source components connected to the M3 Pre Amplifier are switched ON. Source components should always be the FIRST components to be switched on and the LAST components to be switched off. - Page 12 5 years of operation. They are specially selected by us, and should only be replaced with valves of the same type and specification. Please consult your Audio Note (UK) dealer should your valves need replacing. Alternatively, feel free to contact us directly.
- Page 13 UNIT DIMENSIONS 135mm (h) x 440mm (w) x 410mm (d) SHIPPING DIMENSIONS 235mm (h) x 540mm (w) x 510mm (d) (ORIGINAL PACKAGING) Due to Audio Note (UK)ʼs ongoing research and development program, specifications are subject NOTE to change without notice.
-
Page 14: Warranty Information
Audio Note (UK) warrants this product to be free from defects in materials and workmanship for two years from the original date of purchase from an appointed Audio Note (UK) dealer, and agrees to cover the cost of parts and associated labour required to correct such defects, subject to terms & conditions. -
Page 15: Contact Information
CONTACT INFORMATION If in the future your Audio Note (UK) product requires servicing, or if you require technical support or have any questions regarding this or any of our other products, please contact your local Audio Note (UK) dealer. Alternatively, please feel free to contact us directly: -...
Need help?
Do you have a question about the M3 Phono and is the answer not in the manual?
Questions and answers