Table of Contents
Advertisement
Advertisement
Table of Contents

Related Manuals for Radio Shack CTR-117


Summary of Contents for Radio Shack CTR-117
- Page 1 CTR-117 Voice-Activated Full Auto-Stop Cassette Recorder...
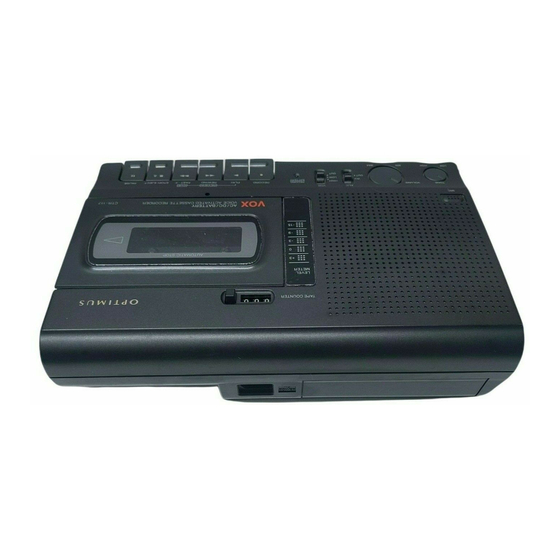
- Page 2 ! Features Microphone Jack — lets you connect Your RadioShack Voice-Activated Full Auto-Stop Cassette Recorder is a porta- an external microphone ble cassette recording system that deliv- Remote Jack — lets you connect an ex- ers quality sound from its speaker, or ternal microphone with a remote switch.
-
Page 3: Connecting Power
! Preparation CONNECTING POWER Using Battery Power You can power your recorder from any You can power the recorder with four C of these power sources: batteries (not supplied). For the longest life, we recommend RadioShack alka- • standard AC power (using the sup- line batteries. -
Page 4: Using Dc Power
When the RECORD/BATTERY indicator Follow these steps to power the record- lights during play or the sound becomes er from your vehicle’s battery. weak or distorted, or when the playing 1. Set the adapter’s 6V/9V switch to speed slows, replace the batteries. 6V and plug the adapter into the Warning: Always dispose of old batter- recorder’s... -
Page 5: Listening Safely
Insert the earphone or speaker’s -inch mm) plug to the recorder’s jack. (3.5-mm) plug into the recorder’s Connecting an external microphone au- jack. This automatically disconnects the tomatically disconnects the built-in mi- internal speaker. crophone. Listening Safely To protect your hearing, follow these guidelines when you use an earphone. -
Page 6: Operation
Use an -inch (3.5 mm) patch cord to connect the recorder’s jack to the audio source’s audio output jack. ! Operation You can use your recorder to make re- 3. Insert a cassette into the door’s tape cordings or to play your favorite cassette guides with the side you want to tapes. - Page 7 3. Rotate VOLUME TONE to the on the tape. When you release CUE/ desired settings. , the recorder FAST-F REVIEW/REWIND resumes normal play. Using the Tape Counter You can use the tape counter to note dif- ferent locations on your tape during re- cording or playback.
- Page 8 Note: Be sure the erase-protection tabs If you set , adjust VOL- are in place on the cassette tape. See so the lights to 0 LEVEL METER “Preventing Accidental Erasure” dB during the loudest portions of the Page 9. sound signal. Follow these steps to record.
-
Page 9: Tape Tips
Notes: Caution: Be careful not to damage the cassette when tapping it. Do not touch • To monitor what the recorder is the exposed tape or allow any sharp ob- recording from an external audio jects near the cassette. source, insert the supplied ear- phone’s plug into the jack on Erasing Tapes... -
Page 10: Cleaning The Tape-Handling Parts
To prevent accidental erasure of a tape recording, use a screwdriver to remove one or both of the cassette tape’s erase- protection tabs. This prevents RECORD from being pressed. If you later decide to record on a tape side after you have removed the erase- protection tab, place a piece of strong plastic tape over that side’s erase-pro- Caution: Removing the erase-protec-... - Page 11 3. Use a cotton swab dipped in denatured alcohol or tape head cleaning solution to clean the tape guides, record/play head, erase head, pinch roller, and capstan. Tape Guides Capstan Erase Head Record/Playback Head Pinch Roller 4. When you finish cleaning, press and close the cassette compart- STOP/EJECT ment door.
-
Page 12: Specifications
! Specifications Cassette Deck Tape Speed ....................1 ips (4.8 cm/sec) Tape System ..................... Two Track, Monaural Recording System ......................AC Bias Erasing System ......................DC Erase General Output Power at 10% THD ............500 mW (AC), 600 mW (DC) Speakers ..................
Need help?
Do you have a question about the CTR-117 and is the answer not in the manual?
Questions and answers