Advertisement
Quick Links
Advertisement

Related Manuals for ASAHI Pentax K2 23602


Summary of Contents for ASAHI Pentax K2 23602
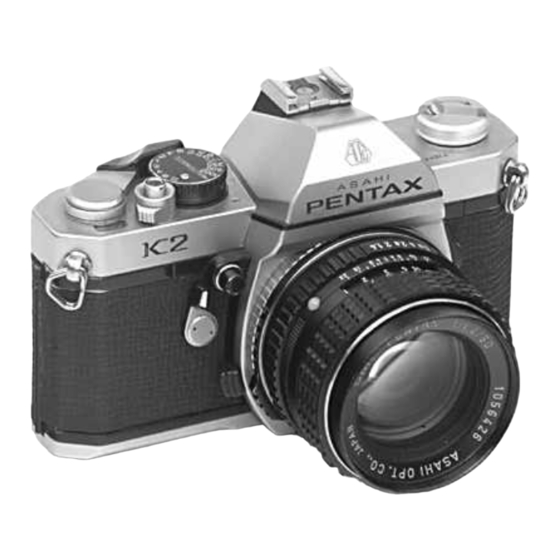
- Page 1 PRODUCT No. 23602 ASAHI PENTAX SERVICE MANUAL...
- Page 2 Disassembly There are some parts which have to be taken off with careful treatment. Top cover (A300) removal Wind lever should be set at closed position before taking off top cover. AT PREADVANCE ANGLE AT CLOSED POSITION Fig. 2 Fig. 1 Photo sensor circuit board assembly (T300) removal K2 camera is controlled with very small electric current (ex.
- Page 3 P.C. board attern assembly (T100) removal P.C. board pattern assembly (T100) can be taken out with or without removing Front Board. Pull it out hooking the large black I.C. with spring hanger. Don't touch the other I.C.s or electric parts. Fig.
- Page 4 C. Assembly and adjustments Some parts should be assembled and adjusted. with careful treatment as shown in the following. Winding stopper assembly (0-C6) Fig. 8 Winding spring (0-C23) Face the retainer screw of spring in the direction of Tripod socket, and wind the spring a little and stretch it in the direction of tripod seat.
- Page 5 Wind up top 2nd mech. plate assembly (C200) with driver and loosen wind shaft without moving main gear. Then give back-tension to sprocket gear (C16) Choose the proper coupling 2nd gear (C205) and install it in the above-mentioned way. Fig. 11 Memory block assembly (T400) After cocking mirror housing, 02mm clearance is necessary between delrin and the longer contact piece of memoiy block (T400) —...
- Page 6 Blue needle adjustment Set shutter dial to “AUTO”. Install Idle gear holder assembly (0-A12) gearing 2/3 portion with the gear of (ga1vanometer (q 1) Idle gear holder assembly (0-A12) should never touch shaft recept~cle assembly (0-D5), and the clearance is approximately 0.2-0.3mm. Fig.
- Page 7 Procedure No clearance is allowed between release plate (A503) and the lever of shutter mechanism (E000). and also the lever should not be pushed by release plate. After shutter cocking, adjust clearance to 0.3mm between Mirror Actuator lever hook plate assembly (0-B48) and its hitting part.
- Page 8 Shutter speed adjustment: Testers: Light value correction unit. TSST-3A. T adjuster (or battery), ESST-1A, digital counter, diaphragm setting ring (KA-00-lA), 23600K-A400-A. Fig. 16 Procedure: Auto speed adjustable resistor R7 (1X, ASA100, 2.8V) EV12 — 1/60 sec EV16 — 1/1000 EV16(2X) —...
- Page 9 Galvanometer installation Tester: Meter tester (MA-00-01) Needle must be absolutely horizontal between 15 and 8. Check the movable range of the needle in the upper and lower part. Fig. 18 Shutter release adjustment As shown in Fig. 19, when mirror .housing is released, dimension between Shutter Actuator plate (B61) and minor housing foot.
- Page 10 Lubricants — Mainly used — 0-B25, 0-B48, 0-B68, 0-B22 — On rewind shaft (D6) E. Special tools 23600K-C135-A 23600K-A316-A 23600K-A340-A 23600K-A19-A 23600K-C8-A 23600K-B40A 23600K-D4-A 23600K-C134-A1 23600K-C134-A2 Fig. 20 23602...
Need help?
Do you have a question about the Pentax K2 23602 and is the answer not in the manual?
Questions and answers