Table of Contents
Advertisement
Quick Links
Advertisement
Table of Contents

Subscribe to Our Youtube Channel
Related Manuals for Easypix EasyPad 700


Summary of Contents for Easypix EasyPad 700
- Page 1 User Guide...
- Page 2 Congratulations on your new EasyPad 700. Please follow the instructions in this manual carefully. Statement: If the final version of this product has any differences from the description of the user guide, please subject to the final product, as we...
- Page 3 Contents List: 1. 7” Inch Touch Digital Touch Screen Easypad 2. Adapter 3. Manual...
-
Page 4: Safety Precautions
Safety Precautions 1. Always disconnect the device from the power adaptor before cleaning. Wipe the touch screen using only a clean cellulose sponge or chamois cloth. Do not use chemicals or abrasive cleaning agents. 2. DO NOT leave the device on your lap or any part of the body for prolonged periods of time as the unit may become warm during use. -
Page 5: Front View
Overview Front View Power LED / Charge LED Home Left side View: Speaker Speaker Right side View: HDMI Out Headphone Reset Power interface Microphone Interface interface Mini-USB Interface Top View: Power Volume TF card slot... -
Page 6: Getting Started
Getting Started Charge your Easypad with the power cable for 12 hours before the initial operation. Battery Charging The EasyPad has an internal battery which you can charge with the Power Adapter Charging the battery 1. Plug in the power adapter, the battery charge indicator turns red, indicating charging. -
Page 7: Memory Card
Memory Card Insert memory card: Insert memory card into the Card slot until it is locked into place. Upper left corner of the screen will prompt: SD cards ready. Browsing files in memory card: Run “OI File manager” program, showing all the files under the root directory. Select “SD card”... -
Page 8: Storage Space
Storage Space The device has three storage spaces: internal device storage, USB memory stick and memory card. The internal device storage is named “nand”; the memory card is named “SDcard”; and the external USB memory stick is named “Udisk”. The user can use the storage space in the local disk of 2G. -
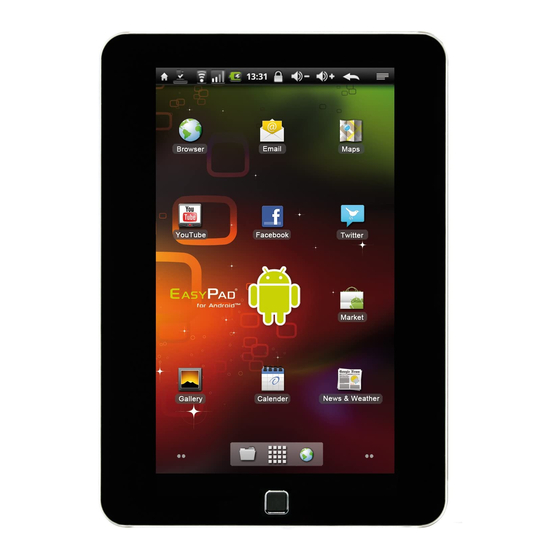
Page 9: Touch Screen
6. If the wireless network is not encrypted, select “Connect” to start the connection. 7. If the wireless network is encrypted, enter the password in the pop-up window, and click “Connect” to start the connection. 8. When the internet connections are successful, the wireless connection icon in the status bar appears. - Page 10 On-Screen Icon Guide Upload/ Message Download Download New Instant Messaging Complete WiFi service is connected, the Play Music network is available Flight mode Charging General Silent Mode Notice Alarm Clock More Open...
-
Page 11: Basic Settings
Basic Settings... - Page 12 Basic Settings Internet Connection Wi-Fi Settings 1. In the home desktop, press the “menu” button for the popup menu. 2. Click “Settings”. 3. Click “Wireless controls” 4. Click “Turn on Wi-Fi” . 5. Click “Wi-Fi Settings”. The device will automatically scan for available Wi-Fi wireless networks. 6.
-
Page 13: Sound And Display
Basic Settings Sound and Display Media Volume Setting 1. In the home desktop, press the “menu” button for the popup menu. 2. Click Settings. 3. Click on sound and display. 4. Click on the media volume to adjust the volume of music and video. 5. -
Page 14: Restore Factory Settings
Basic Settings Unlock When not working for a while on your Easypad, it will automatically go into LOCK Mode. For unlocking your pad please click the lock button of the right hand side of the screen and move upward till the middle. Restore factory settings If your device encounters a serious error or you forget your unlock password, you can reset your device back to the original factory settings. -
Page 15: Set Language
Basic Settings Date and Time The system will automatically use the network to provide the date, time zone and time. Note: If you use the automatic function to set the time and date, you cannot set your own date, time and time zone. Adjusting the Time and Date 1. -
Page 16: Troubleshooting
Contact your local authority for details of where to take the item for re-cycling. Open Source Code: http://www.easypix.info/download/easypad700/zt_source_code.zip GNU General Public License: http://www.gnu.org/licenses/gpl-2.0.html...
Need help?
Do you have a question about the EasyPad 700 and is the answer not in the manual?
Questions and answers