Table of Contents
Advertisement
Advertisement
Table of Contents

Related Manuals for Crosley iJuke CR1701A

Summary of Contents for Crosley iJuke CR1701A
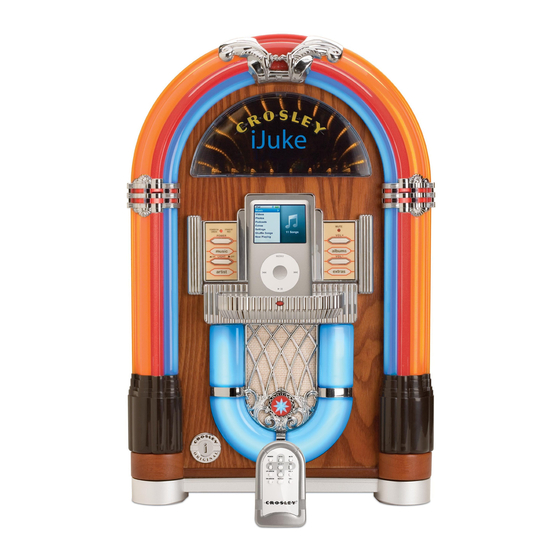
- Page 1 CR1701A iJuke Instruction Manual www.crosleyradio.com...
-
Page 2: Important Safety Instruction
IMPORTANT SAFETY INSTRUCTION PLEASE READ CAREFULLY ALL THE FOLLOWING IMPORTANT SAFEGUARDS THAT ARE APPLICABLE TO YOUR EQUIPMENT 1. Read Instructions - All the safety and operating instructions should be read before the product is operated. . Retain instructions - The safety and operating instructions should be retained for future reference. 3. - Page 3 WARNING: TO PREVENT FIRE OR SHOCK HAZARD, DO NOT EXPOSE THIS APPLIANCE TO RAIN OR MOISTURE. DO NOT REMOVE COVER. PILOT LAMPS SOLDERED IN PLACE. NO USER SERVICEABLE PARTS INSIDE. REFER SERVICING TO QUALIFIED SERVICE PERSONNEL. CAUTION RISK OF ELECTRIC SHOCK DO NOT OPEN CAUTION: TO REDUCE The lighting flash with...
-
Page 4: Table Of Contents
Welcome Table of Contents Thank you for purchasing the Crosley iJuke Getting Started (CR1701A).Before operating this unit, please Control Locator...... 4-5 read this manual thoroughly and retain it for future reference. Unpacking......6 Set Up........6 About This Manual Basic Operation Using your iJuke.... -
Page 5: Control Locator
Control Locator Unit Controls 1 Power Indicator 2 Power On/Off 3 Lights On/Off 4 Universal Dock 5 Remote Sensor 6 Speakers 7 Mute Indicator 8 Volume Up 9 Volume Down 10 Remote Storage 11 Auxiliary Input (Aux In) 12 Speaker Jacks Internal / External Speaker Switch (EXT. - Page 6 Control Locator Remote Controls 16 Power 17 Backward Skip POWER MENU MUTE 18 Play / Pause SELECT Up Select Down Select UP ARROW VOL + 21 Repeat 22 Select DN ARROW REPEAT VOL - 23 Menu 24 Mute 25 Forward Skip 26 Volume Up 27 Volume Down...
-
Page 7: Unpacking
Getting Started Unpacking Remove unit from box and remove all packing materials. Note: Save the box and packing materials in case the unit needs to be transported or returned. Remove plastic safety cover from A/C plug. Remove tie from A/C cord. Remove tie from A/C adapter. -
Page 8: Basic Operation
Basic Operation Using your iJuke The iJuke features the Universal Dock that uses Press the Power button to turn iJuke on. dock adapters that come with newer iPod models. Before inserting your iPod, you will need to install Browse your iPod for songs and press the the correct dock adapter. -
Page 9: Remote Control
Basic Operation Remote Control Lights Included with your iJuke is a full function remote To turn on the lights, press the Light button on control. It allows you to control the main power and the front of the unit. volume of the iJuke and also gives you complete control of your iPod including menu functions on Adjust the Stage Light Switch to Stop or Run to most iPod models. -
Page 10: Connecting Optional Equipment
Connecting Optional Equipment External Outputs Auxiliary Inputs The iJuke is equipped with external speaker outputs You can connect external audio devices such as CD which will allow you to hook up external speakers. Players or other MP3 players by using the Auxiliary Input (Aux In) jack and the supplied Auxiliary cable. -
Page 11: General
General Troubleshooting There’s no power? The AC adapter is not connected. Check to make sure it is plugged in correctly. There’s no sound? Make sure the mute function is turned off. Check that the volume is turned up by pressing Volume Up button on remote. - Page 12 This warranty is not transferable. If the product is determined to be defective during the warranty period, the unit will be repaired or replaced at Crosley Radio’s sole discretion. This warranty covers manufacturing defects and normal consumer use and...