
Related Manuals for Nikon Coolpix e1989


Summary of Contents for Nikon Coolpix e1989
- Page 1 User Guide for Nikon Coolpix e1989 Digital Camera Kishore selva babu English3700 Technical writing 1 March 2011 0 ...
-
Page 2: Table Of Contents
Table of content Preface…………………………………………………………………………………3 Introduction……………………………………………………………………………4 1. First steps……………………………………………………………………………5 1.1. Insert the Battery 1.2. Insert the memory card 1.3. Turn on the camera 1.4. Choose a language and set time 2. Shooting and playback…………………………………………………………..7 2.1. Frame a picture 2.2. Focus and shoot 2.3. -
Page 3: Preface
Preface The main objective of this user guide is to help the new customers of Nikon e1989 digital camera how to use the camera without any kind of confusion and worries. New customers usually get confused because they don’t know how to operate the camera and they feel lazy to look onto the user guide. -
Page 4: Introduction
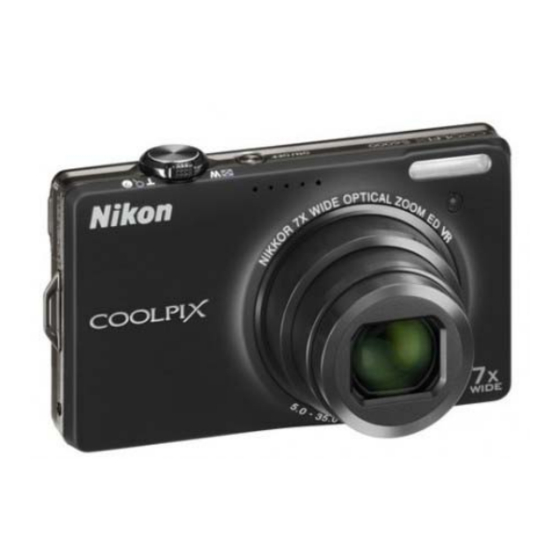
Introduction: This Nikon e1989 digital camera is the latest model released by the Nikon Company because of which the customers find it difficult to get started right away. This model has some incredible features such as 15.2 Megapixels, Wide 12x zoom, quick response and HD Movie. -
Page 5: First Steps
1. First steps 1.1. Insert the Battery: This is the first step to be done by the customer. Take the battery and insert it in the place just next to the memory card slot. If the battery gets into it in a correct way you would hear a cluck sound which. -
Page 6: Choose A Language And Set Time
1.4. Choose a language and set time: As the camera turns on you would see light on the display. Next step is to set your language and time for usage according to your wish. Choose your desired language and press the ok button. The time zone menu is displayed. Select your home time zone and press the ok button. -
Page 7: Shooting And Playback
2. Shooting and Playback 2.1. Frame a Picture: The camera automatically selects the focus area allowing the subject closest to the camera lens. 2.2. Focus and shoot: Smoothly press the shutter release button the rest of the way down and you see the picture on the monitor. (The shutter release button is shown as 3 in the picture1). -
Page 8: Transferring The Pictures To A Computer
3. Transferring the pictures to a computer 3.1. Using a Card Reader: The pictures can be transferred from the memory card to the computer using a Card Reader. Insert the memory card into the card reader and start transferring pictures to the computer. If the memory card has the capacity 2GB the computer should have more space for copying the pictures. -
Page 9: Glossary
4. Glossary 1. HD: High Definition - meaning more clear, concise and crisp picture as well as sound. 2. Memory card: A memory card (sometimes called a flash memory card) is a small storage medium used to store data such as text, pictures, audio, and video, for use on small, portable or remote computing devices. -
Page 10: Frequently Asked Questions
5. Frequently asked questions 1. How much time should we usually charge the battery for full power? Ans: Usually the battery requires charge for around 4 hours. 2. Can we use 16GB memory card with this? Ans: Yeah the Camera can resist 16GB memory Card. 3.
Need help?
Do you have a question about the Coolpix e1989 and is the answer not in the manual?
Questions and answers