Table of Contents
Advertisement
Quick Links
Operating Instructions
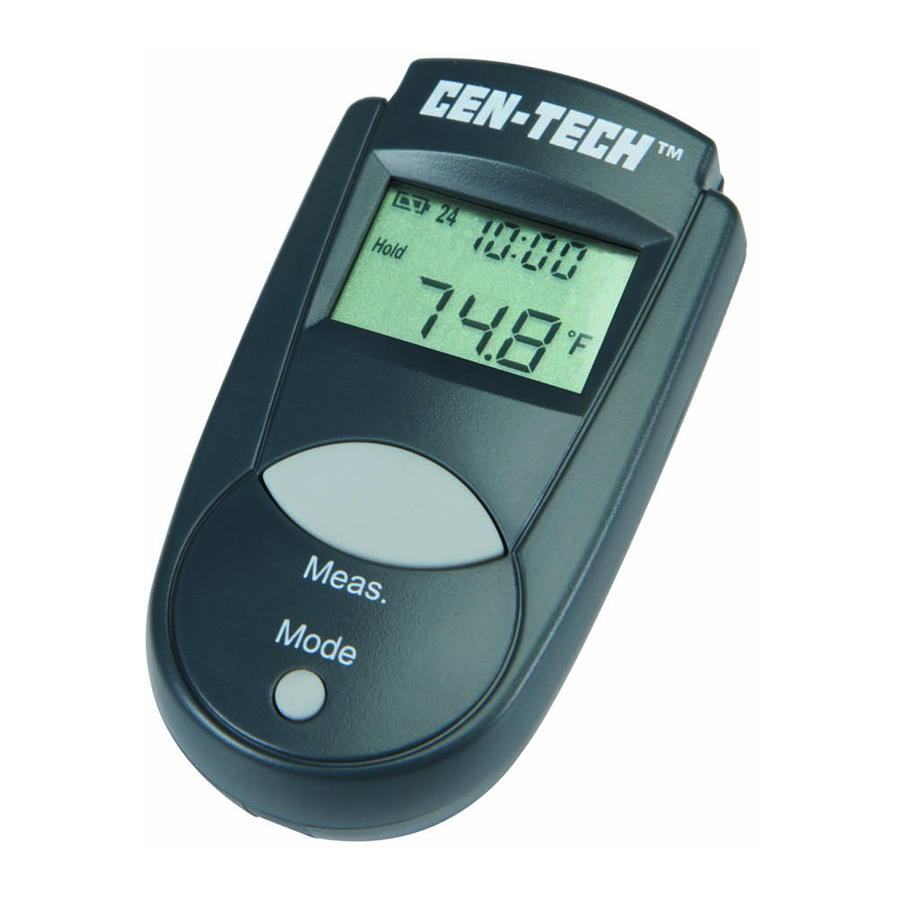
or Item 93983 Non-Contact Pocket Thermometer
F
Thank you for purchasing our non-contact infrared thermometer. Please remember to keep away from children
and don't use it for safety related applications. NOT FOR MEDICAL OR FOOD SAFETY USE.
Specifications:
Temperature measurement range: -33 to +110°C (-27~230°F)
Operating temperature range: -10 to +50°C (14 to +122°F)
Resolution: 0.1°C /°F
; 0.01sec
(for thermometer)
Accuracy (Tamb=23±3°C): +/-2% of reading or +/-2°C(4°F)
Field of View: 1:1
Emissivity: 0.95 fixed
Auto real time clock and Room temperature while power off
°C / °F Switch, MIN/MAX/LOCK, Stop Watch function
Battery Life: 40 hours continuous use (auto power off after
15seconds), The battery life is approximately 6 months.
Battery: one CR2032 lithium cell battery
Real time clock setting
1
Power on: Press the "Meas. key".
2
Press the "Mode key" six times and the "
flash, which indicates the setting screen.
3
Press the "Meas. key" to make the "24" icon flash, which
indicates the 12/24-hour setting screen.
Press the "Meas. key" again to set 12/24-hour Format from
24-hour to 12-hour.
4
Press the "Mode key" to move the flashing in the sequence shown below to select other settings.
Hour
Minutes
5
While the hour, minutes setting is flashing, use "Meas. key" to change it. Press "Mode key" when
complete.
Use of the thermometer
1
Always make sure the probe is clean without any damage.
2
Power on: Press the "Meas. key".
3
Temperature taking: When you press the "Meas. key", you
will get the temperature immediately. If you hold down the
"Meas. key", the reading of measurement will be continuously updated.
Note: The Distance:Spot is 1:1. Please make sure the target area is within the field of view.
Note: Applications include the Water, Milk, Cloth, Skin, or visit Http://www.ZyTemp.com for further
information.
4
Power off: Device will automatically power off if left idle for more than 15sec to extend battery life.
Use of the Stop Watch
1
Power on: Press the "Meas. key".
2
Press the "Mode key" four times and the "count" icon starts
to flash.
3
For start or stop counting, press the "Meas. key".
For reset counting, press the "Mode key".
4
Press "Mode key" to enter the thermometer function.
3491 Mission Oaks
V
isit our Web site at:
A new way to measure temperature
(for Stopwatch)
Set
" icon starts to
(12/24-hour setting screen)
(Power off)
Min:Sec = 00:3.36
(resolution=0.01sec)
Blvd., Camarillo, CA 93011
http://www.harborfreight.com
Other Functions
Power on and press the "Mode key" once for the Minimum (MIN)
or twice for Maximum (MAX) modes. When the MIN or MAX icon
MIN
/
MAX
flashes, press the "Meas. key" to confirm. Hold down the "Meas. key",
the minimum or maximum reading of measurement will be
continuously updated.
Power on and press the "Mode key" three times. When the LOCK
icon flashes, press the "Meas. key" to confirm. This mode is
LOCK
particularly useful for continuous monitoring of temperatures for up to
60 minutes or until the "Meas. key" is pressed.
Power on and press the "Mode key" five times. When the °C icon
°C / °F
flashes, press the "Meas. key" to change the scale to °F. The setting
will be reserved even if power off.
Battery replacement
Battery is low and no more measurements are possible.
The battery should be replaced immediately with a CR2032 lithium cell. The battery is
located under the twist cover at the rear of thermometer. Please remember to power
off the unit before replacing the battery.
A malfunction may occur if the power is on when the battery is replaced. If a malfunction occurs, restart
the device. Keep the battery away from children.
Important notes
Storage & Cleaning:
EMC/RFI:
Readings may be affected if the unit is operated within radio frequency electromagnetic field
strength of approximately 3 volts per meter, but the performance of the instrument will not be
permanently affected.
Troubleshooting
(Power on)
The sensor lens should be kept clean at all times and stored at room temperature.
1. Use only a soft cloth or cotton swab with water or medical alcohol when cleaning
the lens. 2. Remember to allow the lens to fully dry before using.
3. The thermometer should be stored at –20 to +65
'Hi' or 'Lo' is displayed when the temperature being measured is outside of the
range of the instrument, 'Hi' when higher than +110
lower than –33
o
C (-27
°F
).
a malfunction still exists, please contact the nearest retailer.
'Er2' is displayed when the thermometer is exposed to rapid changes in the
ambient temperature. 'Er3' is displayed when the ambient temperature
exceeds –10
o
C (14
°F
) or 50
o
C (122
allowed plenty of time (minimum 30 minutes) to stabilize to the
working/room temperature.
For all other error messages it is necessary to reset the thermometer. To reset the
thermometer, wait for the instrument power off, remove the battery and wait for a
minimum of one minute, reinsert the battery and turn on. If the error message remains
please contact a qualified service technician.
o
o
C (-4 to 149
F).
o
°F
C (230
) and 'Lo' when
Please select target within specifications. If
°F
).
The thermometer should be
Advertisement
Table of Contents


Need help?
Do you have a question about the Pocket Thermometer and is the answer not in the manual?
Questions and answers