Table of Contents
Advertisement
Quick Links
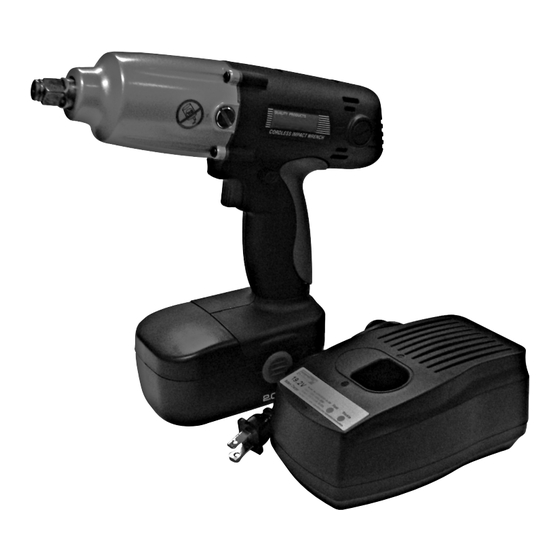
19.2V Cordless impaCt
wrenCh (VariaBle speed)
set up and operating instruCtions
distributed exclusively by harbor Freight tools
Visit our website at: http://www.harborfreight.com
read this material before using this product.
Failure to do so can result in serious injury.
saVe this manual.
©
Copyright
2008 by Harbor Freight Tools
artwork contained herein may be reproduced in any shape or form without the express written
consent of Harbor Freight Tools. Diagrams within this manual may not be drawn proportionally. Due
to continuing improvements, actual product may differ slightly from the product described herein.
For technical questions or replacement parts, please call 1-800-444-3353.
REV 11h
model
3491 Mission Oaks Blvd., Camarillo, CA 93011
®
. All rights reserved. No portion of this manual or any
97925
99676
®
Advertisement
Table of Contents

Subscribe to Our Youtube Channel
Related Manuals for EarthQuake 19.2V CORDLESS IMPACT WRENCH 97925


Summary of Contents for EarthQuake 19.2V CORDLESS IMPACT WRENCH 97925
- Page 1 Harbor Freight Tools. Diagrams within this manual may not be drawn proportionally. Due to continuing improvements, actual product may differ slightly from the product described herein.
-
Page 2: Important Safety Information
Keep this manual for the safety warnings and precautions, assembly, operating, inspection, maintenance and cleaning procedures. Write the product’s serial number in the back of the manual near the assembly diagram (or month and year of purchase if product has no number). Keep this manual and the receipt in a safe and dry place for future reference. -
Page 3: General Safety Rules
general saFetY rules warning read all safety warnings and instructions. Failure to follow the warnings and instructions may result in electric shock, fire and/or serious injury. save all warnings and instructions for future reference. The term ″power tool″ in the warnings refers to your battery-operated (cordless) power tool. - Page 4 use safety equipment. always wear ansi-approved eye protection. equipment such as dust mask, non-skid safety shoes, hard hat, or hearing protec- tion used for appropriate conditions will reduce personal injuries. Prevent unintentional starting. Ensure the switch is in the off-position before con- necting to power source and/or battery pack, picking up or carrying the tool.
-
Page 5: Vibration Safety
Battery tool use and care Recharge only with the charger specified by the manufacturer. A charger that is suitable for one type of battery pack may create a risk of fire when used with an- other battery pack. Use power tools only with specifically designated battery packs. Use of any other battery packs may create a risk of injury and fire. - Page 6 Maintain labels and nameplates on the tool. These carry important safety informa- tion. If unreadable or missing, contact Harbor Freight Tools for a replacement. Avoid unintentional starting. Prepare to begin work before turning on the tool. Do not lay the tool down until it has come to a complete stop. Moving parts can grab the surface and pull the tool out of your control.
- Page 7 • Properly maintain and inspect to avoid electrical shock. • Any power cord must be properly grounded. Ground Fault Circuit Interrupter (gFCI) should also be implemented – it prevents sustained electrical shock. Some dust created by power sanding, sawing, grinding, drilling, and other con- struction activities, contains chemicals known [to the State of California] to cause cancer, birth defects or other reproductive harm.
-
Page 8: Grounded Tools: Tools With Three Prong Plugs
grounded tools: tools with three prong plugs Tools marked with “Grounding Required” have a three wire cord and three prong grounding plug. The plug must be connected to a properly grounded outlet. If the tool should electrically malfunction or break down, grounding provides a low resistance path to carry electricity away from the user, reducing the risk of electric shock. - Page 9 ity of the cord. For example, a 14 gauge cord can carry a higher current than a 16 gauge cord. (see table a.) When using more than one extension cord to make up the total length, make sure each cord contains at least the minimum wire size required. (see table a.) If you are using one extension cord for more than one tool, add the nameplate peres and use the sum to determine the required minimum cord size.
-
Page 10: Specifications
Battery Cell Type When unpacking, check to make sure that the item is intact and undamaged. If any parts are missing or broken, please call Harbor Freight Tools at the number shown on the cover of this manual as soon as possible. - Page 11 Impact Wrench, and the Charger is unplugged from an electrical outlet prior to making any adjustments to the tool. trigger: Squeeze the Trigger to turn the Impact Wrench on and release pressure on the Trigger to turn the Impact Wrench off. Forward/reverse switch: The Forward/Reverse Switch allows you to change the rota- tional direction of the Impact Wrench.
-
Page 12: Operating Instructions
pull the Trigger after the tool’s performance begins to diminish. Stop the tool, re- charge the battery, and use the fresh battery for optimal performance Do not recharge the Battery longer than 2 hours, as damage to the Battery and/or Impact Wrench could occur. -
Page 13: Maintenance And Servicing
Insert the socket onto the nut that is to be loosened/tightened. Hold the Impact Wrench firmly with both hands, as torque from the Motor will cause the tool to twist. Squeeze the Trigger to turn on the Impact Wrench. When finished, release the Trigger to stop the Impact Wrench. Then, remove the Battery and socket from the tool. -
Page 14: Please Read The Following Carefully
When installing the Carbon Brushes, make sure the carbon portion of the Carbon Brushes contact the Motor’s Rotor and that the springs face away from the Motor. Also, make sure the springs operate freely. After replacement or cleaning, replace the two Brush Holder Caps. note: New Carbon Brushes tend to arc or spark until they wear and conform to the Motor’s Rotor. -
Page 15: Parts List
part description Front Cover Assembly Rubber Washer Washer Front Impact Assembly Rear Impact Assembly gear Ring Housing gear Ring Planetary gears Washer Motor Assembly Forward/Reverse Switch Trigger Battery Connector Rod Main Housing (Left & Right) Soft grip For technical questions, please call 1-800-444-3353. SKU 97925, 99676 97925 parts list part... -
Page 16: Assembly Diagram
97925 assemBlY diagram record product’s serial number here: note: If product has no serial number, record month and year of purchase instead. note: Some parts are listed and shown for illustration purposes only, and are not avail- able individually as replacement parts. For technical questions, please call 1-800-444-3353. - Page 17 99676 parts list & diagram part description Front Cover Assembly Rubber Washer Washer Front Impact Assembly Rear Impact Assembly Washer gear Ring Bearing Screw gear Ring Housing Front Cover Screw Motor Assembly Forward/Reverse Switch Trigger For technical questions, please call 1-800-444-3353. SKU 97925, 99676 part description...
- Page 18 90 daY warrantY Harbor Freight Tools Co. makes every effort to assure that its products meet high quality and durability standards, and warrants to the original purchaser that this product is free from defects in materials and workmanship for the period of 90 days from the date of purchase.
Need help?
Do you have a question about the 19.2V CORDLESS IMPACT WRENCH 97925 and is the answer not in the manual?
Questions and answers