Table of Contents
Advertisement
Advertisement
Table of Contents

Subscribe to Our Youtube Channel
Related Manuals for Audio Note P1


Summary of Contents for Audio Note P1
- Page 1 STEREO POWER AMPLIFIER OWNERʼS INFORMATION...
- Page 2 CONTENTS 1) IMPORTANT SAFETY INFORMATION 2) CE DECLARATION OF CONFORMITY DISPOSAL POWER REQUIREMENTS 3) INTRODUCTION 4) OVERVIEW UNPACKING AND INSTALLATION 5) CONNECTION 6) OPERATION 7) TECHNICAL SPECIFICATIONS 8) WARRANTY INFORMATION 9) CONTACT INFORMATION...
-
Page 3: Important Safety Information
! IMPORTANT SAFETY INFORMATION ! RISK OF SHOCK OR ELECTROCUTION! INTERNAL OPERATING VOLTAGES ARE LETHAL! Do not remove top cover, unless specifically instructed to do so in the user manual. This unit contains fuses and other safety components in accordance with BS60065 requirements. -
Page 4: Ce Declaration Of Conformity
BS EN 60065 in accordance with the regulations 73/23/EEC, 89/336/EEC (from 1 January 1997) CE 94 Peter Qvortrup, Director Audio Note (UK) Limited 25 Montefiore Road Hove East Sussex BN3 1RD United Kingdom... - Page 5 INTRODUCTION Thank you for purchasing this Audio Note (UK) product. With the correct care it should give you many years of pleasure and enjoyment. Please take the time to read all of the information in this manual before connecting your new component to an electrical supply or your system, to ensure both your safety and satisfaction.
-
Page 6: Unpacking And Installation
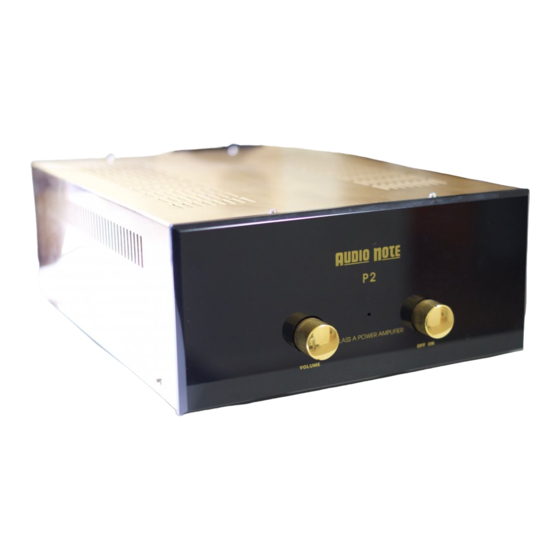
P1 STEREO POWER AMPLIFIER Congratulations on your purchase of the Audio Note (UK) P1 stereo power amplifier. It is a Pure Class A, Push-Pull valve design, producing an outstanding level of performance and value. It has been specifically engineered for sonic performance rather than technical... - Page 7 CONNECTION Line inputs Being a stereo power amplifier, the P1 is fitted with one pair of single ended / RCA inputs. Looking from behind the amplifier, they are located at bottom / right hand side of the rear panel. The Black socket is for the Left channel, the Red socket is for the Right channel.
-
Page 8: Operation
Once all the connections are completed and checked, ensure that the volume control of your preamplifier / source is at the minimum setting. Turn on all components in the signal chain BEFORE the P1; it should always be the LAST component to be switched ON, and the FIRST to be switched OFF. -
Page 9: Technical Specifications
UNIT DIMENSIONS 140mm (h) x 295mm (w) x 450mm (d) SHIPPING DIMENSIONS 240mm (h) x 400mm (w) x 550mm (d) (ORIGINAL PACKAGING) Due to Audio Note (UK)ʼs ongoing research and development program, specifications are subject NOTE to change without notice. -
Page 10: Warranty Information
Audio Note (UK) warrants this product to be free from defects in materials and workmanship for two years from the original date of purchase from an appointed Audio Note (UK) dealer, and agrees to cover the cost of parts and associated labour required to correct such defects, subject to terms & conditions. -
Page 11: Contact Information
CONTACT INFORMATION If in the future your Audio Note (UK) product requires servicing, or if you require technical support or have any questions regarding this or any of our other products, please contact your local Audio Note (UK) dealer. Alternatively, please feel free to contact us directly: -...
Need help?
Do you have a question about the P1 and is the answer not in the manual?
Questions and answers