Advertisement
Advertisement
Table of Contents

Subscribe to Our Youtube Channel
Summary of Contents for Durabrand DB1200
- Page 1 DB1200 OWNERS MANUAL AM/FM/CD Receiver with Detach Face...
-
Page 2: Preparation
DB1200 INSTALLATION Preparation Please read entire manual before installation. Before You Start • Disconnect negative battery terminal. (consult a qualified technician for instructions) • Avoid installing the unit where it would be subject to high temperatures, such as from direct sunlight, or where it would be subject to dust, dirt or excessive vibration. -
Page 3: Wiring Diagram
Using an incorrect fuse could damage the radio. The DB1200 uses one 5 amp AGC fuse located in-line. * CAUTION - Do not attach any speaker leads to ground as severe damage will occur. -
Page 4: Control Locations
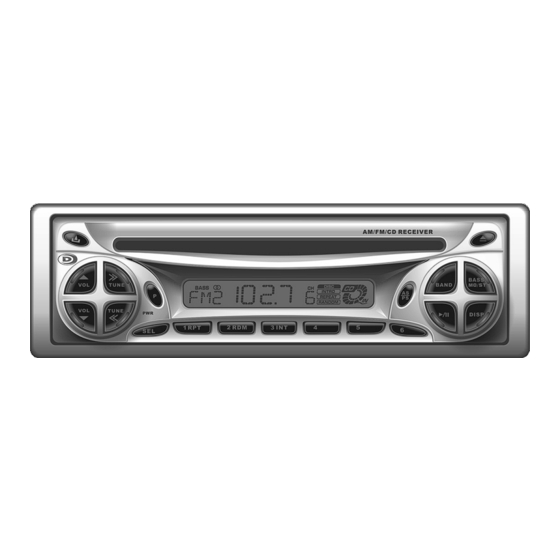
DB1200 OPERATION Control Locations Release Preset 6 Volume Up Preset 5 Tune/Track Up Preset 4 Power Preset 3/CD Intro Auto Store/Preset Scan Preset 2/CD Random Band Preset 1/CD Repeat Bass Boost/Mono/Stereo Select Eject Tune/Track Down Display Volume Down Play/Pause NOTE: If you should require additional information or have any performance related questions, please visit our website at dbproducts.net or contact us by one of the... -
Page 5: General Operation
DB1200 OPERATION General Operation Faceplate Removal Press RELEASE and pull away from the left side to remove. To re-install, insert right side of faceplate first then push left side to secure. *For semi-permanent faceplate installation, remove trim ring and install supplied Phillips head #1 screw through left side of mounting frame into faceplate. - Page 6 DB1200 OPERATION General Operation Reset Press and hold for more than 2 seconds to RESET the unit upon initial installation. The RESET button is located behind the faceplate. Select Audio Press SEL to select between Volume (default), Bass, Treble, Balance & Fader.
-
Page 7: Tuner Operation
DB1200 OPERATION Tuner Operation Seek Tuning Press TUNE << or >> momentarily to seek the next strong station. Manual Tuning Press TUNE << or >> for more than 2 seconds, then release. “MANU” will momentarily appear in the display. Press TUNE << or >> momentarily to move radio frequency up or down one step at a time. -
Page 8: Cd Player Operation
DB1200 OPERATION CD Player Operation Insert CD With the label facing up, insert a standard size CD into the CD slot. The CD will automatically begin playback. Eject CD Press the EJECT button to stop and eject the CD. The unit will change to tuner mode. -
Page 9: Troubleshooting
DB1200 OPERATION Troubleshooting Problem Cause Action Unit will not turn on Yellow wire not connected or incorrect voltage Check connections for proper voltage (no power) Red wire not connected or incorrect voltage (11~16VDC) Black wire not connected Check connection to ground... -
Page 10: Limited 90-Day Warranty
(P.O. box not acceptable), and a daytime phone number with your shipment. 4. Durabrand will pay the return shipping charges if the product is returned to an address within the U.S.A. 5. For service in Alaska or Hawaii, please call DB Consumer Service at 1-866-626-7863. -
Page 11: Out-Of-Warranty Service
4. Upon receipt and review, an equal new or renewed product will be returned to you. 5. Durabrand will pay the return shipping charges if the product is returned to an address within the U.S.A. DB Consumer Service Attn: Returns Center 21318 64th Ave. -
Page 12: Specifications
DB1200 SPECIFICATIONS Specifications CD Player Frequency response: 20Hz-20kHz Channel separation @ 1kHz: >65dB D/A converter: 1 Bit FM Tuner Tuning range: 87.5MHz-107.9MHz Usable sensitivity: 12dBf 50dB quieting sensitivity: 16dBf Stereo separation @ 1kHz: 40dB Frequency response: 30Hz-13kHz AM Tuner Tuning range: 530kHz-1710kHz...
Need help?
Do you have a question about the DB1200 and is the answer not in the manual?
Questions and answers