Advertisement
Table of Contents
- 1 Table of Contents
- 2 Accessory
- 3 Installation Instructions
- 4 Side Panel Disassembly
- 5 Motherboard Installation
- 6 Device Installation
- 7 HDD Installation
- 8 External 3.5" Device Installation
- 9 Power Supply Installation
- 10 Fan Installation
- 11 Removing the Top of the Chassis X4
- 12 Front I/O Installation Guide
- Download this manual
Advertisement
Table of Contents

Summary of Contents for Streak Ultra ETORQUE X1
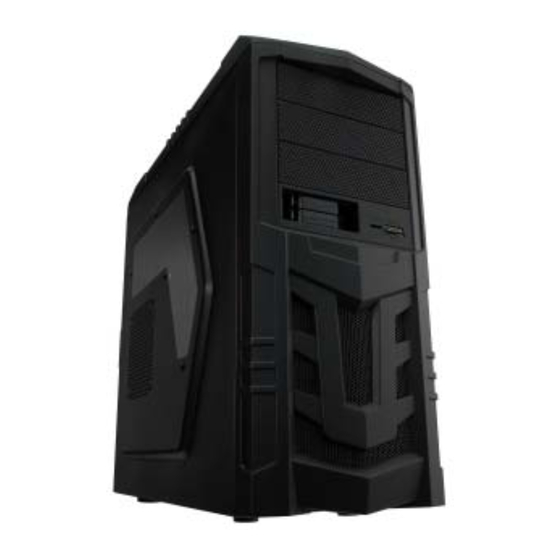
- Page 1 X1 MID-TOWER GAMING CASE X4 MID-TOWER GAMING CASE User Manual...
-
Page 2: Table Of Contents
Table of Contents Contents 1.1 Accessory X1,X4 Installation instructions 2.1 Side Panel Disassembly 2.2 Motherboard Installation 2.3 5.25” Device Installation 2.4 2.5” HDD Installation 2.5 External 3.5” Device Installation 2.6 Power Supply Installation 2.7 Fan Installation 2.8 Removing the Top of the chassis X4... -
Page 3: Accessory
1.1 Accessory X1 & X4 - Installation Guide x 1 (X1, X4) - Screw Bag x 1 (X1, X4) - HDD rail (X1 * 2pcs, X4 * 4pcs) - 5.25” to 3.5” Drive Bay Cover (X1 only) - Cable Tie x 9 (X4 only) Installation instructions 2.1 Side Panel Disassembly... -
Page 4: Motherboard Installation
2.2 Motherboard Installation Install the I/O panel that comes with your motherboard package. Secure the standoffs on the motherboard tray. Install the motherboard in proper location and secure it with provided screws. NOTE: CPU, RAM and any peripheral installation are not included in this manual. -
Page 5: Device Installation
2.3 5.25” Device Installation From the interior of the case, use a firm device of your choice to push the 5.25” drive bay cover out. Take out the plastic holding clips from both sides of the drive cage by turning the unlocking mechanism to the left. Insert the 5.25”... -
Page 6: Hdd Installation
2.4 2.5” HDD/SSD Installation Remove the 2.5” SSD hard drive tray by pushing the tray tab to the right to release the tray. Place 2.5” SSD hard drive into the hard drive box. Close the box. Slide the 2.5” SSD hard drive box into the chassis. Find the 4-Pin Molex on the power supply and connect it to the backplane. -
Page 7: External 3.5" Device Installation
2.5 3.5” HDD Installation X1 only: Placing the hard drive in the drive cage and secure with the provided screws. X4 only: Find the HD rails in the accessory box, and fix them in both sides of the 3.5” drive. Insert the drive and rails into chassis. -
Page 8: Power Supply Installation
2.6 Power Supply Installation Place the power supply and secure it with the provided screws. 2.7 Side Panel Fan Installation Place the fan in the side panel and secure with the provided screws. 2.8 Removing the Top of the chassis : X4 only Remove the thumb screws on the back of chassis to open the top. -
Page 9: Front I/O Installation Guide
2.9 Front I/O Installation Guide Please refer to the following illustration of front I/O connector and your motherboard user manual. USB 3.0 USB 2.0 HD Audio... - Page 10 Streak Products, Inc. 8300 West Flagler Street, #121-106, Miami, FL 33144 All other trademarks listed are the property of their respective owners. Streak Products is not responsible for typographical or photographic errors. TECHNICAL SUPPORT (888) 222-5487 WARNING: Keep out of reach of children-contains sharp edges that may...
Need help?
Do you have a question about the Ultra ETORQUE X1 and is the answer not in the manual?
Questions and answers