Advertisement
Quick Links
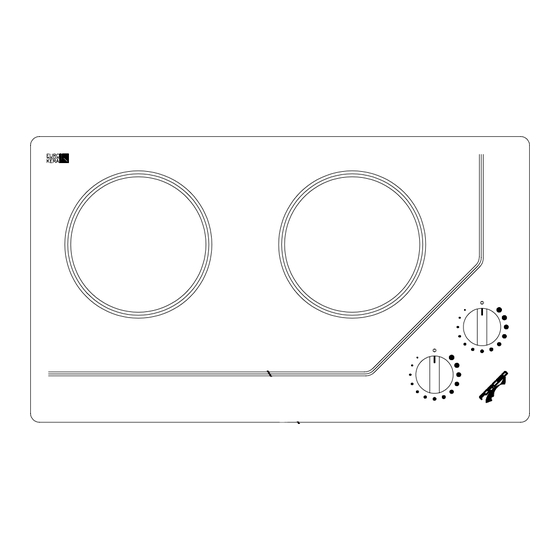
Elec Cooktop
2/7/05
3:47 PM
Page 1
FORCE 10 MARINE COMPANY
23080 Hamilton Road
Richmond, BC Canada V6V 1C9
Tel 604-522-0233 Fax 604-522-9608 www.force10.com
Specifications Subject to Change Without Notice
Force 10 Marine Company
ELECTRIC COOKTOP
IMPORTANT: Save this Manual for local electrical inspector's inspection.
Part #93058
MODELS
751XXX, 752XXX, 753XXX, 754XXX
Conforms to UL 858
980142
Certified to CAN / CSA-C22.2 No.61
STOVES
OWNER'S MANUAL
Advertisement

Summary of Contents for Force 10 751 Series
- Page 1 Elec Cooktop 2/7/05 3:47 PM Page 1 Force 10 Marine Company Conforms to UL 858 980142 Certified to CAN / CSA-C22.2 No.61 ELECTRIC COOKTOP STOVES OWNER’S MANUAL FORCE 10 MARINE COMPANY 23080 Hamilton Road Richmond, BC Canada V6V 1C9 Tel 604-522-0233 Fax 604-522-9608 www.force10.com Specifications Subject to Change Without Notice IMPORTANT: Save this Manual for local electrical inspector’s inspection.
-
Page 2: Important Instructions
Terms & Conditions use a towel or other bulky cloth. During the warranty period Force 10 Marine Company will at its option and without USE PROPER PAN SIZE - This appliance is equipped with one or more surface charge, repair or replace but not remove or re-install faulty product. The glass top is units of different size. -
Page 3: Electrical Requirements
Elec Cooktop 2/7/05 3:47 PM Page 3 Push down on the opposite end to ensure the extension on the stove fastens UTENSIL HANDLES SHOULD BE TURNED INWARD AND NOT over the brackets. EXTENDED OVER ADJACENT SURFACE UNITS - To reduce the risk of burns, ignition of flammable materials, and spillage due to unintentional contact with the If there is access to the countertop from below, secure the wire fastener with utensil, the handle of the utensil should be positioned so that it is turned inward, and... -
Page 4: Installation Procedure
Elec Cooktop 2/7/05 3:47 PM Page 4 INSTALLATION DIAGRAM INSTALLATION PROCEDURE Cut out a hole in the mounting surface to the following dimensions: FIGURE 1 MODEL WIDTH DEPTH 751XXX 10 5/8" (270mm) 10 5/8" (270mm) 752XXX 20" (508mm) 10 5/8" (270mm) 753XXX / 754XXX 20 1/4"...
Need help?
Do you have a question about the 751 Series and is the answer not in the manual?
Questions and answers