Table of Contents
Advertisement
Advertisement
Table of Contents

Related Manuals for Giant NRS 2004


Summary of Contents for Giant NRS 2004
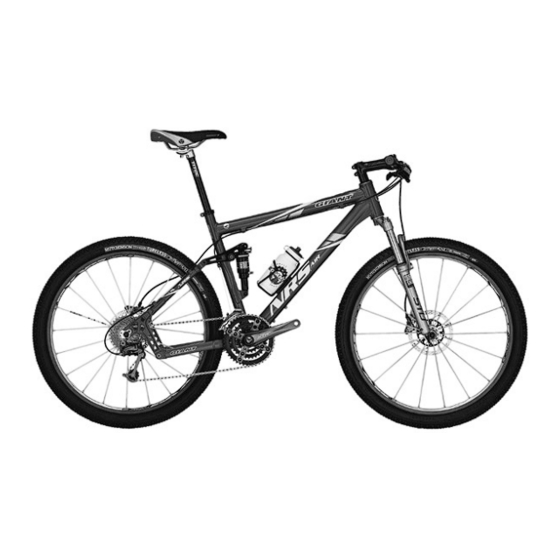
- Page 1 Giant NRS™ Model Year 2004 Owners Manual July 2003.
-
Page 2: Table Of Contents
Sizing........................3 Exploded view...................... 4 Rear suspension....................5 NRS™ rear suspension system............5 Bikes equipped with a Giant NRS™ Air shock........5 Selecting rear travel................6 Selecting air pressure, “zero-SAG” adjustment........7 General....................7 Simplified description................. 7 Entire description................ -
Page 3: Introduction
• Giant’s products are designed to provide years of recreation and enjoyment. The GIANT NRS™ bikes have been designed as Cross Country racing bikes, but are suitable for allround use as well. However, in order to fully understand all the bicycle features, you must read this bicycle manual, instructions for the suspension fork and other components, provided by Giant and parts suppliers. -
Page 4: Sizing
2. Sizing. The actual frame measurements and geometries are listed below. See figure 1. Size S - 16½” M - 18½” L - 20½” XL - 22½” A. Top Tube [mm.] (measured horizontally) B. Seat Tube [mm.] C. Seat Tube Angle 72 degrees D. -
Page 5: Exploded View
3. Exploded view. Please see figure 2. DESCRIPTION REMARKS Q’TY PER BIKE Front triangle Chain stays Seat stays Lower shock mount Fixing bolt 1 pc. per set 2 pcs per set Washer (same as 6-5 and 8-2) 1 pc. per set Fixing bolt upper shock mount Pivot parts set Seat tube... -
Page 6: Rear Suspension
F = O-ring The Giant NRS™ Air shocks have an air chamber with a valve (B) to set “SAG” or “no SAG”, and an external rebound damping adjust knob (A) to control an internal piston that regulates the extension or rebound damping of the shock. -
Page 7: Selecting Rear Travel
There are no serviceable parts inside these Giant shock units. For maintenance, repair or service, return only to an authorised Giant dealer (or call the Giant distributor in your country) once a year or more often if the bike is used in extreme conditions. -
Page 8: Selecting Air Pressure, "Zero-Sag" Adjustment
3. Re-install all parts in reversed order. The threads of fixing bolt should be cleaned and re-set using Loctite Primer (#7649) and Loctite blue Removable Threadlock (#242) or similar material. Recommended tightening torque of the fixing bolt: 12~15 Nm. WARNING: Improper (dis)assembly may result in damage to the bicycle or in an accident which can cause serious injury or death. -
Page 9: Entire Description
Entire description. Do as follows: 1. Try the air pump on the valve and make sure the air pressure opens the valve, air goes into the air chamber and does not stay in the pump hose. 2. Try to find out your exact body weight including cycling gear (clothing, helmet, shoes, cycling bag…….). - Page 10 9. Check the or O-ring. Did it slide down on the piston? If yes, this means there is still some “SAG”. REMEMBER: FOR MAXIMUM EFFICIENCY THE NRS™ SYSTEM SHOULD ALWAYS BE SET UP WITH “ZERO-SAG” !!! 10. Increase the pressure of the positive spring in repetitive steps of 5 or 10 psi. following the points 7, 8 and 9 until “zero-SAG”...
-
Page 11: Selecting Air Pressure, Adjustment With "Sag
4-5 Selecting air pressure, adjustment with “SAG”. Of course, an NRS™ bike can also be ridden with “SAG”. Some riders prefer this softer, more comfortable setting of the rear suspension system. Especially in not-competitive events, during technical sections and in very rough terrain. The air pressure you run in the shock varies depending on weight and riding style. -
Page 12: Air Pressure Setting
Step 8. Slide the rubber O-ring (F) of the shock piston against the stop (E) again. Step 9. Sit on your bicycle with your feet on the pedals in your normal riding position, without causing too much movement in the bike. Lean against a wall or ask someone else to help. Step 10. -
Page 13: Rear Suspension Tuning
It is necessary to periodically check the rear shock unit and the suspensions’ pivot points for damage or wear. The Giant rear shock unit should be returned to an authorised Giant dealer or to the Giant distributor in your country to inspect and repair. -
Page 14: Shock Pump
4-10 Shock pump. To increase or control the air pressure of the shock, a special air pump is needed. A pump is supplied with each NRS™ bike / frame set. See figure 5: the pump on the picture may be a different one from the pump that comes with the bikes. a = pump head b = micro adjust knob c = gauge. -
Page 15: Cleaning And Maintenance
Parts such as seals, elastomer bumpers and bearings can be adversely affected by use, dirt and ultraviolet radiation. The bike should be returned to an authorised Giant dealer for rear shock inspection and adjustment once a year or more often if the bike is used in extreme conditions. - Page 16 Fig. / Abb. / Rys. 1. Fig. / Abb. / Rys. 2. - Pag. 15. -...
- Page 17 Fig. / Abb. / Rys. 3. Position “2” Position “1” Fig. / Abb. / Rys. 4. - Pag. 16. -...
- Page 18 Fig. / Abb. / Rys. 5. Fig. / Abb. / Rys. 6. - Pag. 17. -...
Need help?
Do you have a question about the NRS 2004 and is the answer not in the manual?
Questions and answers